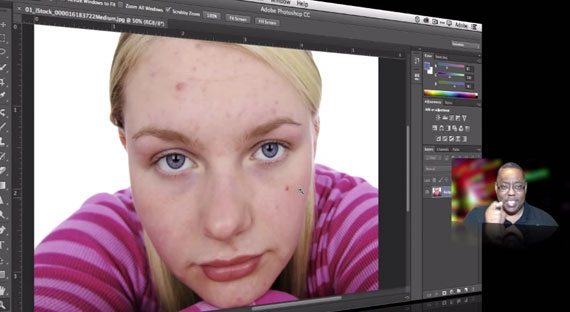
With Photoshop Creative Cloud, Adobe has once again lessened the gap between pro and amateur digital editors. Shortcuts are enhanced, new tools combine the functions of old ones, and the overall layout is strongly integrated into the rest of Adobe’s suite. In this 46-minute video, they’ve enlisted tech blogger Terry White to give a comprehensive guide to help Photoshop beginners perform 10 of his most-requested digital enhancements:
The video is very comprehensive and easy to follow. White recommends users buy a Wacom tablet or stylus for a touchscreen monitor if they’re thinking seriously about digital editing–not just because it’s easier for precise editing, but because you can apply different levels of pressure for more sensitivity, which you can’t do with a simple point-and-click mouse.
Most of his tutorial is useful not just for Photoshop CC users, but also users with older versions of Photoshop, too, although some of his tools and shortcuts won’t apply.
Basic Photoshop Tricks for Beginners
- Remove blemishes. Using the spot healing brush tool, you can blend the pixels surrounding imperfections into the imperfection itself, smoothing out discolouration like pimples and moles.
- Make layers. Rather than working on the background image, create layers to add filters and text on top of the image itself, so that you can reverse them if necessary.
- Create masks. Layer masks mean you can adjust images indirectly using the paintbrush tool in black or white to colour correct, brighten up or add contrast to any specific area of the photo.
- Crop your image. Photoshop CC introduces a new smoothness to cropping, wherein it’s easier for users to toggle between the automatic “original ratio” setting (which prevents distortion) and the various ratios underneath, like 1:1, 4:6, etc.
- Use the camera raw filter for exposure and coloring. Find the eye-drop tool to spot a natural color that’s around 18 percent grey, black, or white. This will automatically correct the rest of the image. You can then adjust the contrast, saturation and brightness individually until it looks right.
- Remove objects from images. Use the lasso or the quick selection brush tool to draw a rough outline around the object you want to remove. Once it’s selected, hit “delete” to use a content-aware fill. (If hitting delete doesn’t work, go to Edit > Fill > Content-Aware.)
- Move objects. Use Photoshop CC’s new tool called “content aware move” that combines both movement and content-aware fill in one stroke. You can also lift an image from the background into a new layer, and transform it to create a realistic duplicate.
- Put people on new backgrounds. Drag and resize your foreground image onto the new background image window in Photoshop. Use the quick select tool and hit “refine edge” to test your cutout. If it looks choppy, you can smooth it out with the “smart radius” option.
- Add text to your image. This is very similar to past Photoshop versions, in that you simply hit the text tool and type away. Photoshop CC has cloud cooperation with font warehouse Typekit whereby you can instantly browse and download any among thousands of specialty fonts.
- Save your file in different formats. Save in .psd to keep all your editable data, while the next most-common format is a low-size .jpg via “Save For Web,” which compresses your image to optimize loading times online.
None of these tutorials are very difficult, and they range from beginner to intermediate–meaning even if you know how to save a file for web, you may not know how to create a realistic shadow for an object on a new background. So even just a skim through the 46-minute video might produce some insight.
Like This Article?
Don't Miss The Next One!
Join over 100,000 photographers of all experience levels who receive our free photography tips and articles to stay current:


Leave a Reply