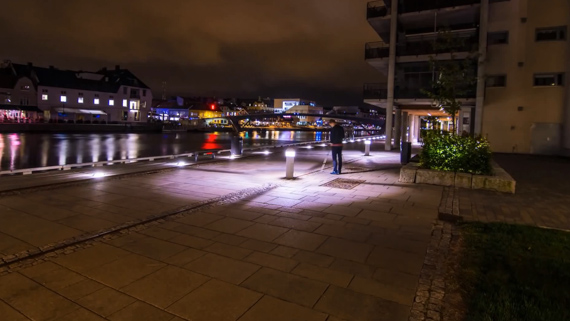
Creating timelapse videos can be expensive. To make a moving timelapse, many photographers use a motorized dolly system, which can set you back hundreds of dollars. Luckily, clever photographers have devised creative ways of making timelapse videos on a budget. In this tutorial, Morton Rustad shows us how to create a hyperlapse sequence with a camera and tripod:
Hyperlapse Shooting Tips
- Place your camera and tripod on a flat surface. Man-made surfaces, like asphalt, are ideal for moving timelapse photography, because they keep the camera on an even plane.
- Use live view, if possible. When you set your camera to manual focus, a small rectangle shows up on the LCD. Move this rectangle around to mark a reference point in your frame. This helps with aligning your camera between shots.
- Use a timer remote to set consistent intervals.
- A Canon EF 17-44mm f/4 L lens was used in this tutorial. Use a focal length of 25mm to 30mm to get a relatively wide angle view without distorting your images.
- Shoot RAW. You’ll want to manipulate the image sequence after shooting.
- Keep shutter speed to one second or longer to create motion blur in pictures. This blurring effect makes the final video look much smoother.
- When shooting during the day, use an ND filter to achieve long exposures. An ND 3.0 works well.
- Allow time to move the camera between each shot. Ten seconds is usually enough time to set up for each shot. Add these 10 seconds to the shutter speed to figure out your interval time. For example, if you’re using a 2 second shutter speed, set your interval remote to 12 seconds.
- To get 5 seconds of video, you need to take about 120 shots if you’re using 24 frames per second. Calculate the number of minutes you need to shoot by multiplying your number of shots by your interval time and dividing by 60.
Hyperlapse Post-Production
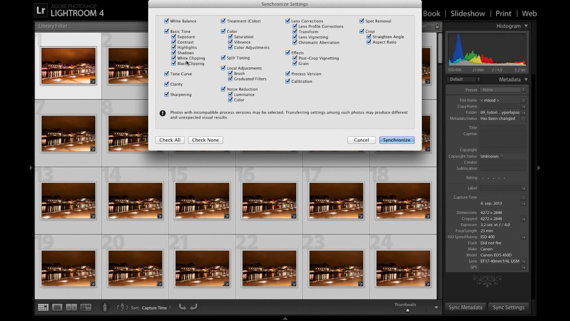
The photographer in this tutorial prefers to start his post-production work by importing all of the photos into Lightroom. Choose one photo and adjust it in the Develop module before applying the settings to the rest of the sequence with the synchronization command. Next, exports all of the photos at full size.
Once the photos are adjusted and exported from Lightroom, they can be imported into AfterEffects as a JPEG sequence.Use the warp stabilizer to quickly correct for any shakiness or imprecise alignment in the photo sequence.
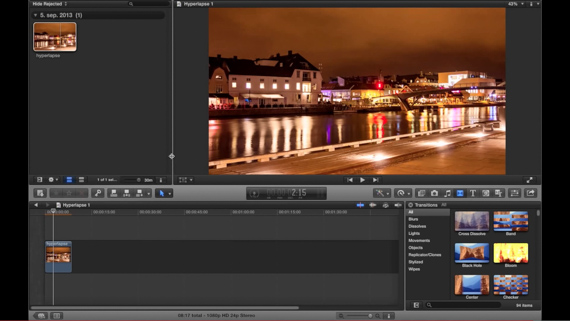
The last step in creating the timelapse video is to open the files in FinalCut Pro or a similar program for rendering. You may choose to crop your files to fit with the HD 16:9 aspect ratio, add music, etc. The final hyperlapse movie can then be saved and uploaded.
Using a tripod, camera, and interval remote to create a hyperlapse takes a bit of practice to get right, but it’s a much cheaper alternative to making a timelapse video with expensive hardware.
Like This Article?
Don't Miss The Next One!
Join over 100,000 photographers of all experience levels who receive our free photography tips and articles to stay current:





Can anyone explain how to accomplish the telescoping/ vertigo effect that I sometimes see in hyperlapse videos?
Do you mean the “Jaws” shot, when Brody sees the shark attack at the beach? You basically just zoom out as the physically move the camera closer to the subject, keeping your subject the same size in each frame.
Great tutorial, but I would like to know more about the mechanics of the time lapse specifically how much you moved the tripod between each shot. Thanks again and keep them coming.
wow thanks for this tips, however we must try. yaahh try and eror lah yaa