Here are some indoor portrait photography tips that will help you produce great results and do not require you to have access to expensive studio lights. What say you if there are effective ways you can conduct indoor portrait photography in the comfort of your own home? You can still take photographs that look stunning with only one light source—all you will need is an angle-poise lamp.
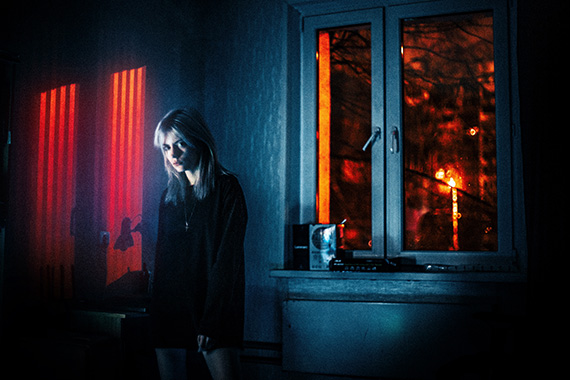
Photo by Oleg Onchky
1. Background
To begin, position your subject to be seated in front of a light absorbing black velvet or something similar. The velvet creates a black background for your photo shoot. To support the background, you can use just about anything to hold it up. A bookcase for instance, is good enough.
2. Lighting Tips
After your model is comfortably seated, adjust the lamp so that it is positioned just slightly above his or her head. Also, have the lamp positioned toward the right side of your model. This light setting can create a classic and stunning portrait.
There are many other lighting effects you can try out. So go wild with creativity and don’t limit yourself.
3. Fast Shutter Speed
Set your shutter speed to be relatively fast. I normally set my camera to 1/160 of a second at f/2.8, and ISO 500. Also, it is advisable that you use a tripod to complement your photography.
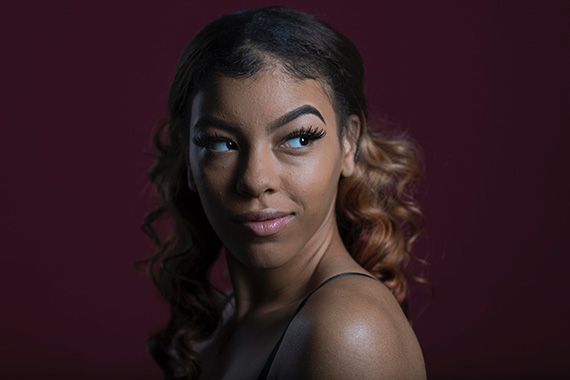
Photo by Evan Dvorkin
4. Use A Tripod
The tripod will get rid of camera shake. The indoor portrait photos produced will be sharp when you use a tripod.
5. Use a Longer Focal Length
I normally use the 80-200mm f/2.8 lens and set it to 145mm. This is because longer focal lengths will result in a much more stunning indoor portrait photograph.
6. Take a Few Shots
Another thing you can do is to take a few shots just to test the exposure and general setup. If you’re satisfied with the settings for the photo shoot, you can start your indoor photography session. It is always a good idea to discuss with your model beforehand the various poses and expressions s/he can use.
7. Experiment with Lighting Conditions
Different lighting angles will result in a different indoor portrait photography effect. All you have to do here is try the different lighting positions and see which one works well for you. Such lighting angles include the right side, above, the left side, below, and from behind your subject.
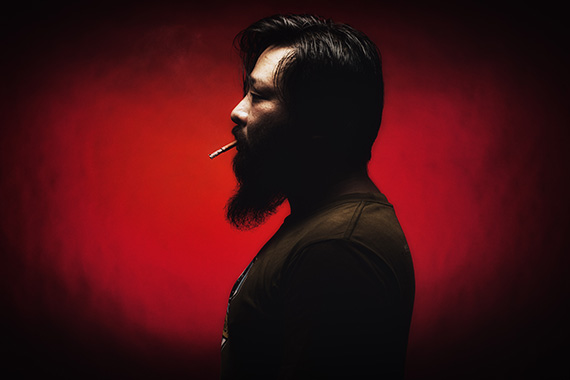
Photo by Preillumination SeTh
8. Use A Reflector
Whenever the light is too harsh, it creates unwanted shadows that ruin your indoor portrait photography attempts. What you can do here is to use a reflector on the opposite side of the light source. The reflector bounces the light onto your subject, thus creating a much softer light illumination.
About the Author:
This article was written by Michelle Lee Fui Jinn, tipsforphotographers.com. It takes time to practice and improve your photography skills.
Like This Article?
Don't Miss The Next One!
Join over 100,000 photographers of all experience levels who receive our free photography tips and articles to stay current:



The photo of Edgar is awesome :)
Great tips! Thanks for posting this…
Does anyone know where to find cheap reflectors online?
I need some good lighting equipment that’s for sure!
Excellent article..Some very simple tips
Thanks for taking my photo for illustration
I used anstrobe light with honey comb grid for that shot
Brilliant stuff, love the idea of giving your camera settings to get the desired effect, more people should do this to give us beginners a chance at achieving the same quality. Many thanks
Hello and thanks for the wonderful info …please advise me how to set the lens …I have never been taught how to do this and have a 70 to 200 tamron lens and would like to try the advice you have given…thank you so much!
I loved this article! Not very often you get actual camera settings to try out. I actually took notes. Thank you.
Simple article…. Doesn’t delve into much detail…
“This is because longer focal lengths will result in a much more stunning indoor portrait photograph.”
Wow, some great explanation there. Maybe explain WHY longer focal lengths result in “more stunning” indoor portrait photographs.
hey thanks.. :) cool tips