The following article features post production tips from Lindsay Adler. For further training, see her course Skin 101: Lighting, Retouching and Understanding Skin on CreativeLive.
Thanks to websites like Photoshop Disasters, it’s easy to delight in humorously awful photo retouching—but for professional photographers, every amateur post-processing foible is a reminder that with great power comes great responsibility, both to your clients and to your brand.
“I see Photoshop either as a way to help perfect my client, and help them look and feel their best,” says fashion and portrait photographer Lindsay Adler, who knows that it is possible to retouch images without completely erasing any and all signs of humanity from the subject. The key—and what all pro photogs know? Understanding what makes a person look like a person.
How Much Skin Smoothing is Too Much?
“The way people screw up is that they smooth out everything too much, and I don’t mean detail. Your face clearly has highlights and shadows,” Lindsay explains, noting that the biggest post-processing mistake is “blending the highlights and the shadows too much,” which can make the face flat.
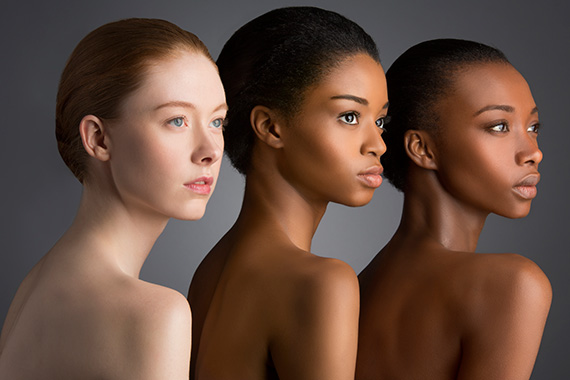
Instead of wholesale smoothing, make note of where your subject’s highlights, contours, and shadows are. When removing blotchiness or discoloration, ensure that you’re grabbing sample colors from the same part of the face, which can be a dramatically different shade depending on whether or not it’s, say, under the cheekbone or above.
Highlights and shadows give skin texture.
Retain Highlights
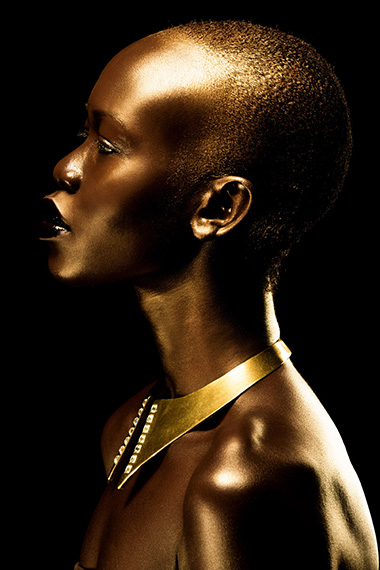
Highlights, especially, are important for retaining a natural look, because, says Lindsay, “one of the places you can see texture on people’s skin is in the highlights.” Therefore, areas like the bridge of the nose and the peak of the forehead are opportunities to soften and smooth—but not completely erase—the texture.
Know When to Discuss Processing With Your Client
Knowing the subject matter of the photo is also a huge part of retouching, says Lindsay. In portraiture, communication with your client can determine how much editing you do.
“I have a mole on my neck—I would absolutely remove it. It’s not a part of my defining features,” says Lindsay, who recommends asking point-blank which scars, moles, or freckles they may or may not want in their photo. “Other people, if you remove it, they’re offended. So I always ask.”
For fashion and beauty shoots, though, she says she’s much more liberal with reshaping and retouching.

Ask your subjects how much retouching they prefer.
Retouch Tones, Not Texture
Another huge tip that Lindsay offers is to focus on retouching tones, but not texture. Rather than taking the clone tool to your subject’s entire face, which can give that overly-processed, air-brushed appearance, Lindsay recommends separating out two layers—one of which is just the texture of the skin, which will remain even when you do things like lighten under-eye circles. For exact specifications for how to do this, check out this clip, which gives precise details on what to tell Photoshop:
And finally, says Lindsay, take breaks—not just for the health of your eyes, but for perspective:
“If you get obsessed, that’s how you over-retouch a photo.”
Get more advanced retouching tips from Lindsay with her CreativeLive Course, Skin 101: Lighting, Retouching and Understanding Skin.
Like This Article?
Don't Miss The Next One!
Join over 100,000 photographers of all experience levels who receive our free photography tips and articles to stay current:


Okay so now I know what over retouching is. Thanks for pointing it out!