Catching the colors of a rainbow is a magical experience but rainbow photography can be quite tricky.
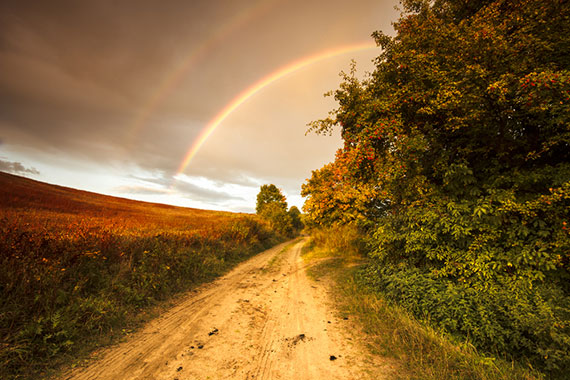
Photo by K.Narloch-Liberra
A rainbow is formed when moisture and sunlight interact. This need not be only on a rainy day; you can find a rainbow near waterfalls and fountains. Rainbow photography is an art that needs precision, timing, and a little bit of rainbow spotting luck. Here are a few tips on rainbow photography to get you started and to make sure that you are able to capture the magical colors with ease.
Looking for a Rainbow
The first step in rainbow photography is making sure you’re in the right place at the right time. The first photography tip is to remember that—since rainbows are made up of light and moisture—anywhere where these two things interact gives you a possibility of spotting a rainbow. Waterfalls and fountains, apart from rainy or stormy conditions, are ideal for natural rainbows. Since these may not be readily available, sometimes you can create your own rainbows. A simple garden hose on mist setting and sunlight should give you an ideal rainbow that you can photograph.
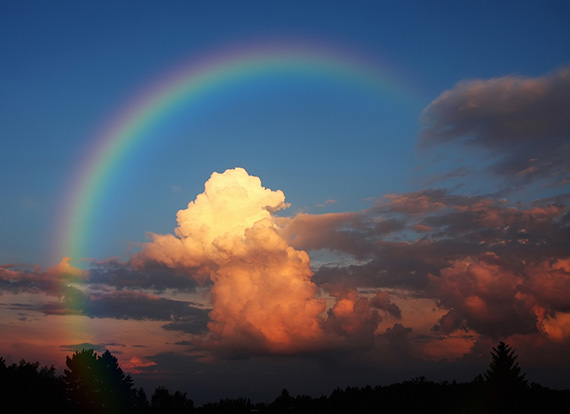
Photo by Markus Gann
Choosing a Background and Foreground
Rainbow photography is best suited to a background that lets your rainbow stand out. Since a rainbow isn’t a solid object, the background should be uncluttered and clear. The background can be cloudy or dull so that the rainbow stands out and isn’t lost in the frame. You can definitely add other elements into the frame and experiment, but essentially, the background behind the rainbow should be clear. Also take note of the foreground. A complementary foreground can make your shot is interesting and lead the eye toward a focal point. But care must be taken to remove any distractions.
Finding the Right Angle
Another important rainbow photography tip is to know which angle you want to shoot the rainbow from. You can either go for covering the arc or you can cover the end point of the rainbow, where it meets the ground. A third option is to shoot a rainbow from above, either in a plane or helicopter, in which case the arc would be seen as a circle. Each of these has a compelling and unique effect. You can use these and experiment to create some stimulating photographs. You can change the focal lengths and use wide angle lens to take wide vista shots. Changing the aperture will not have an effect on the rainbow, but you can experiment with it to give a different effect to your overall shot. An interesting rainbow photography tip is to zoom in on points where the rainbow intersects with other objects; this leads to some spectacular results. You can also spot multiple rainbows; try capturing that phenomenon, if possible.

Photo by Markus Gann
Using a Tripod
The best landscape pictures will come when the camera is kept as still as possible. But it’s particularly important for rainbow shots, as they often appear in darker conditions (like before a storm). You’ll want to bring along a tripods for the perfect capture.
Making Your Own Rainbow
If you want to experiment with capturing a rainbow, you don’t necessarily need to wait for the environmental conditions to be perfect. A sunny day and a garden hose on the “mist” setting should give you a subject to experiment with straight away!
The key to great pictures is always going to be experimentation. It is the key to success with rainbow photography. Capturing a magical experience like a rainbow is fun and it is great if you are more open to trying out something new. The more experimental shots you try the more unique your rainbow photography experiences will be. So gear up your camera and capture the masterpiece.
Like This Article?
Don't Miss The Next One!
Join over 100,000 photographers of all experience levels who receive our free photography tips and articles to stay current:





I took a picture in a dry day and this bar of colors appeared. Why did this happen? I would prefer to show you the picture. Plmk if I can send it to you. Thank you very much.
beautifully taken pictures!!! I love these!