For a nature photographer, composition can be a daily challenge. In wildlife photography, the challenge is even greater. Not only are you trying to satisfy your own creative vision, but you also have to deal with a subject which may have no interest in having its photo taken.
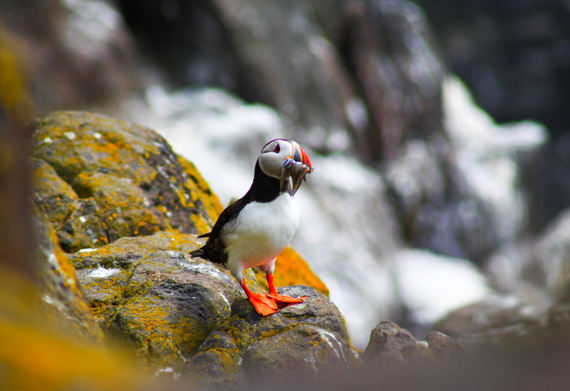
“A Very Cute Puffin” captured by PictureSocial member Ulka Nast
I can’t help you much with an uncooperative subject. Rest assured that with practice and experience, you will find that you become much quicker at composing and exposing a photo so that you get the shot before the critical moment passes. There are a couple of simple tips that can make things a little easier.
First, practice your photography in places where the animals are used to having people around and are less likely to become jittery at your presence. This does not have to be a zoo or other enclosure. Most national parks have campgrounds and picnic grounds where the wildlife is used to being around people and may even come closer looking for food. You have a much better chance of a shot if you can get close without frightening the subject away.
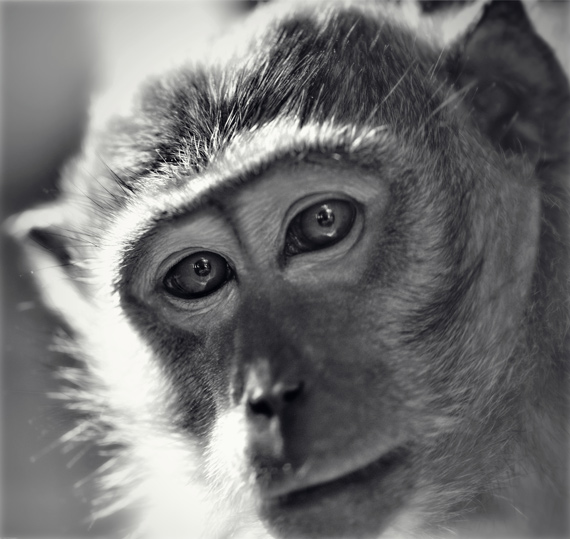
“Moment of a Monkey” captured by PictureSocial member Dietmar Chromik
Second, try to organize your exposure before you set up the shot. If the light is fairly constant, it is possible to point your camera in the right general direction and work out the best aperture and shutter speed settings for the photo. Then when you approach the subject, you can concentrate on composition without having to waste time working out your exposure.
These simple tips may help to take some of the frustration out of wildlife photography, but what about the composition itself? Many people simply don’t know where to start. If that sounds like you, don’t be discouraged. Like I said at the beginning, composition can be tough — even for a photographer with years of experience.
Let’s start by breaking it down into two categories: close-up and non-close-up photos.
In a close-up photo, the subject fills most of the frame.
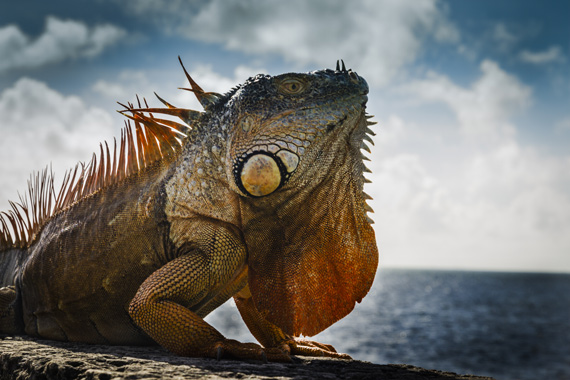
“Say Hello to my Little Friend” captured by PictureSocial member Gabe Vasquez
A lot of people get in a tangle over whether to position their subject in the middle or to one side of the composition. In my experience, it is quite acceptable to have the subject right in the center, as long as you allow some head-room so it doesn’t appear too cramped within the confines of the composition. A central position is especially suitable when the subject is looking straight at the camera, but it often works just as well if the subject is facing a little to one side or the other.
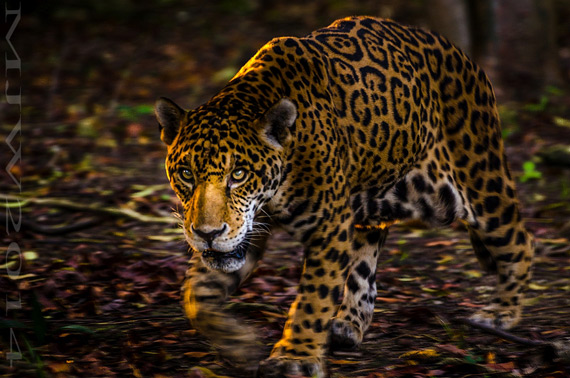
“Jaguar” captured by PictureSocial member Michael Ware
The more space you have around the subject, the more you should consider putting it to one side or the other. You should be guided by the way the animal is facing. If it is looking to one side, position it a little towards the other side so it is looking toward the center of the frame. So, if your wildlife subject is looking right, position it a little to the left. Not too far — you don’t want half of your photo to feature nothing but empty space.
In a non-close-up, where the photo shows a lot more space around the animal, it becomes more critical that you use that space effectively. In situations where the animal is featured with a lot of background, it may be better to think of the picture as a landscape photograph, and compose it accordingly. Some of the tried-and-true techniques, like the Rule of Thirds, are a good way to help you position your subject within the overall frame of the picture.
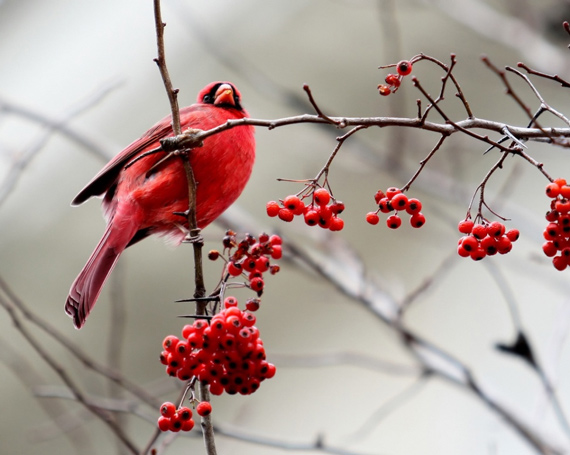
“Red Bird and Berries” captured by PictureSocial member Bob Daveant
For a landscape-style photo, it may look quite unbalanced to position your subject in the center of the picture. It is usually better to position it to one side or the other, and it is even more important to have the animal facing toward the center of the picture. The eyes of an animal subject can have a strong effect on the direction in a composition; we tend to look where they are looking. So if the animal is on the left and looking left, the visual flow of the composition will lead out of the picture instead of into it. If the subject is on the left and looking right, the viewer will follow the gaze of the subject into the center of the picture.
Naturally, it helps if there is something of interest in the center or to the right to catch the viewer’s attention and add interest to the composition. If the subject is looking into the composition, it makes sense that it is looking at something, not just at empty space. Almost anything will do — a tree, a beach, an impressive sky — as long as it adds impact to the composition. If there is nothing of interest to work with, you might consider zooming in closer, so there is less emptiness in the frame.
These simple guidelines are intended to do nothing more than give you some ideas. Nature is not governed by the rules of composition, and a wildlife photographer must be flexible to get the best result out of each situation. Above all, trust your own judgment — your own sense of visual balance — to create a satisfying composition. On the other hand, if you are struggling to get started, think back to these guidelines; if you can position your subject well, the rest of the composition will fall into place.
About the Author:
Andrew Goodall writes for https://naturesimage.com.au/ and is a nature photographer based in Australia. He manages a gallery in Montville full of landscape photography from throughout Australia.
Like This Article?
Don't Miss The Next One!
Join over 100,000 photographers of all experience levels who receive our free photography tips and articles to stay current:


I’ll be sure to practice my photography as you pointed out in order make the most out of taking wildlife photos in Madagascar once I manage to book a photo tour there. Since you suggested that I have to organize my exposure before I set up my shot, I’ll try to make sure that the picture is well-lit and that I’ll take photos in areas where the animal and I are both comfortable. Guiding myself where the animal is facing as you stated is also a great idea to try to take pictures of wildlife at its core so I might try it out if the tour guide allows me to do so.
Great post and love the photos, thanks. Happy to promote it to my followers.