Photography is not so much about taking pictures as it is about creating art from within the known universe. Unlike traditional forms of expression where an artist works with a variety of abstract emotions and ideas to produce media, photographic art captures a real-world entity to produce abstract emotions and ideas.

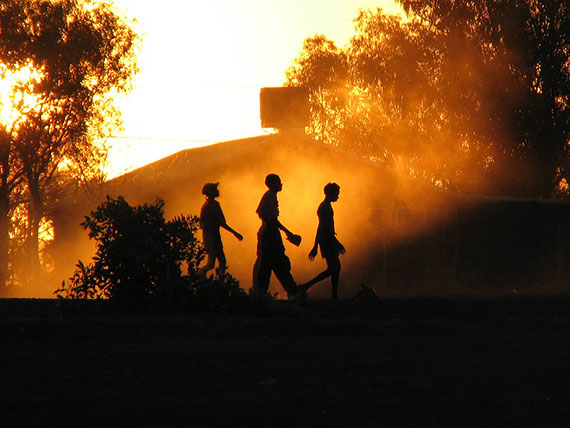
Photo by yaruman5; f/6.3, 1/250-second exposure.
One could say that photography is the negative exposure of other forms of art. With this abstract thought in mind it is only fitting to explore silhouette photography.
Before setting up the shot, let’s take a moment to review our understanding between front light and back light. Most often, photographs have a majority of the available light to be dedicated to front lighting, this is to say we want to reflect light off the front of the subject to expose details that render the subject recognizable. This is generally why we use camera-mounted flash, or have the subject face the light source. Back lighting a subject means the light source is projected directly toward the camera and is sourced from behind the subject. When there is a higher ratio of available light dedicated to back light, the subject becomes dark as highlights are overcome by shadows.
Creating a silhouette requires the photographer to take the camera out of the automatic setting. When the automatic setting is used, the camera will attempt to lengthen the exposure time in attempt to increase the highlights on the subject. Most digital SLR cameras have shutter priority and aperture priority settings, as well as full manual mode. Place the camera in the shutter priority mode (Tv on Canon cameras) and set the shutter time to 1/125 of a second. If your camera has shutter bracketing-the ability to take sequential shots at varying exposure settings-set the shots to two increments apart. The ISO should be set to 100 to reduce grain and to lower the light sensitivity. For added stability to prevent blur, consider mounting the camera on a tripod and take your shot.
When you review your shot, you should look for a number of indicators to determine the quality of your silhouette. First, verify the composition. Large shadow areas that have little relevance will either need to be cropped or reformatted. The next element you want to review is the histogram. The histogram should have spikes on the shadows and highlights, with little in between. If your histogram shows positive spikes on the mid tones, then your shot will contain unwanted detail.

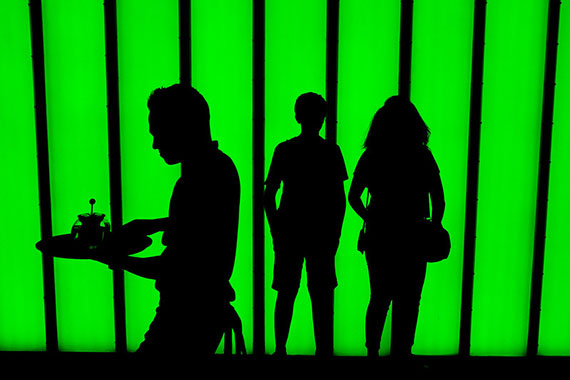
Photo by Mubarak Fahad; ISO 3200, f/5.6, 1/680-second exposure.
When creating a silhouette, the photographer should be careful to consider the story behind the shot. Silhouettes can encroach on becoming cliché if the shot does not tell a story, or demonstrate an emotion.
Oftentimes, the photograph may look good; it may be properly exposed, the composition is structured well, the colors and contrasts are complimentary, but the photograph itself appears cold and meaningless. Silhouettes are often used to demonstrate solitude, or revelation.
About the Author:
Peter Timko writes on behalf of Proud Photography – which offers online photography courses on a variety of subjects.
Like This Article?
Don't Miss The Next One!
Join over 100,000 photographers of all experience levels who receive our free photography tips and articles to stay current:


you are right, the story behind the silhouette is as important as the silhouette itself. Most of mine are not really a good photograph. This is my best silhouette so far
http://www.flickr.com/photos/38170284@N02/7911442230/
WOW! Both the Horse& Rider and the Treasured island speak! The personage transmit palpable emotions.