In today’s portrait photography photo tip we are going to wrap up our discussion of the three light set with a quick review and an example of how to build a set—with no lights! Just because you don’t have any studio lights, doesn’t mean you can’t shoot quality images.
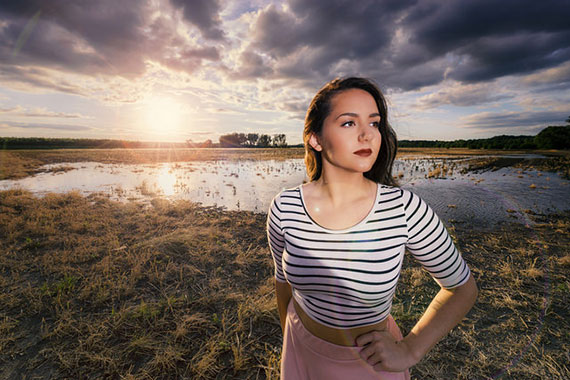
photo by Heath Cajandig
Here is a quick review…
Most good portrait photography requires three light sources.
Light #1 – This is the main (key) light and is used to establish the pattern and overall exposure settings.
Light #2 – This is the fill light and is used (or not used) to fill in the shadows created by the main. This one should be set at the same or less intensity as the key light so that it doesn’t cast its own shadows.
Light #3 – This is the background (separation) light and is used to visually separate the subject from the backdrop. It is placed behind the subject and can be aimed either at the background or at the subject.
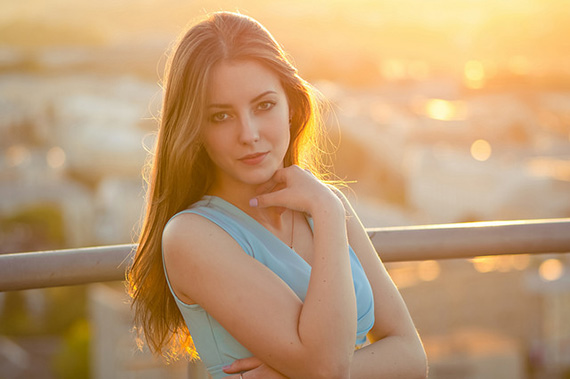
photo by Igor Gorshkov
When aimed at the backdrop, the separation light creates a lighter area behind the subject so that he or she doesn’t blend into the background. Adding colored gels can make the backdrop any color you desire.
When aimed at the subject, the background light creates a “halo” or rim of light around the subject. It’s this rim of light that separates the subject from the background. This light is generally a bit brighter than the main light.
The vast majority of amateur photographers never attempt the three light setup, and their portraits suffer because of it. Give it a shot! Once you’re comfortable setting up and shooting with a three light set, you will never go back.
By the way, if you have been avoiding the three light set because you don’t have three lights—that’s no excuse!
Here is an example of a three light set.
First we set our model so that the sun is at her back (out of view of the camera). This will create a rim of light around her and visually separate her from the background. This is light #3.
Then we use a reflector placed in front and to the side of her. This will reflect the light from the sun back into her face and–depending on where we put it–will create whatever light pattern we want and establish the main exposure settings. This is light #1.
We can move the reflector closer or further away from our model to get the exposure we want. Ideally, this is an exposure of half a stop or so less than the separation light.
Another reflector set at the correct angle and distance from the model will fill in the shadows and become our fill light–light #2.
The above three light set is easy to create, costs next to nothing, and gives you professional quality portraits. Add in the fact that commercially-made reflectors can fold up to a very small size; you can toss a few into the trunk of your car and always have them available!
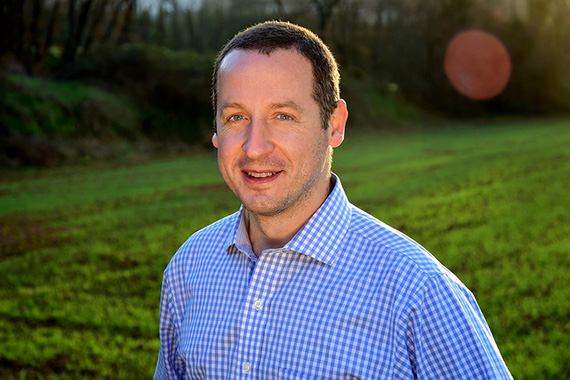
photo by Jorge Franganillo
Your mission–should you decide to accept it –is to give it a try. Practice this until you are comfortable working with a three light set–then go out and buy whatever lighting equipment you want. You’ll know what you need, and it won’t end up in the closet where you store all your unused photo gadgets!
Today’s portrait photography photo tip demonstrates that you don’t need actual lights to create a three light portrait photography set! Reflectors and the sun will do the job very nicely!
About the Author
Dan Eitreim writes for ontargetphototraining.com. He has been a professional photographer in Southern California for over 20 years. His philosophy is that learning photography is easy if you know a few tried and true strategies.
Like This Article?
Don't Miss The Next One!
Join over 100,000 photographers of all experience levels who receive our free photography tips and articles to stay current:



The blog was absolutely fantastic! Lot of great information which can be helpful in some or the other way. Keep updating the blog, looking forward for more content…Great job, keep it up
thank you for your tips
just to confirm whether to use flash in sun light?
please revert with the comment.
To Shari, I agree that not much was mentioned as far as placement or using the reflectors but for a lone photographer by looking and researching on ebay you can find a quite a few options for inexpensive reflectors and light duty light stands aswell as folders for reflectors to be supported on a stand, I would highly recommend using sand bags to weight the stands if using outside though so the wind doesn’t blow them over.
I would like to ask about the size of reflector being used. Are you using two equally sized reflectors for fill and key light? Or one is smaller for key light? Thanks!
To Shari, I agree that not much was mentioned as far as placement or using the reflectors but for a lone photographer by looking and researching on ebay you can find a quite a few options for inexpensive reflectors and light duty light stands aswell as folders for reflectors to be supported on a stand, I would highly recommend using sand bags to weight the stands if using outside though so the wind doesn’t blow them over.
Everyone always has wonderful things to say about reflectors, but they fail to realize that the majority of people don’t make enough money to have an assistant hold the things. This article was really amazing in that it is one of the VERY FEW that tell a little about how to use the light outside to your advantage, but I am wanting to know how to do it as a lone photographer. I KNOW people do it all the time, so what is their secret?