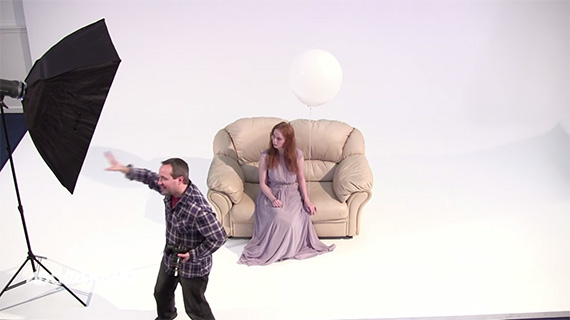
Multi light setups are difficult to work with. Often the best approach is to start with a single light—a key light—and then build the arrangement of the remaining lights around it. In this video, photographer Gavin Hoey shows us exactly how it is done:
Key Light
Hoey starts with the key light, a large Flashpoint Rovelight 600 Ws Monolight. He places it on camera left, meters the light (f/8, 1/100) and then readjusts the power by a stop (f/11, 1/100) so that he can get more depth of field. If you don’t know how to check the power of a light source using a light meter, check out this article.

Key Light
Here’s the resulting image:

First image with just the key light
As you can see, the image is really moody and edgy. If this is what you want, stop right here. This is perfect. But if you want a slightly softer look, read on.
Fill Light
For the next shot Hoey brings in his second light, a Flashpoint SL-360 StreakLight. This will fill in those shadows from the first shot.

Fill Light Added
Again, the light is measured and this is what the resulting image looks like:

Resulting image with the key light and fill-light
Separation Light
Hoey now has his key light and fill light set up. He brings in the separation light. A separation light is one that separates the subject from the background. A little bit of angle adjustment and here’s what he gets:

Key Light, Fill Light, and Separation Light
Background Light
Now’s the time for the final light of this arrangement. The background light is only for illuminating the background and for creating a bright halo effect.

Background Light Added
Here’s the final image with all the lights in place:

Final Image Before Post-Processing
Here’s a quick collage of how adding each of the lights impacted the image bit by bit:
Post-Processing
As a bonus, Hoey goes on to show you how to add a pastel look to your images (muting colors, reducing vibrancy, etc.) as well as how to blend different backgrounds to your image for the final look.
Like This Article?
Don't Miss The Next One!
Join over 100,000 photographers of all experience levels who receive our free photography tips and articles to stay current:


Gavin carefully metered each light EXCEPT the background light. Why? What should it have been?
Hello!
The two light is superb for me.