This tutorial is to help you learn how professional photo editors accent specific parts of a picture in order to lead their viewers attention into certain places. With this technique you can darken what is not important and brighten what is important to your photo. This technique uses a 50% gray overlay layer. But remember that this example is a somewhat extreme demonstration of this method, it is more commonly used to create very subtle accents.
1. First of all, create a new Layer (Layer>New>Layer).
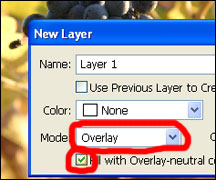
2. Then when the New Layer Dialog box comes up Choose Overlay from the Mode drop menu, and Then check the box that says, “Fill with Overlay-neutral color (50% gray)”
3. Then choose a big preferably soft paintbrush and set the opacity down to somewhere between 7% and 14%.
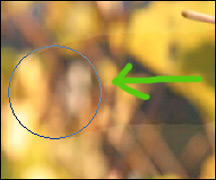
4. To Darken Areas: with the color black carefully stroke your paintbrush on the Overlay layer that you created.
5. To Brighten Areas: with the color white carefully stroke your paintbrush on the Overlay layer that you created.
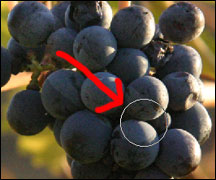
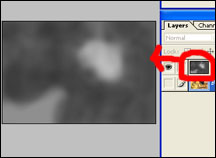
In case your curious about how much adjustment I made to this photo, this is what my overlay layer looked like when I was done. You can see how the light spot on the overlay layer helps the grapes stand out.
For different photos, the process and amount of adjustment won’t be exactly the same. But with this technique you can attract a viewers eye to any subject that you want. You can brighten shadows on people’s faces, or darken the flash bulb effect on a photo. This technique becomes almost a necessity to touching-up any photo once you get used to using it.
Like This Article?
Don't Miss The Next One!
Join over 100,000 photographers of all experience levels who receive our free photography tips and articles to stay current:





Leave a Reply