Good photography depends far more on skill than it does gear. Good cameras don’t guarantee great photographs, and several professional photographers have been known to shoot with disposable cameras. The secret to great photography is rooted in having a solid understanding of the technical elements of photographs and how they interact with one another.
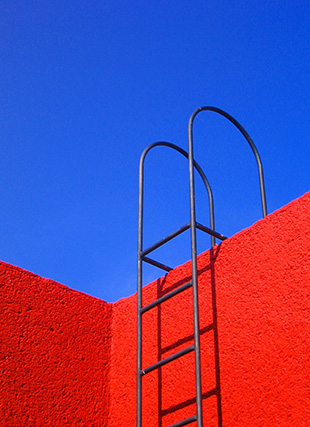
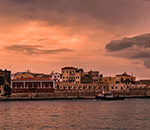
photo by Arantxa
Composition, contrast, color balance, depth of field—all of these things combined are what make a photograph unique, and without an understanding of each you may find that your work suffers.
With that in mind, here is a comprehensive breakdown of one of these elements, contrast.
What is Contrast?
Contrast is the range of difference between different tones in a photograph. In black and white photography, contrast describes the difference between the darkest and lightest tones, but it also defines the grayscale. In color photography, contrast applies to how sharply colors stand out from one another.
How to Control Contrast
There are several ways to control the contrast of your images. The easiest way is to import your pictures into a digital photo editor and use the contrast button to adjust the level of contrast until you get the look you want. In the darkroom, you can use filters in your enlarger to increase the level of contrast in any image; as the number of the filter increases, so does the contrast. Controlling contrast is a bit trickier in-camera and depends heavily on lighting conditions, lens filters, and your exposure time. It’s usually a good idea to shoot with a little caution and opt for less contrast than more, since you can always increase the contrast later without losing quality.
A Good Quality of Contrast
Although there is much debate on what is “just right” in terms of contrast, you want your tones to go from dark to very bright with every color in between shown on the photograph. This can be best seen in black and white photographs as you want true black, true white and every shade in between. Essentially, good contrast is whatever level allows your colors to “pop” or your subjects to be well defined.
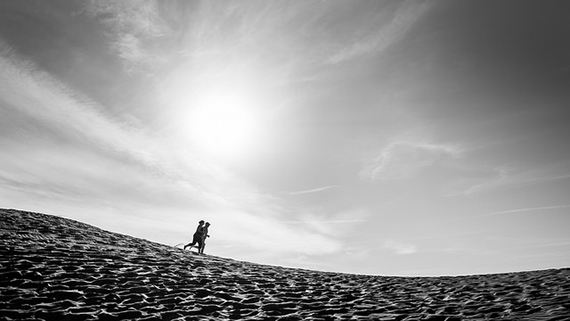
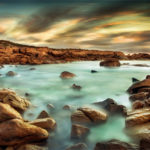
photo by Giuseppe Milo
Fine-Tuning
Dodging and burning photographs is a classic trick in the photographer’s toolbox. This is a method for adjusting the contrast of individual parts of an image, as opposed to the entire thing. This helps in modifying the composition (like darkening the background) and highlighting the subject (like lightening their eyes) or improving the overall appearance of the image.
In the darkroom, photographers often create complex stencils that are placed on top of their blank photo paper. Stencils give you greater control over the contrast of your entire photograph by letting certain areas of your picture be exposed for different periods of time than others. Luckily enough, this process is much easier in most photo editors as different areas can be easily burned or dodged by using the mouse.
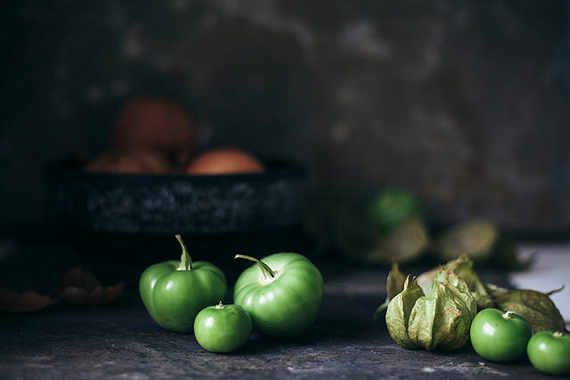
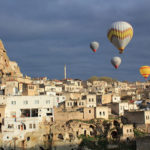
photo by Tami Seymour
Photos that are “dodged” have areas where they’re exposed to light for shorter periods of time, or when it comes to digital editing they’re areas that are lightened and lose contrast. Places in your picture that are “burned” will have higher contrast and the grain will be darker.
It can be challenging to control the contrast of your picture but with a little practice of dodging and burning it will soon become a whole lot easier. A good amount of contrast helps add to the story of the photograph and makes the important things stand out.
When shooting, always try to imagine what your contrast options will be before you take a shot, and go wild when you finally make it to the computer or darkroom. As with everything, practice makes perfect!
About the Author:
Autumn Lockwood is a writer for Your Picture Frames. They have a selection of wall picture frames in a variety of styles, sizes and colors.
Like This Article?
Don't Miss The Next One!
Join over 100,000 photographers of all experience levels who receive our free photography tips and articles to stay current:


Yes, control a contrast is a hard skill for designer, and 1 years ago i also struggle with that. but i think its improve day by day and its all about experience. you need to practice more about your tools and need to see lot of quality image everyday.
Glad to see this post and very much inspiring as well, for the photographer. Thanks for sharing the concept with us. Take a bow!
I am very much inspired. Your tutorial helps me as like my mentor, i am looking forward to more informative article form you.
Good Tips. Thanks for sharing.
I really appreciate reading such kinds of articles. Thanks for sharing such informative articles.
Wonderful picture, Thank you so much.
Great Post, Thanks for Sharing this useful Information.
Photography is such an extensive topic and I never even knew so much thought could be put into photos.
Good tips for photography contrasting. I will implement your tips when I take my next shot thanks for sharing. keep up the good work.
That was a great and comprehensive article…all the tips enumerated and explained will be helpful for those who are wise enough to tap from it. Any business nowadays without social media signals and presence may not make it to the outermost, and investment too is part of the key to success in business. Keep up the good work.
Very useful. Contrast not always easy to get it right. Thanks
Great points! For sure it’ll take a some time and a lot of practice to master contrast in taking pictures. Photo editing by using apps or softwares like Lightroom I think will help a lot later on.
Thanks for giving hard work and afford what you give in this post. really helpful for beginner as like me.
Thanks for all the great tips!
I have been successful with contrast with my B&Ws. In part from John Loengars during his work shop in Rockport, ME. Mainly dodging and burning. I never knew there were filters for enlargers. yor statements regarding both B&W and colour were quite informative. I would like o posses material on the subject.
Adendum: 2 other purchases I have maid witih Picture Correct. please help me fns where to find them.
As a pro I have found your quite informative and useful. My best, JD Lincoln
Good tips about photoshop contrast. Thanks
Hey,
Really helpful of you photography contrast tips. Because it’s most important to capture a good looking photo. As a photographer, I appreciate your tips using contrast.
Good tips about photoshop contrast. Thanks
I have just liked the tips of using darkroom to control contrast. It was really easy and helpful. Thanks.
Excellent photography and its editing, contrast is very important for photography and for photo editing too. Contrast works best for sharpening, make the tone of the image is great. Basically as a tutorial this post is really master piece of editing. For Photoshop people this is really a nice tutorial. For beginners this is really a nice tutorial, even for professionals this post can be very helpful. Images in the post make it more easier to understand.
Every section in here is clear to understand, for novice people of graphic design this is an exceptional post which can be useful for the work. Very nice piece of post, really helped a lot.
This is an amazing post you have shared with us . So much thanks for this post .
Great tips and tricks for using contrast in Photography work. Thanks for sharing the resources.
Nice works.
Many thanks for “Fin Tuning” Some times it is worthy when I’m going to shot against the sun…