Have you ever noticed how sometimes you’ve taken a shot and there’s a weird color coming out in it? A yellow, blue, perhaps orange look to the photo?
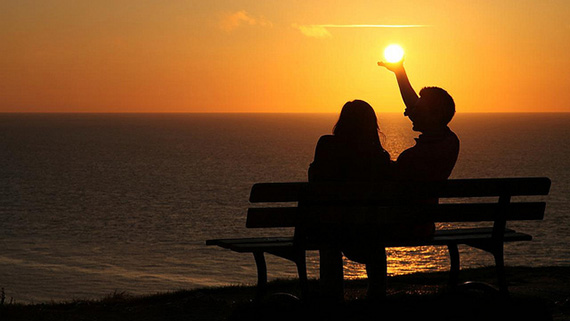
photo by photophilde
We all have, and when we first start out in our photographic journey it can be a bit of a struggle to understand why this is happening.
Enter white balance!
Different light sources add different color casts to your images even though to the naked eye they appear ‘normal’. Fluorescent lighting is actually blue in color, tungsten bulbs add yellow.
The naked eye and the brain behind it are smart enough to discern these differences and therefore to us a white paper is a white paper… is a white paper!
The ‘brain’ in your camera is not quite that smart and won’t normalize the range of color temperatures that we can.
The white balance settings in your camera are here to help as this can have a tremendous impact on the quality of the images that you take as you can take control of your camera and tell it to warm up or cool down the image.
Look up the settings for your individual camera’s white balance mode. You can do this manually or—in most cases these days—use preset white balance settings.
Basic White Balance Settings
Below are some basic white balance settings that most cameras have:
Auto. This is where the camera makes a best guess on a shot by shot basis. You’ll find it works in many situations but it’s worth venturing out of it for trickier lighting.
Tungsten. This setting will generally cool down the colors in your photos.
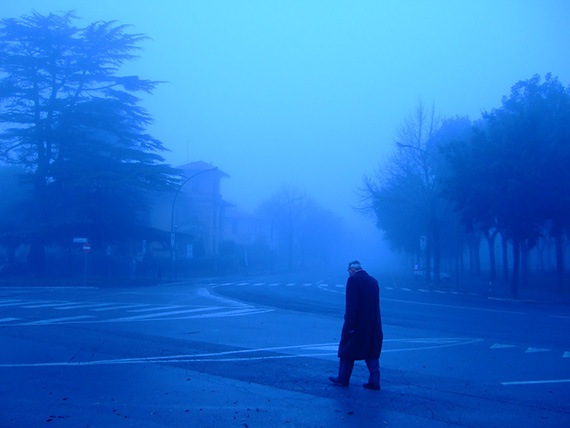
tungsten, photo by Oleg Sidorenko
Fluorescent. This setting will generally warm up the colors in your photos.
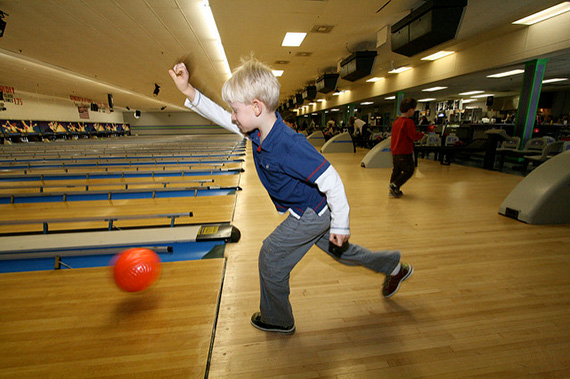
fluorescent with flash, photo by Ken
Daylight/Sunny. This tends to keep the white balance in a kind of ‘neutral’ state.
Cloudy. This setting generally warms things up a touch more than ‘daylight’ mode.
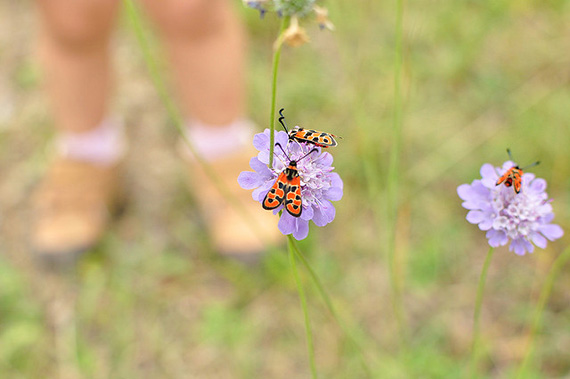
cloudy, photo by Frédérique Voisin-Demery
Flash. The flash of a camera can be quite a cool light so in Flash WB mode you’ll find it warms up your shots a touch.
Shade. Shade will warm things up a touch.
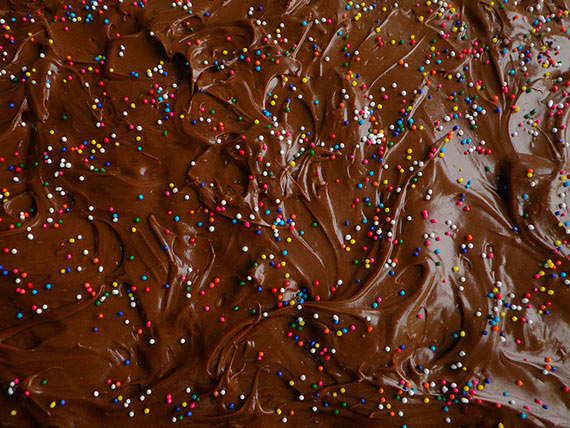
shade, photo by Daniel Oines
Manually Adjusting White Balance
You can actually get pretty decent shots by using the above preset values. You can however, learn how to do this manually.
The basics behind adjusting things manually will remain the same even though the way you do it will vary from camera to camera.
In essence, you will set up a reference point for your camera (what white/grey actually is) and your camera will know that this is white.
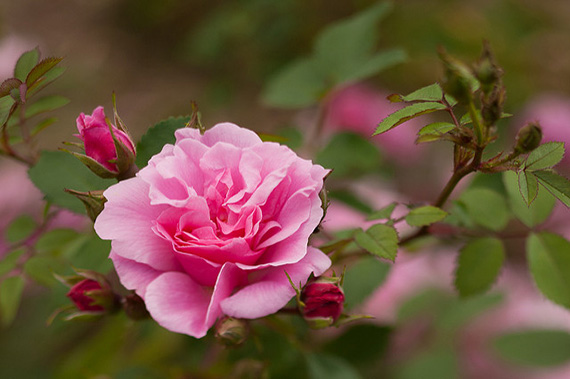
custom, photo by Kain Kalju
You can then manually adjust the warmth factor up or down appropriately dependent on the conditions under which you are shooting!
As with everything else in photography this is one of the basics. Once you actually understand how to warm or cool an image, feel free to go nuts on the settings to get whatever effect you’re actually after.
After all, just because an image is correctly exposed and framed doesn’t mean it’s a correct image!
About the Author:
My crazy world has included successfully combining all the skills of an artist, photographer, designer, programmer, and marketer into one crazy life. I’m available for guest blogging, article writing, and speaking events. Follow me via my site or Instagram!
Like This Article?
Don't Miss The Next One!
Join over 100,000 photographers of all experience levels who receive our free photography tips and articles to stay current:




I too love your tips, but I have a further question about this post. When “manually adjusting white balance” what do you reference to if there is no white in what you’re trying to capture. Your example shows a rose with no true white reflection. How do you meter and set reference? I’ve always wondered about this. Helpful to this article would be the same set picture taken under all the different white balance settings in a camera and show the effect.
Keep up the good work.
Thanks a bunch for your very-helpful tips. Photography has been my hobby although i am not good in it. But your tips have provided me with new and improved knowledge on how to take the best photos.