There are a number of ways to get into macro photography ranging from inexpensive to outrageously expensive. Tough decisions to make, especially for someone who doesn’t make their living from photography.
If you decide you want to explore macro photography you have a number of options. I have listed these options starting with what I would consider to be the best equipment for the job. This doesn’t mean that buying a dedicated macro lens will always be better than extension rings but in general you will get the best results by going this way.
Important Items to Consider:
- dedicated macro lenses
- extension tubes or bellows units
- reversing rings
- close up lenses and
- macro zoom lenses
Dedicated Macro Lenses
Dedicated macro lenses are the ultimate way to go if you’re serious at all about doing this type of work. It doesn’t have to be expensive; I bought a wonderful 50mm Sigma Macro lens used for all of $120 (new about $270) and it’s tack sharp and produces amazing images. My main macro lens is a Sigma 150mm Macro, which cost a whopping $700—the best money I have ever spent. This gives you an idea about the price range available and the sky’s the limit with some highly specialized Nikon macro lenses in the $2,000 range. Why the difference in focal lengths? I’ll get to that soon in another article that I’m working on! If you’re serious about macro photography, buying a lens specifically designed for the purpose is the best way to go. The lens designs are optimized for close focusing and the lenses are also generally flat field (focus in a flat plane) producing sharper corners on flat objects such as pieces of wood or slabs of rock. Flat field may be a term that many have not heard of, and I’ll elaborate later on this as well.
Extension Tubes or Bellows Units
Extension tubes or bellows units are pieces of equipment that put space between the camera body and the lens thus allowing the lens to focus closer. They can work well with certain lenses. For instance, if you have a 50mm prime lens this might be a good option to get into macro work at an affordable cost. Extension tubes often come in sets of three of different lengths (high quality tubes tend to be sold individually) that can be used singly or combined to get the close focusing distance required.
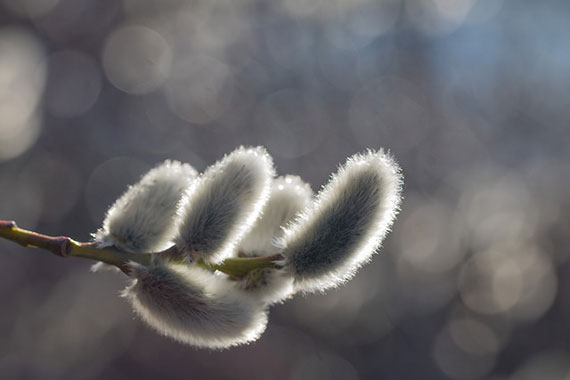
Photo by Susanne Nilsson; ISO 100, f/5.0, 1/400-second exposure.
Bellows units work on the same principle but are expandable like a “bellows” allowing a great deal of flexibility. There real downside is the expense, and they’re bulky and heavy as well. I expect most people use bellows units for studio work only, as they aren’t terribly practical in the field. One area where extension tubes really shine is for making long focal length lenses like a 300mm focus closer—great for photographing skittish dragonflies and other critters.
Close up Lenses
Close up lenses are clear “filters” that screw onto the front of your lens allowing the lens to focus closer. Quality varies from mediocre to quite acceptable depending on the quality of the filters. This is likely the least expensive way to start shooting macro but does have its drawbacks. A big factor that has to be looked at is the quality of the camera lens you will be using. Inexpensive zoom lenses will likely produce less than stellar results while high quality prime lenses can produce excellent results but none of these will produce tack sharp results like the dedicated macro lenses. The biggest advantage? As these are just fancy filters they are very light, no extra tubes or additional lenses to carry.
Reversing Rings
You don’t hear much about reversing rings anymore and I expect that’s because most people are using zoom lenses that likely wouldn’t work very well. Reversing rings allow you to mount a lens “backwards” on the camera body. When used with high quality prime lenses, the results can be stunning and if you reverse a wide angle lens often you can achieve high magnifications on the order of 2X or more. For people interested in high magnification shooting, this is often the way to go, especially if you are on a budget.
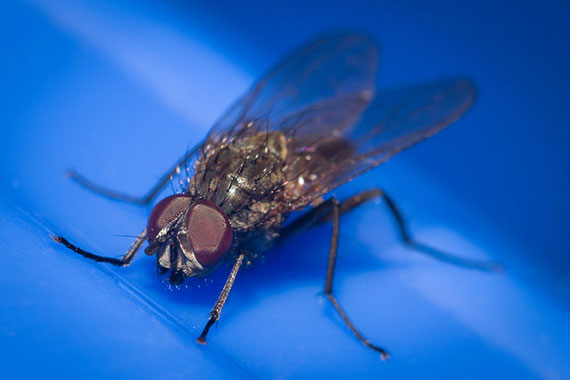
Photo by ninfaj; ISO 200, f/10.0, 1/200-second exposure.
Macro Zoom Lenses
What about the macro zoom lens that you already own? Many of the new lenses that come as part of a kit are labeled as macro zooms and while they do focus a little closer than normal they are not true macro lenses. My experience has been that most of them are very suspect in terms of sharpness, as these lenses are not designed for this sort of application. In a pinch they will work, but to get in really close to your subject one of the above options would be best.
What are you presently using? Are you pleased with the results?
About the Author:
Kevin Oke is a professional nature and travel photographer with over 30 years experience. When not traveling he writes on his blogs, Nature Travel Photography and Kevin Oke Photography. Kevin is available to answer questions about photography on his photography forum.
Like This Article?
Don't Miss The Next One!
Join over 100,000 photographers of all experience levels who receive our free photography tips and articles to stay current:
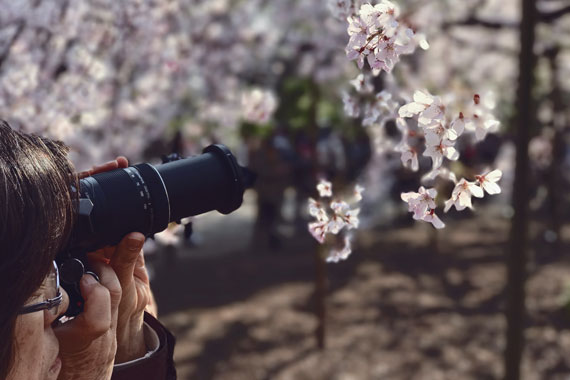


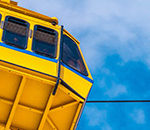
Another option for achieving macro effects with your existing lens, close-up filters mimic macro photography by enabling close focusing distances. A close-up filter screws onto the front of your lens and essentially acts as a magnifying glass.
Option for macro photography:-
1. Nikon. Nikon cameras boast the highest resolution, with 36 megapixels. The Nikon AF series is a
good option for macro photography.
2. Sony. Sony has been specializing in mirrorless cameras for longer than Canon and Nikon, and the
A-series full frame is a top mirrorless option.
3. Other brands. Micro four thirds cameras, such as the Olympus M macro shooting line, are a good
starting point for macro photography. Other brands to consider are Pentax
TRIPOD, TRPOD, TRIPOD the heaviest you can carry!
You may own the best macro lens in the world, but without a decent tripod it’s worth nothing
I am new to this and would like to know if with these lenses are you back several feet from the subject or do you have to be right up on them?
In my opinion while setting the focus it is often more convenient to slightly move the entire camera toward or from the photographed subject than to use autofocus or focus adjustment ring on the lens, that could slightly change the mapping scale of your subject and affect the composition.
In my experiences, you need to put aside your auto-focus/image stabilized lenses. I primarily use:
Extension tubes
A sturdy tri-pod
A Sturdy focus rail
This little gizmo that you attach to your Hot-shoe and has two LED lights on bendable arms which costs about $15 on Amazon.
A remote shutter release or use your timer shutter.
A lot of patience.
If depth of field is important to you, I suggest Helicon Focus/remote.
Close up & Macro photography tends to fool your camera’s auto-focus. I always shoot in live-view and look at your LCD screen rather than your view finder. My camera has a touch screen so I can move my focus point around the LCD screen with my finger. Then I magnify the screen and fine-tune my focus.
I think the biggest challenges, for me, in shooting macro, is movement and focus. If you control your camera’s movement (that’s why you should shoot in live view because your camera’s mirror is already flipped up) while shooting you will save yourself a lot of frustration.
Secondly, if your gonna spend money, make sure you purchase a sturdy tri-pod and a rock solid ball head first. Then a focus rail…then a good, solid set of extension tubes, And Please! put aside those annoying lens hoods. They will only block your coveted light when your shooting close up.
Lenses? I like to use Olympus prime OM manual lenses. Why? Olympus is a company that manufactures medical and surgical equipment so I would think that the technology would carry over to it’s OM lenses. I’m also partial to my Ronkinon Primes. They are all manual. My reasoning is that the companies are concentrating their production costs to the optics instead of installing auto-focus, auto aperture, image stabilization into their lenses.
I am sure that there will be others that disagree with me and that’s fine.
But just remember….
“Jimmies are for winners.”
A good addition later is a focusing rail that sits between your camera and tripod. This allows you to setup and then roll the entire camera/lens to / from the subject. It’s also excellent way to if you take the next step of doing focus stacking of multiple images to improve depth of focus in a controlled, repeatable manner.
Paula – the longer the focal length of a macro lens, the further away you can be when you shoot. A macro lens of 100mm, lets you shoot further away than one of 50 mm and get the same size image in the view finder. What changes when you do this is the apparent depth of field, perspective of the image / background.