In the wake of January’s Super Blue Blood Moon Eclipse, you might be wondering how so many photographers captured perfectly stunning photos of the rare astronomical event. Shooting the moon can be frustrating since it’s so deceptively difficult. Even though you clearly see a big, bright, and beautiful moon hanging in the sky, your camera seems to only see an amorphous white blob surrounded by darker blobs. However, with these three tips from David Bergman, your moon photographs can go from mediocre to positively dazzling:
1. Create an Interesting Composition
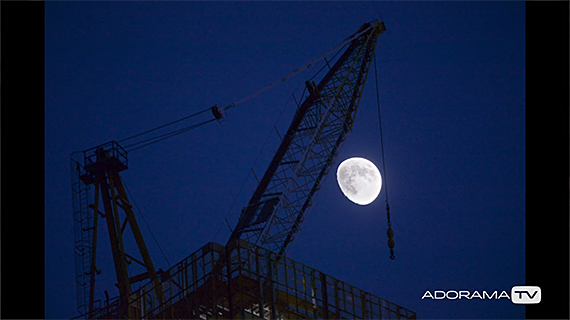
One way to take your lunar photography to the next level is by creating an interesting composition. In general, you should use something in your visual field to frame the moon. This will give the moon a sense of place in your frame and distinguish it from thousands of other photographs.
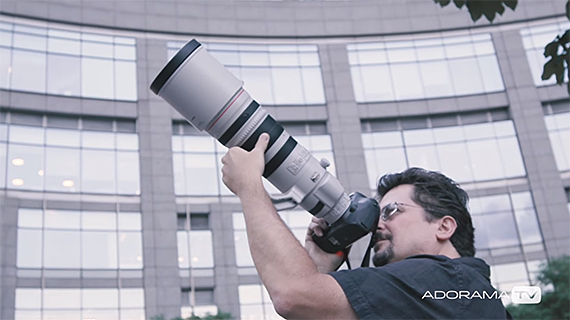
However, if you’re dead set on photographing the moon by itself, you should use the longest lens you have and shoot when there’s a bit of light left in the sky. By using your longest lens, you’ll eliminate a lot of the dark space around the moon, so you can more easily center it in your photograph. Shooting at dusk also helps enhance a photo of only the moon by adding some color to it.
2. Shoot When the Moon Isn’t Full
When the moon is full, the sun is directly reflecting onto its surface, which can obscure details. Therefore, you should aim to shoot when the moon isn’t full in order to allow the side light from the sun to bring out craters and other surface features on the moon. This goes double when you’re shooting tight; you want the only object in your photograph to be detailed and interesting. However, you can (and should) break this rule if there’s a picture-worthy astronomical event occurring during the full moon.
3. Use Manual Exposure and the Looney 11 Rule
The most important step in snapping that perfect picture of the moon is correctly adjusting your exposure settings to ensure your camera captures just the right amount of light. The stark contrast between the brightness of the moon and darkness of the sky confuses automatic exposure settings, which is why it’s nearly impossible to snap a quality picture of the moon with just a smartphone. You should, therefore, shoot on manual exposure and use the Looney 11 Rule to adjust your exposure settings.
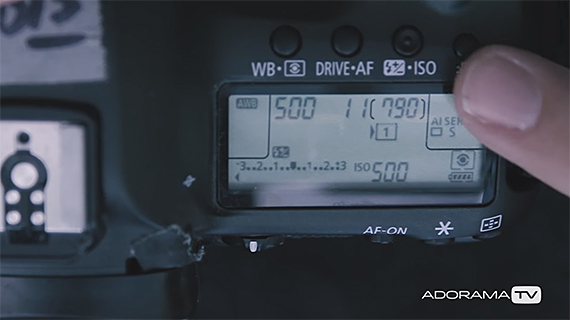
According to the Looney 11 Rule, you should set your aperture at f/11 and then match your shutter speed to your ISO setting. These settings may not always exactly match what you need, but unless you’ve invested in a light meter, they’ll give you a solid starting point from which you can adjust as needed.
With Bergman’s tips, your moon photographs can go from bland and blurry to gorgeous and crystal clear, so you’ll be more than ready for the next blue moon or lunar eclipse. Do you have any tips, tricks, or gear recommendations for shooting the moon? Share your ideas and experiences below!
Like This Article?
Don't Miss The Next One!
Join over 100,000 photographers of all experience levels who receive our free photography tips and articles to stay current:





Your video is superb.I tried many times with 70 to 300 lens but I got only a white ball.Thank you for your valuable tip.
Regarding tip number 2, photographing the moon when it is not full will not provide lighting from the side to accentuate the craters and high ground. Why? Because the moon does not rotate in relation to the sun. In other words, the same side of the moon is always toward the sun, thus the sun is always shining on the moon much like the sun shines on the earth at high noon.