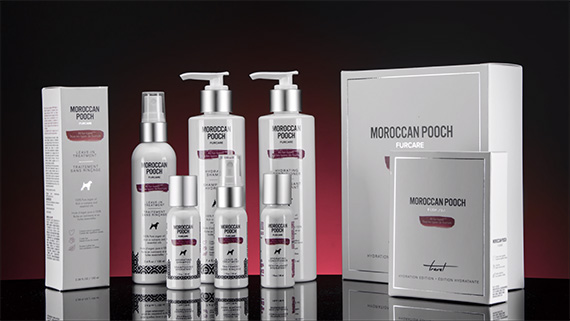
You don’t always need a myriad of lights and accessories to produce great product photos. As a budding photographer dabbling in product photography, this must sound like exciting news to you. As you will see in this video, all you need is one light and a an idea about how to use the Lighten blending mode in Photoshop. Dustin Dolby from Workphlo explains:
Dolby’s light is an 8 x 36″ stripbox armed with a 560-IV Yongnuo speedlight. He hand-holds the light while firing several exposures of the products arranged on a Plexiglass surface, moving his light to different angles each time to simulate the placement of lights in a multiple light setup. To blend shots together using the Lighten mode, stack the shots as layers in Photoshop, select all layers, and switch the blending mode to Lighten.
Dolby demonstrates the technique.
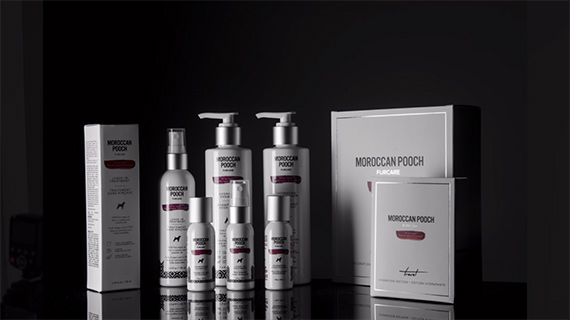
First, he holds the strip box at camera left.
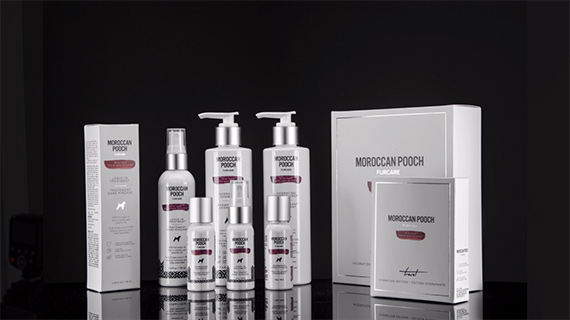
He takes another shot with the light at camera right and blends the two together.
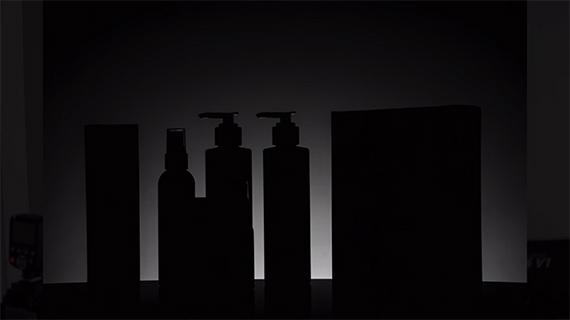
For the next exposure, he holds the light behind the products, lower to the floor and aimed at the background. This produces this nice gradient highlight in the background.
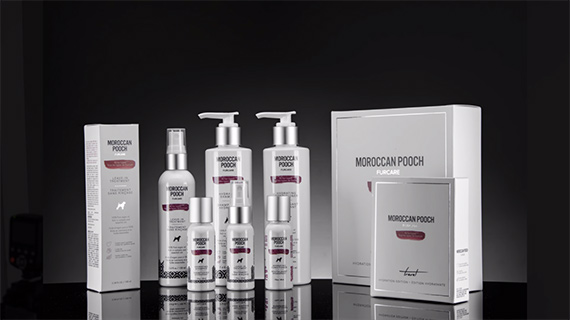
When blended with the first two shots, the photo comes out looking like it was taken with three lights.
If you want to get fancier, you can use a hue saturation adjustment to this background exposure in order to give it a color scheme that goes well with the product. It is almost like using a gel for your product shot without actually using one.
This technique isn’t necessarily something you’d use for a professional shoot, but it’s a simple way to play around with product photography without investing in expensive gear. Try it out and let us know how it goes!
Like This Article?
Don't Miss The Next One!
Join over 100,000 photographers of all experience levels who receive our free photography tips and articles to stay current:



Leave a Reply