A light meter is a handy device that helps you with calculating exposure. Some photographers point it at the camera, while others point it at the light source. So, what is the right way? Well, it depends on the look you’re after. Photographer Mark Wallace from Adorama explains how to use a light meter:
Understanding the Lumisphere
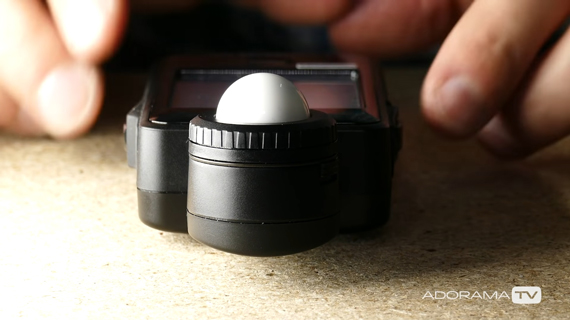
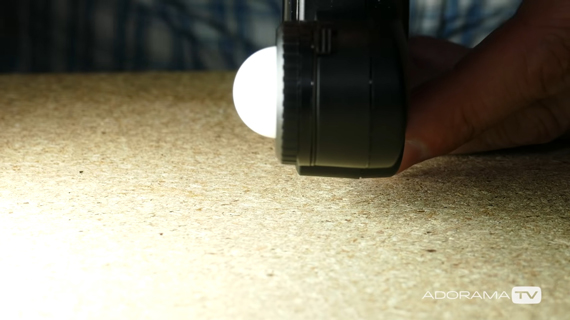
A lumisphere is the white dome on a light meter. Its function is to evaluate all the light that is coming in and then average it out.
If one side of the lumisphere is well lit and the other is not, the average exposure given by the light meter will preserve details in the highlights as well as the shadows. This would be the equivalent of pointing the light meter at the camera with lighting to the side.
But when you point the lumisphere toward the light source, it will evaluate the exposure considering the light striking it. It doesn’t consider the shadows on the other side. This is to say that you want to get a proper exposure from the light while ignoring shadows. You’re preserving the highlights.
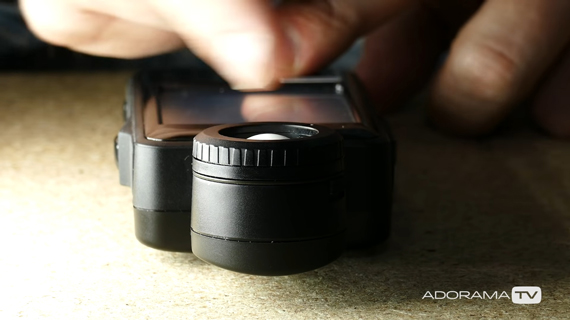
When you work with a light meter, you will notice that the lumisphere can be pushed in or out. This feature is for accuracy. When the lumisphere is out, it can catch the light coming in from reflections and other unintended sources. But when it’s pushed in, it will only consider a single source of light hitting it at its tip directly. In the latter case, it will completely ignore any kind of side lighting.
Using a Light Meter
Working with a Single Light Source
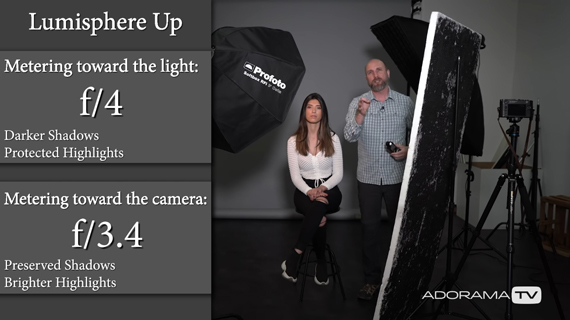
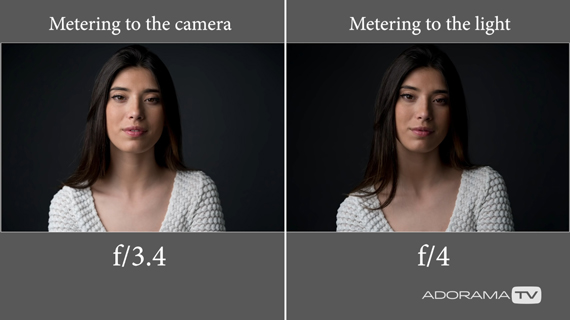
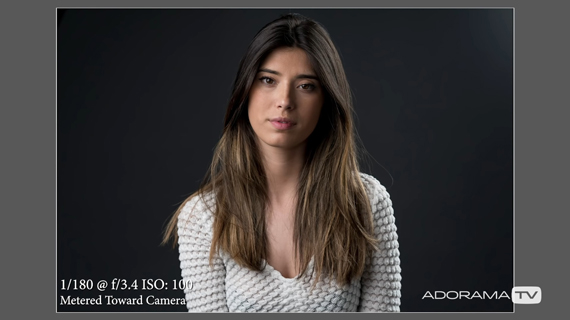
To start off, Wallace points the lumisphere at the key light with the lumisphere up, and it meters at f/4. Next, when he points it toward the camera, it meters at f/3.4, which is half a stop lower. Let’s understand what is happening here.
When the light meter is pointed at the key light, it sees that there is sufficient lighting available. It ignores the shadows, as all of the lumisphere is exposed to light and gives a recommendation for a smaller aperture of f/4. This protects the highlights.
But when the light meter is pointed toward the camera, half of the lumisphere is illuminated by the key light while the other half is on the shadow side. The meter thus evaluates exposure to preserve the shadows. It gives a recommendation for a wider aperture of f/3.4.
Working with Multiple Light Sources
Next, Wallace turns the rim light on to add some highlights to the hair and separate the subject from the background. Now that there are multiple light sources, it’s important that the light meter does not get confused. This is why Wallace prefers using the light meter with the lumisphere down in such cases.
Wallace places the light meter right where the rim light hits the hair with the lumisphere pointing directly toward the rim light and meters it at f/4 in conjunction with the key light.
Key Takeaways for Using a Light Meter
- When the lumisphere is up, it evaluates light from all around and averages that light to give a proper exposure value. When it’s down, it only evaluates the light directly hitting it.
- For multiple sources or to consider shadow values, leave the lumisphere up and point it at the camera.
- If you care for only the highlights or a single source of light, point the light meter at the light source.
- If you’re working with multiple light sources and you want to adjust the light in ratios, have the lumisphere down and point it at each of the light sources.
All of this might sound complicated at first but it gets easier as you practice. Grab a light meter and experiment!
Like This Article?
Don't Miss The Next One!
Join over 100,000 photographers of all experience levels who receive our free photography tips and articles to stay current:



Leave a Reply