Although you may have learned to capture smoke photography, it often doesn’t really come to life until you make a few finishing touches in post-processing. Depending upon what type of look you are going for will determine the exact editing options you should use. While these helpful options are far from the only options available for smoke photography, here are a few of the basics.
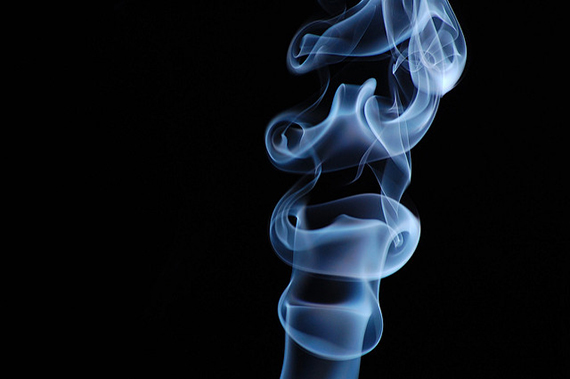
photo by Stuart Randall Saffen
Before you begin, you should always make a duplicate layer of your image. This helps when you make any mistakes or change your mind about what you want completed, by allowing you to go back to the original. Layer duplication can be completed in one of two ways:
- Either right click on the designated layer and select Duplicate Layer, or
- Click on the Menu Bar and select Layer > Duplicate Layer.
Note: Please keep in mind, with many of the below techniques you also have the option to use dodge and burn techniques to highlight specific areas within your photo. What you will want to do will all depend on what you are trying to achieve.
How to Create a White Background
Whether you prefer to edit with a white background or want to use white for a stark contrast, this easy technique can be completed in just a few clicks of a button.
Once your image is open. Use the Menu Bar and select Filter > Adjustments > Invert.
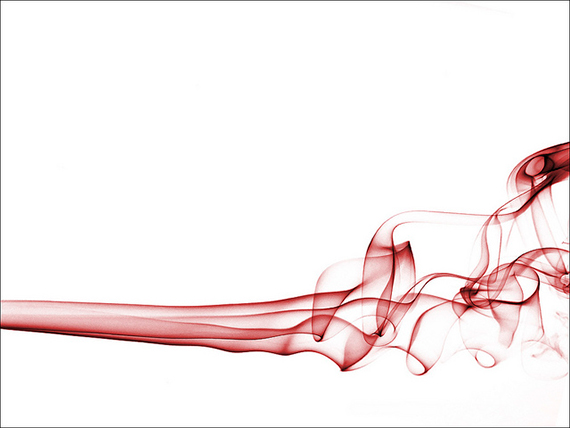
photo by butch
Note: This will change the entire image. In a typical black background setting, the background will switch to white, and the smoke will appear black unless you have changed the color settings.
How to Make Your Smoke Appear Brighter
When working to brighten your smoke, you should constantly keep an eye on your background. This will prevent you from lightening it so much the black disappears, or to prevent white specks from appearing.
- Open your Histogram by using the Menu Bar to select Layer > New Adjustment Layer > Levels
- Using your Histogram, move the white arrow to the left until you reach the desired effect.
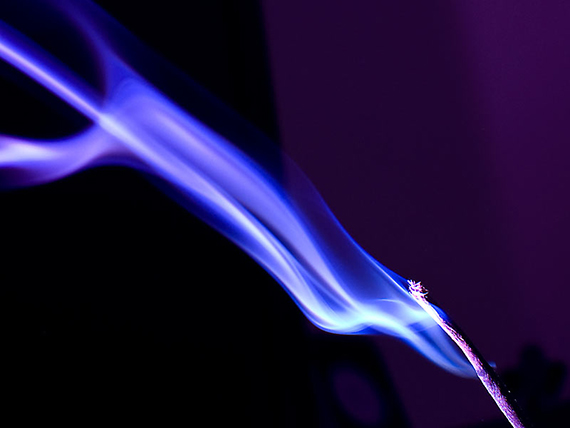
photo by Sean Naber
How to Add Color to Your Smoke
There are two common color options when working with smoke: either using a specific color or using a gradient. To add a specific color, you will need to:
- Use the Menu Bar to select Layer > New Adjustment Layer > Hue/Saturation.
- You can use the Hue slider to the left of right to change the color. (You may need to click the Colorize box.)
- Use the Saturation slider to increase or decrease the intensity of your colors. Typically the higher the Saturation level, the more intense the coloring will be.
How to Add a Gradient to Your Smoke
The fun part of working with gradients is the ability to customize it to fit your exact needs. It can be used for a specific area of smoke or for the entire image. It’s all up to you.
- Select Layer > New Fill Layer > Gradient from your Menu Bar. Once the dialog box opens you can adjust the gradient to use specific: colors, angles, styles, and more.
- To add it to your smoke, find the drop down menu in the Layers palette. The default setting on this menu is typically Normal. Scroll down and click Color (located in the section with Hue, Saturation, and Luminosity).
- If for any reasons you want to change any options on the gradient, double-click the Gradient Fill within the Layers palette and make any necessary corrections.
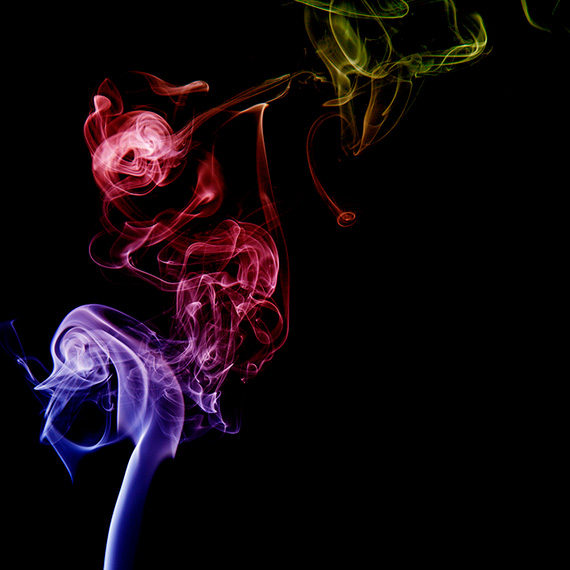
photo by kennysarmy
Like any other form of photography, it can take time to capture and edit an image that truly speaks to you. However, with a few basics techniques; you can take an image from bland to radiant or to create something truly spectacular. Most importantly, be creative and experiment with your images. Don’t settle for something just because it looks good to others; work hard and produce something you are truly proud of. No matter what your overall goal is, the workflow process is still the same; and the more you practice, the easier it will be.
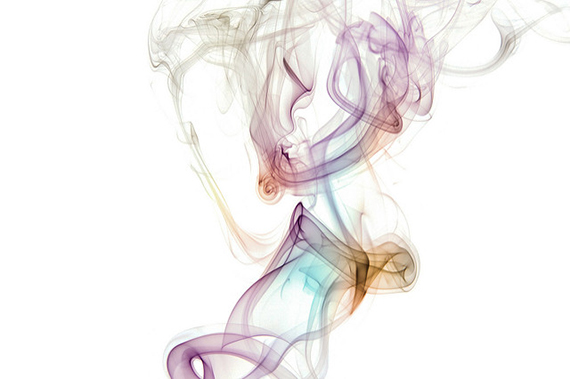
photo by Nick Olejniczak
Are you working with smoke photography? Post your favorite editing tips or a link to your favorite results in the comments below.
Like This Article?
Don't Miss The Next One!
Join over 100,000 photographers of all experience levels who receive our free photography tips and articles to stay current:



Smoke photography photoshop tutorial is very helpful and also I follow all steps to make a perfect Smoke in photoshop. and I am also a photoshop expert
I am working with photo editing services for a month. I am facing a problem. The problem is- that smoke isn’t showing up in my pictures. Would you give me the solution to my problem? Looking forward to seeing your reply. Thanks.
Very Informative blogs. Keep it up. Thank you.
Very nice blog! In this post showed the beauty of Photoshopping. It proves your a great skill of photoshop. Your creativity whit Smoke photography bears an amazing beauty of Photoshop
Thank you for sharing this valuable information with us. It’s really nice photography tutorial.
It was very helpful content. Thanks a lot for sharing this post.
Very nice blogs!!! i have to learning a lots of information for this sites…Sharing for wonderful information. Thanks for sharing this valuable information to our vision. You have posted a trust worthy blog keep sharing,
product photo retouching services in india
Specially, I like the photo by Bastiaan! :)
awesome tutorial , thank you
Awesome tutorial. i’m waiting for your next post.
Wow! Got the great resources on smoke photography on Photoshop. Thanks for sharing the valuable resources.
Great & awesome tutorial.Highly request please keep it up as though we learn easily & do not miss anything. Thanks.
awesome tutorial , thank you
I’m wondering what camera was used to capture that image. It looks very sharp and high quality.
Gteat tutorial. I wrote an article about Smoke Photography focusing more on the set-up. Check it out: http://shutterexperiments.com/category/smoke-photography/
I just follow the all steps that you made rally outstanding Jay Hoque! . It is great for me. I think it is too hard but now I feel better. No question many thanks to you.
I have posted a video on smoke photography without all the photoshop effort. It uses a video projector with colored gradient to color the smoke – less effort and more colors. Pete Rulon
http://www.youtube.com/watch?v=vp9LtcARc2E
Thank you for this tutorial. It will certainly help graphic designers to create high quality graphics.