Meteor showers can produce some of the most awe-inspiring displays in the night sky. They are created when the Earth passes through dust particles left behind by a comet or asteroid. When the dust particles hit the atmosphere at great speeds, they burn up and briefly produce spectacular fireballs in the sky.
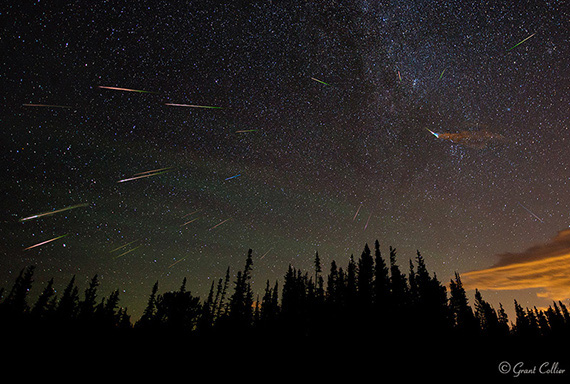
Perseids shower over Colorado, with meteors blended and realigned to radiant. 18mm, f/2.8, 30 seconds, ISO 1600. (Photo by Grant Collier)
You can browse a full list of meteor showers at the American Meteor Society’s website. Here’s what you’ll need to capture the best possible images.
Equipment
When shooting in low light, it helps to have a newer digital camera that is well rated for low-light ISO performance. It’s also preferable to use a lens with a very wide aperture that can let in a lot of light. When shooting meteors, I recommend using an ultra–wide angle lens, like a 14mm, so that you can capture a large portion of the sky. You’ll also need a sturdy tripod when shooting at night. I provide more detailed information on my recommended equipment for night photography at my website.
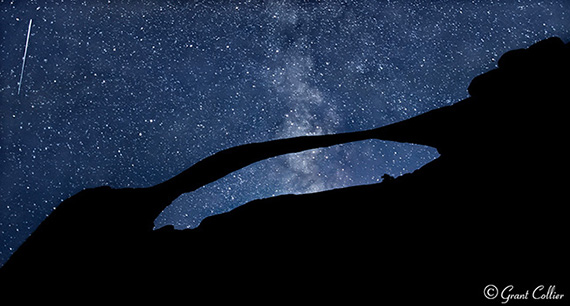
Landscape Arch, Utah, 24mm, f1.6, 20 seconds, ISO 1600. (Photo by Grant Collier)
Camera Settings
When shooting meteors, you’ll usually want to use the widest aperture on your lens, such as f2.8. You can calculate your exposure time using the rule of 500. Simply take 500 divided by the focal length of your lens to get the number of seconds to expose the shot. For example, if you shoot with a 20mm lens, take 500/20 = 25 seconds. I recommend using ISO 1600. If you use a higher ISO, you’ll risk overexposing a bright meteor. Lower ISOs, however, may leave your images underexposed.
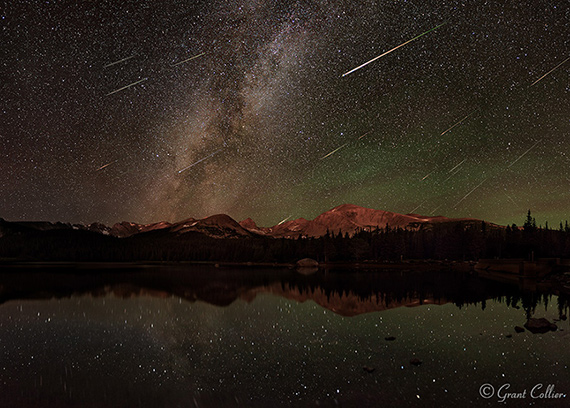
Perseids shower over Brainard Lake, Colorado, with meteors blended and realigned to radiant. 14mm, f/2.8, 30 seconds, ISO 1600. (Photo by Grant Collier)
Taking the Shots
To maximize your chances of capturing a bright meteor in an image, you should take repeated exposures throughout the night and hope that a large meteor passes through the shot during one or more of the exposures. Unless your camera has a built-in interval timer, this will require a remote shutter release or intervalometer. It may also require extra batteries, as even the best batteries will die within a few hours. If you purchase a battery grip, you can add an additional battery to your camera.
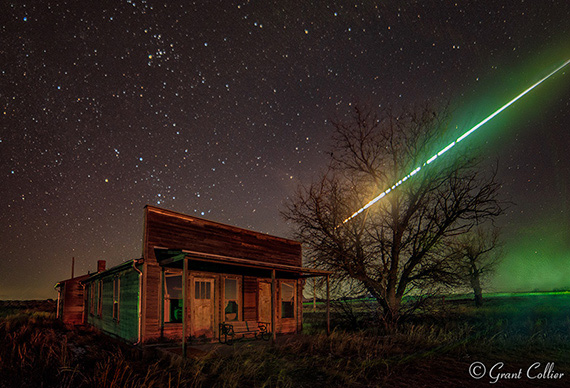
Dearfield, Colorado ghost town, 14mm, f/2.8, 25 seconds, ISO 1600. (Photo by Grant Collier)
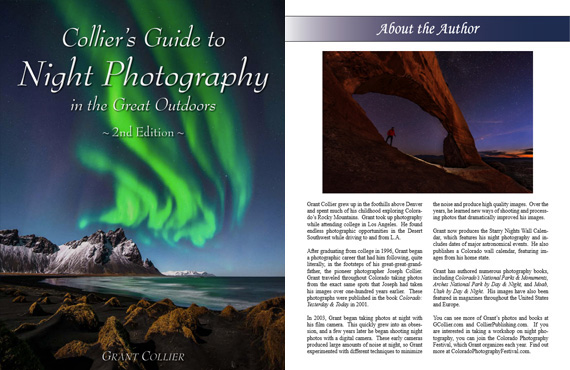
A great thing about taking repeated exposures is that you can later stack the images to increase detail in the land and sky. You can also combine the images to create star trails, or you could create a time-lapse video. All that is beyond the scope of this article, but I explain how to stack images and create star trails in my new second edition of Collier’s Guide to Night Photography (see below).
All meteors in a shower originate from a specific area of the sky known as the radiant. The meteors will not necessarily appear in this part of the sky, but they will all point back toward the radiant. Meteor showers are named after the constellation where their radiant is located. If you locate this constellation in the sky, you’ll know where all meteors will radiate from. I’ve found that pointing your camera about 90 degrees away from the radiant can maximize your chances of capturing long meteor trails. However, during very active showers, you can usually point your camera in any direction and capture a lot of meteors.
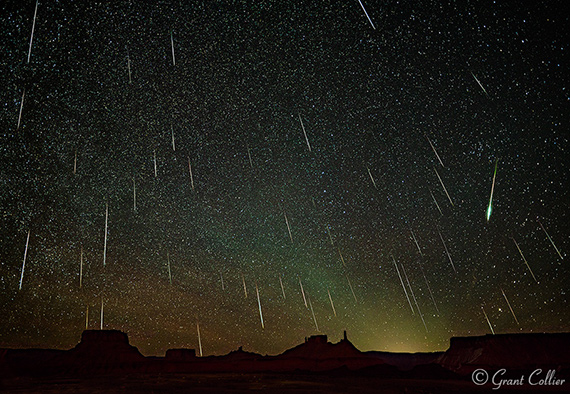
Geminids shower over Utah, with meteors blended and realigned to radiant. The misaligned meteor is from a different, smaller meteor shower. 14mm, f/2.8, 25 seconds, ISO 1600. (Photo by Grant Collier)
Blending Multiple Meteors into One Image
Even during active meteor showers, you won’t likely capture more than two meteors in a single frame. While a shot with one or two meteors can be impressive, it doesn’t quite capture the essence of a meteor shower, when hundreds of meteors can streak across the sky in a single night. Therefore, many night photographers like to combine every meteor they capture over the course of the night into a single image.
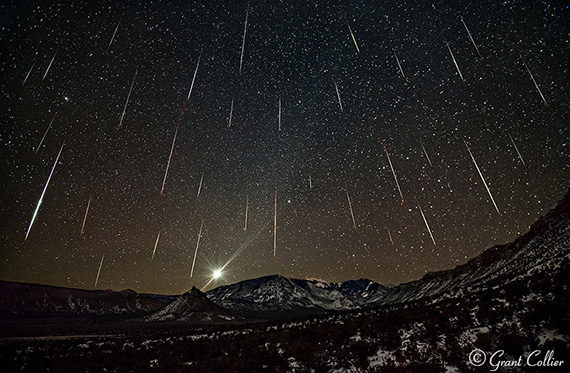
Geminids shower over La Sal Mountains, Utah, with meteors blended into one image and realigned to the radiant. 24mm, f/2.8, 15 seconds, ISO 1600. (Photo by Grant Collier)
Accomplishing this is rather straightforward for those experienced with Photoshop. Simply stack every image you took that has a meteor in it onto one file in Photoshop. Then, on all but the very bottom layer, mask out everything except for the individual meteors.
If you do this, you’ll find that not all meteors point back to the exact same spot in the sky. This is because the radiant will be moving across the sky during the course of the night. If you prefer to have all your meteors pointing back to the same spot, you can approximate where the radiant is on the bottom layer in Photoshop. Then, rotate the other layers until the meteors are all pointing back to that original spot. Alternatively, if the North Star is in your image, you can rotate each layer around the North Star until the stars in each layer line up.
Since you’ll be taking repeated exposures throughout the night, you’ll have a lot of time to relax and read a book or take a nap. But make sure to also spend plenty of time gazing up and enjoying the shower live. Photos of a meteor shower can be impressive, but nothing compares to witnessing one in person.
For Further Training on Night Photography:
In this fully-updated 2nd edition, Grant Collier sheds light on how to capture these otherworldly images by sharing secrets he has learned over the past 17 years. He explains how to take photos of the Milky Way, northern lights, meteors, eclipses, lightning, and much more.
Our readers can get a discount by using the promo code picturecorrect at checkout which ends soon.
Found here: Night Photography Guide 2nd Edition
Like This Article?
Don't Miss The Next One!
Join over 100,000 photographers of all experience levels who receive our free photography tips and articles to stay current:




Leave a Reply