This article is based on concepts from the Bad Weather Photography Guide and also the Better B&W Photography Guide if you want to dig deeper for further training.
One of my favorite locations in the entire world to take pictures is coastal Oregon.
And as sure as the sunrise and taxes, most of the time I’m there, it’s going to be raining.
Rainy days are typically not a photographer’s friend, especially when you’re out creating landscape photography.
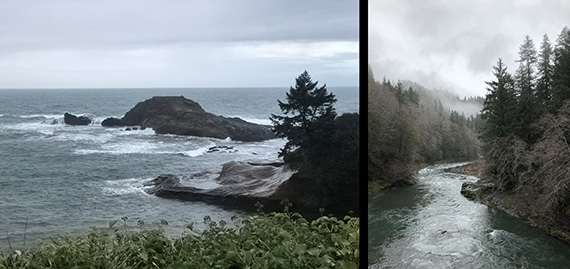
Photos by Kent DuFault
Rainy days in Oregon produce photos that look like the above two examples. They not horrible, but they’re also not very exciting.
Color landscape photography needs some lighting to make it shine—literally.
This news can be disappointing if you’ve waited six months, or a year, to photograph a location that you love.
The sunshine brings color to photography. Without the sun, colors tend to go flat as a pancake.
Here is my quick tip for photography in bad weather conditions.
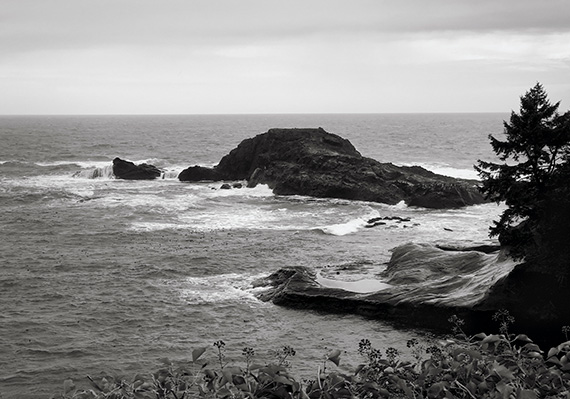
Conversion in tonality using the Kodak 400 HC film preset by Topaz Labs. (Photo by Kent DuFault)
Consider going black and white. This can be done in post-processing or at the moment of taking pictures.
Why does black and white photography work better in inclement weather?
- It relies on varying tones instead of color.
- Black and white relies heavily on the use of shapes for interest. You don’t necessarily need sunshine to highlight shapes.
- Black and white photography relies on texture, which can be easily accentuated in post-production—even when there was no directional lighting in the scene.
- Manipulating tone in a realistic manner is far easier and faster than trying to manipulate color.
Using these principles, you can create a more exciting composition when color is lacking.
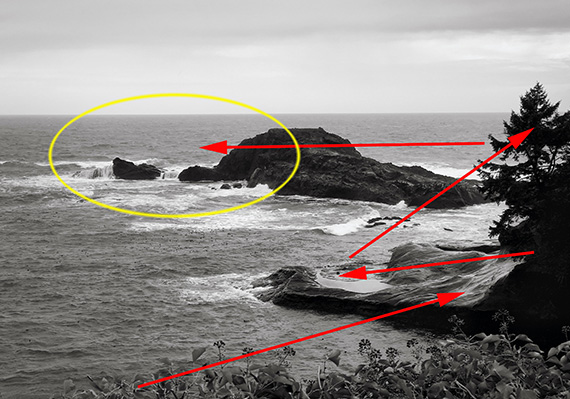
I quickly created this compositional path using the elements of black and white photography described above.
When converting to black and white in post-production, you’ll want to take a look at your frame.
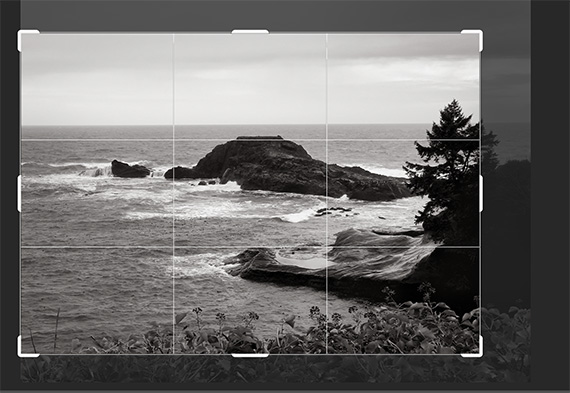
Slight crop
I often end up cropping slightly to enhance my chosen black and white path through the photo versus how I composed it in color.
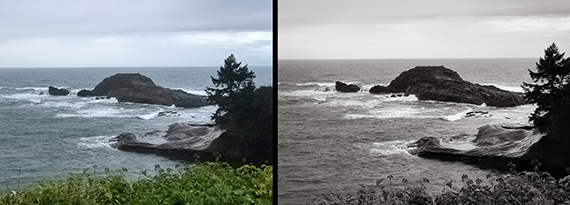
Comparison of color to b&w crop
The black and white version most assuredly provides an increased level of visual interest.
Here is another comparison:
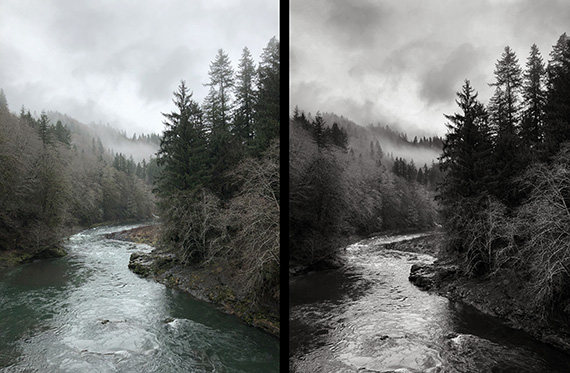
Photo by Kent DuFault
It’s easier to manipulate tone in post-production than color, especially when striving for realism.
Using an Adjustment Brush feature, I raise and lower tonal values to create my composition path within the landscape. The software that I use to accomplish this is usually Photoshop, Lightroom or Snapseed.
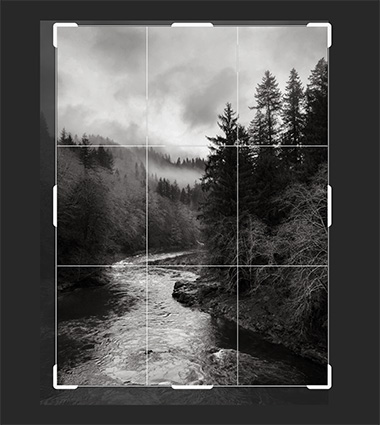
Another slight crop
Once again, a crop helps to solidify my black and white landscape composition.
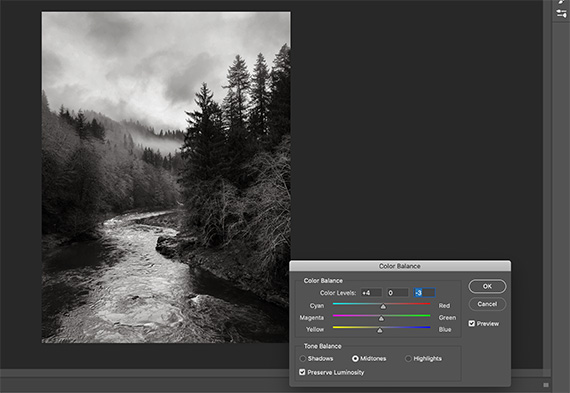
Slight warm tone
I often give my black and white landscape photos a slightly warm tone as a final step.
I’m very proud of the final shot—despite the lousy weather!
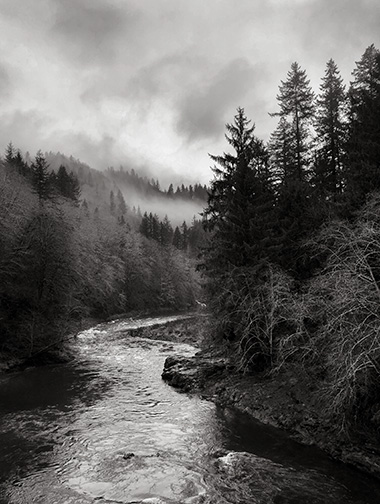
Final result despite the weather
This is a black and white conversion of the Wilson River near Tillamook, Oregon, edited first in Snapseed and then in Photoshop.
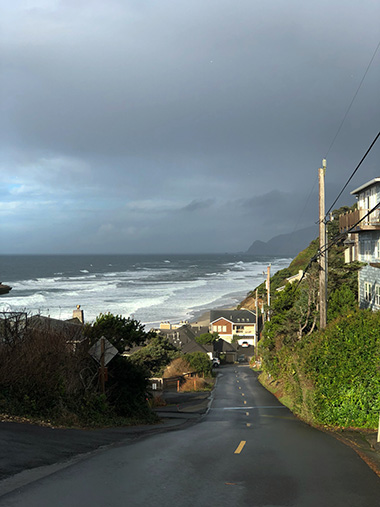
Photo by Kent DuFault
Occasionally the sun pops out in Oregon. This time it was for about 10 minutes! No need for black and white when you’ve got the sun on your side.
About the Author:
Kent DuFault is an author and photographer with over 35 years of experience. He’s currently the director of content at the online photography school, Photzy.com.
For Further Training:
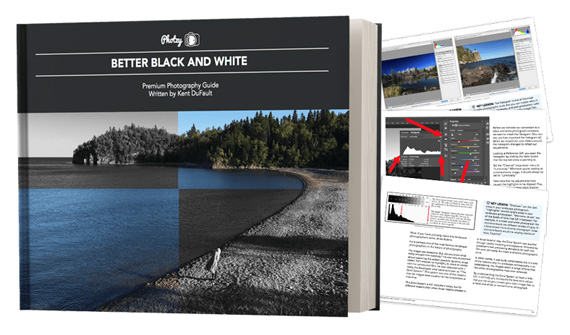
Have you ever quickly converted your shots to black & white, hoping to make them “Better”? And the result was bland to say the least? This is a very common occurrence. Knowing how to convert color to B&W with a working understanding of tone and contrast in post-processing is a very different story. This in-depth eBook is designed to cover EVERYTHING you need to know about producing your own powerful and professional B&W images.
Every step is detailed in all three programs: Photoshop, Lightroom, & Elements. But even if you don’t have these applications, there’s enough information in here to help you achieve the same results with the software you already have. It is currently 76% off if you want to check it out.
Deal ending soon: The Better Black & White Photography Guide at 76% Off
Like This Article?
Don't Miss The Next One!
Join over 100,000 photographers of all experience levels who receive our free photography tips and articles to stay current:






This article was really helpful and I most definitely agree that the black and white makes photos more interesting. I live in Oregon, and find myself with this problem an awful lot. This trick is sure to make a more interesting visual.
Awesome! I’m glad you found it helpful. Plus, how lucky are you to live in Oregon! Cheers. Kent