You’ve just returned from the 1 hour photo shop with a pack of your prints or you’re having a look on your computer monitor and what do you see? The image that you saw on your LCD isn’t as sharp as you thought. The problem? Slight movement as you pressed the shutter. How do we prevent this?
All of us have this problem to some degree some of the time. It is frustrating yet simple to correct if you just follow a few steps.
1. Holding the camera
Never hand hold a camera while using a shutter speed less that the focal length of your lens. Simply stated this means if you are using a focal length of 100mm then never shoot below 1/100th a second. The nearer you get to this limit the more chances of blur occur.
2. Using the correct shutter speed
If you are shooting movement then use a faster shutter speed. Any movement will appear blurred if a shutter speed is used that is too slow for the action. Slower speeds can be used for stationery subjects but even then be careful that it’s not your hand movement that is causing the blur and not the subject or object you are photographing.
3. Support the camera
When holding your camera, support it by holding it with both hands and tucking your arms tightly against your sides. Stand with your feet slightly apart in a comfortable position. Take a deep breath before you shoot and then release it gently and then press the shutter. If the light is not good and you need to use a slower shutter speed, brace yourself against something solid, rest your elbows on a solid surface or sit or kneel firmly on the ground.
4. Use a tripod
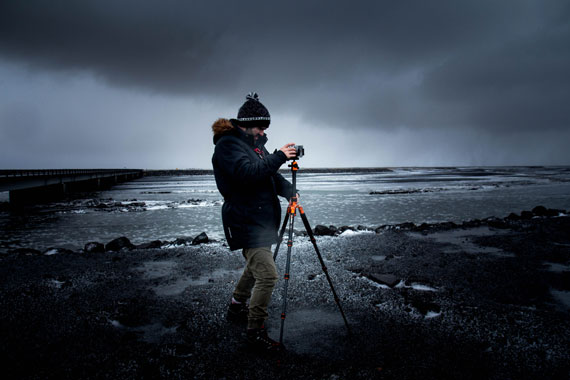
Of course the ultimate way of eliminating movement from your images is a tripod. Make sure that the one you purchase is solid and not flimsy as wind can affect it. Make sure your tripod is firmly placed so that it doesn’t fall over and damage your camera.
5. Use the self-timer or a remote control
When you are in a situation where you cannot hold your camera, place it on a solid surface or use a tripod. This still may not eliminate all movement and vibration so use the self-timer. After switching it on and pressing the shutter there will be a 10 second delay before the shutter releases. This will give time for micro-vibrations caused by pressing the button to subside. An optional extra is a remote shutter release which is connected either by a cable, radio waves or infra red. This allows you to press the shutter without causing any vibrations.
By doing these five simple steps you are guaranteed to take images that have minimal or no vibration. By exercising care each time you shoot an image you will see a dramatic improvement.
About the Author:
Wayne Turner has been teaching photography for 25 years and has written three books on photography. He has produced 21 Steps to Perfect Photos; a program of learner-based training using outcomes based education.
Like This Article?
Don't Miss The Next One!
Join over 100,000 photographers of all experience levels who receive our free photography tips and articles to stay current:


Leave a Reply