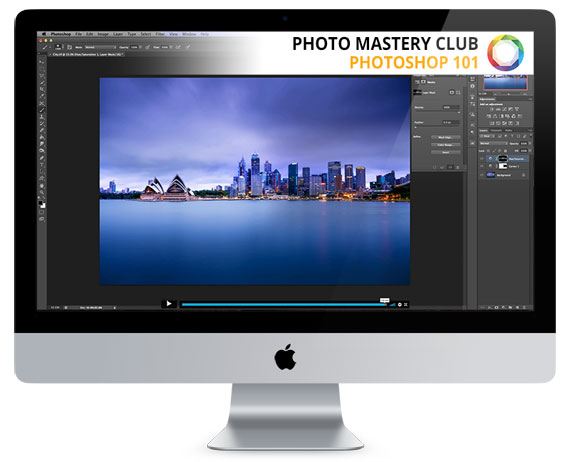
Found another resource for all the landscape photographers out there. Do you want to discover the most useful parts of Photoshop for landscapes? There are over 6.5 hours of video tutorials included in this course covering all the most important aspects of Photoshop for editing a landscape. We were able to arrange an exclusive 50% discount for our readers today for anyone interested. Deal ending soon: Photoshop 101 Course at 50% Off
Here are some of the many topics covered.
Chapter 1:
- Master Photoshops most important “blend modes” which open up a whole new way of blending layers and adjustment layers for creative effects
- Get the lowdown on Photoshops main image adjustments and how each one affects your photos in different ways so that you can pick the right tool for the job
- Find out how “filters” work in photoshop and how to use them properly in a non-destructive workflow.
- The pros and cons of the various image file formats so that you retain as much “data” in your image files as possible when importing AND saving your photos in and out of Photoshop for the highest quality image every time.
- What a “colour space” is and why choosing the right one in Photoshop’s settings is critical if you want to avoid the colours looking wrong when you put your photos online or print them.
Chapter 2:
- How to use the various selection tools Photoshop has to offer so that you can copy, cut, paste and mask parts of your image accurately
- Understand the basics of the sampling, brush, paint bucket and gradient tools
- How to use the clone stamp tool to remove objects from your photos
- Save time with the spot healing brush tool for a quick and easy alternative to the clone tool for small tasks
- The difference between the healing brush tool and the clone tool – and when to use each one for the best results when cloning
- How to seamlessly copy and blend objects from one part of your image to another easily with the Patch tool so that you don’t have to spend time “fixing the edges” of a regular clone tool job
- How to use (and fine tune) the “content aware move” tool and tap into some of Photoshops cleverest functionality
- How to use the dodge and burn tools to effectively alter how people view your shot and where they look first.
Chapter 3:
- How to use the levels and curves adjustment layers to fine tune and tweak the colour and contrast in your images to make them pop
- How to use the vibrance, hue/saturation and colour balance adjustment layers for realistic or creative effects
- How to use the black and white adjustment layer to create great-looking black and white conversions PLUS a cool way to use the black-and-white layer to adjust your colour images
- Find out which of the adjustment layers you DON’T need to waste your time on
Chapter 4:
- How to use the levels and curves adjustment layers to fine tune and tweak the colour and contrast in your images to make them pop
- Learn how to use the filters in Photoshop’s “blur gallery” so that you can create all kinds of different effects, from realistic depth of field style blurring, to pseudo-tilt-shift effects and more
- Find out which of the sharpening filters I recommend using for your finished images to give the best and most eye-popping results.
- Learn how to use the High Pass filter to increase detail in selective parts of your photos without affecting the rest.
- How to retain ultimate control when fixing lens distortion in your photos using the “adaptive wide angle” filter (great also for fixing badly distorted stitched panoramic images)
- Learn his favourite way of applying noise reduction to photos for smoothest results
Updated For Photoshop CC 2021:
- Make the most of Photoshop’s brand new Super Resolution feature that promises to DOUBLE your RAW files resolution whilst IMPROVING image quality! It’s a big claim by Adobe, but Steve thinks they have delivered on it!
- How to use Photoshop’s automatic sky replacement tool.
- What are “quick actions” in Photoshop and how do they speed up your workflow?
- Learn about Photoshops incredibly powerful “Neural Filters” and how to use them for one-click effects that were never previously possible
- Photoshop’s “Content Aware Fill” functionality has changed! Find out how to use it now.
- Previous PS version updates are also covered in the Extras chapter, where we dive into the “Select And Mask” work area, Select Subject, PS’s new Upscaling algorithm, HEIC file format compatibility (amazingly awesome for those of us with dual-camera cell-phones!), and more!
Chapter Zero
There’s also “Chapter Zero”, which is what sparked the idea for this whole course in the first place.
You can watch this entire chapter zero video here to get a great idea of the kind of pace and level at which the rest of the videos are going.
Steve’s Promise to His Students:
“After you’ve been through and watched all of his Photoshop 101 videos, and at the end of the day if you’re not feeling 10x more confident in your abilities to put Photoshop to work and create better-looking photos than ever before (which is all we really want, right?) – then just let him know within 2 months time and he will personally rush you a full refund for everything you’ve invested in this course… AND of course you get to keep all the videos as his gift to you for trusting him with your Photoshop education.”
Deal ending soon: The Photoshop 101 Course at 50% Off
Like This Article?
Don't Miss The Next One!
Join over 100,000 photographers of all experience levels who receive our free photography tips and articles to stay current:


