As photographers increasingly rely on Adobe’s raw editors, it’s crucial to master the multitude of features available within these powerful tools. Matt Kloskowski’s latest video tutorial sheds light on five lesser-known tips that can streamline your photo editing workflow in Lightroom and Camera Raw. Here are the key takeaways:
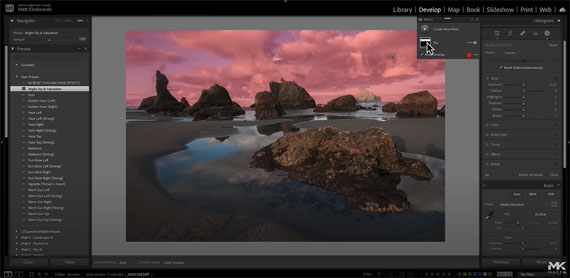
Solo Mode for Masking Panels: The updated Lightroom Classic separates different sections within the masking tool, which can become cluttered. Right-clicking and selecting ‘Solo Mode’ within the masking panels allows you to focus on one panel at a time, reducing screen clutter and improving efficiency.
Global Amount Adjustment: This feature is a game-changer for revisiting edits. With an ‘Amount’ adjustment at the top of your masks, you can collectively increase or decrease the intensity of all adjustments made to a particular area, such as the sky, without tweaking each setting individually.
Reset Adjustment Panels: If you find yourself needing to reset adjustments made within a specific panel, hold down the Option (Mac) or Alt (PC) key and click ‘Reset’ at the top of the panel. This resets all adjustments within that panel to their default states, saving time and clicks.
Subtractive Masking with AI: When brushing adjustments onto an image, you can now subtract the effect from certain areas with precision. For instance, if you enhance the rocks in a landscape but inadvertently affect the sky, simply use the ‘Subtract’ feature and select ‘Sky’ to remove the adjustments from the unwanted area.
Presettable AI Masks: AI masks, such as ‘Select Sky’ or ‘Select Subject’, can be saved as presets. When applied to a new image, the AI adapts the mask to the new photo’s specific conditions, allowing for quick and consistent adjustments across different images.
Incorporating these tips into your editing process can dramatically improve your workflow, giving you more time to focus on the creative aspects of photography. Whether you’re fine-tuning a previous edit or applying complex adjustments to multiple photos, these tricks ensure your Lightroom and Camera Raw experience is more efficient and intuitive.
For further training: The Photoshop System
Like This Article?
Don't Miss The Next One!
Join over 100,000 photographers of all experience levels who receive our free photography tips and articles to stay current:


Leave a Reply