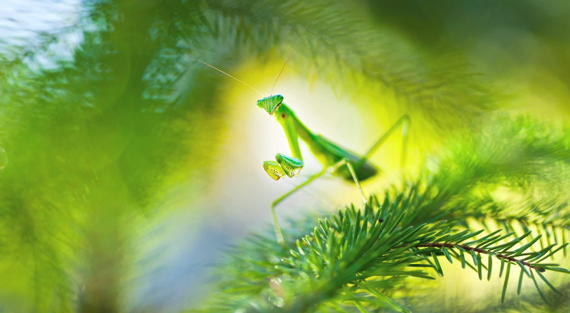
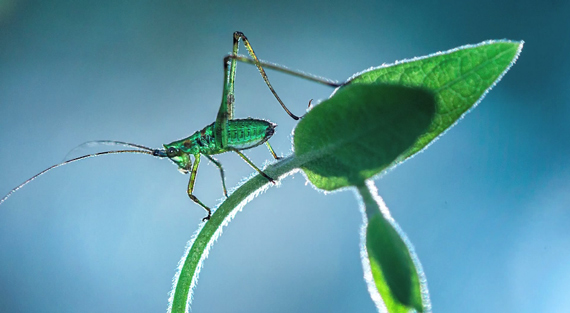
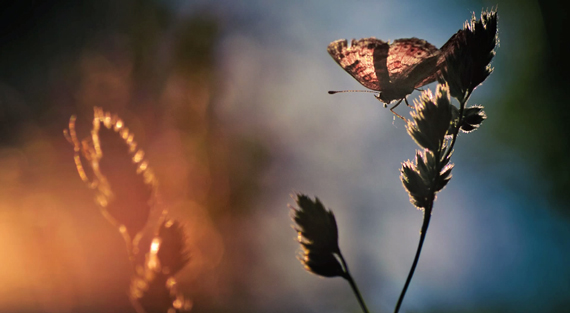
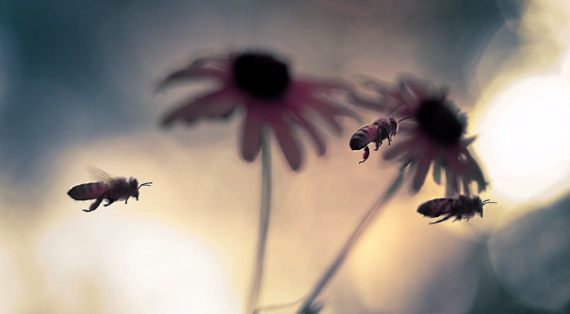
Macro photography is one of the most exciting photographic genres. Unlike, say, travel photography, where everybody and their brother has a decent picture of the Eiffel Tower, a macro lens allows photographers to explore the details of miniature worlds that normally go unnoticed by the human eye, offering never-before-seen perspectives.
Michigan-based photographer Rick Lieder shares five expert tips for great macro photography in the following video:
“What I like about macro photography is the challenge. I like to challenge myself doing something difficult, maybe something that no one’s ever done before—or seen.”
Lieder demonstrates his techniques by photographing insects outdoors in a nature park on a rainy day, showing that you can get great results even in less-than-ideal weather conditions.
He offers several practical tips for getting great results when starting out with macro photography:
1. Know the Tools of the Trade
Capturing life-size or larger-than-life images of small objects requires a true macro lens. Lieder uses Tamron 90mm and 180mm macro lenses. Also, achieving clear, sharp pictures at high levels of magnification requires stability, so a tripod is a must.
2. Get on the Same Level
Getting on the same level as your subject allows viewers of your photograph to really feel immersed in the scene, plus it gives you more background options (other than just the ground, which you’re stuck with when shooting from above). To achieve this approach, it helps to have a tripod that can get as low to the ground as possible.
3. Find Contrast
Contrast makes any picture more interesting, whether it’s contrasting colors, light and dark shades, or even lighting style—Lieder recommends side- or back-lighting to set off your subject.
4. Use Manual Focus
When using a macro lens, your depth of focus is sometimes paper-thin. Since auto-focus can’t read your mind or sense your creative vision for the photograph, using manual focus is your best bet for precise focusing.
5. Be Patient
Macro photography is an art that can’t be rushed—sometimes you have to wait for your subject to get into the right position or the lighting to be just right. So be prepared to be patient!
“I can spend a lot of time—hours—chasing a small subject that’s uncooperative, under lighting conditions that are very difficult. Most of the time it doesn’t work. When it does work, it’s a great feeling.”
Like This Article?
Don't Miss The Next One!
Join over 100,000 photographers of all experience levels who receive our free photography tips and articles to stay current:


They won’t be able to say what eye piece is that because they didn’t produce the video. They simply picked it up from youtube and slapped a few words and voila! A higher form of plagiarism. Go to the original youtube video and ask the content creator there.
Search Amazon for “camera lcd magnifier” for several options of the LCD magnifier that he is using.
What is the brand of the shade eye piece? I didn’t see the answer to Mitch H. question.
Thanks for the tips. Some fine images provided as examples. I am intrigued by the shade/eyepiece you have for shooting in Liveview mode. Can you point us to it, please? Thanks again!