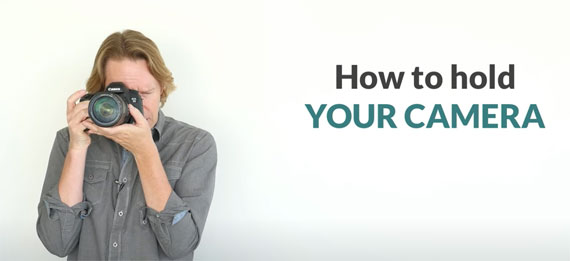
In this short video, professional photographer Phil Steele from Steeletraining demonstrates how to properly hold your camera to minimize camera shake and get sharp images:
Steele starts by cautioning against some of the common mistakes he sees people make when holding their cameras. Holding the camera too far away from your body or not supporting the weight of the camera properly can both lead to camera shake and result in blurry images.
To properly hold the camera, Steele advises using your left hand to support the weight of the camera by holding it under the lens barrel. Your right hand should grip the camera’s handle with your index finger resting on the shutter release button. Steele suggests bringing your elbows in against your body to provide a stable foundation, and then pressing the camera up against your face to create a third point of contact. This tripod-like structure of your elbows, face, and left hand helps to minimize camera shake and results in sharper images.

When taking vertical shots, Steele recommends rotating the camera 90 degrees while keeping your left hand under the lens to continue supporting the weight. Your right elbow can tuck in against your body, or you can let it wing out if that feels more comfortable.
Finally, to minimize camera shake even further, Steele suggests holding your breath for a moment as you slowly squeeze the shutter button. This helps keep your body as still as possible while taking the shot.
In conclusion, properly holding your camera is an important part of getting sharp, clear images. By following Steele’s advice to use your left hand to support the weight, bring your elbows in against your body, and press the camera up against your face, you can help to minimize camera shake and capture great photos.
For further training: Understanding Your Camera Course
Like This Article?
Don't Miss The Next One!
Join over 100,000 photographers of all experience levels who receive our free photography tips and articles to stay current:


