Cameras today cater to mass consumers and offer fully automatic, semi-automatic, and manual shooting modes. As someone who is just starting out, you may be overwhelmed by the choices. Photographer Tony Northrup goes through all the modes to help you understand what each one does:

Program and Auto Mode
Use these modes if you’re just starting out and have no idea about camera settings. Program mode (P) and Auto mode help you by doing all the thinking related to exposure for you. All you need to do is think about your composition and then fire the shutter button. This allows you to focus more on the creative side of photography and less on the technical aspects. However, it is recommended that you get out of these modes as soon as you can.
Aperture Priority mode (A or Av)
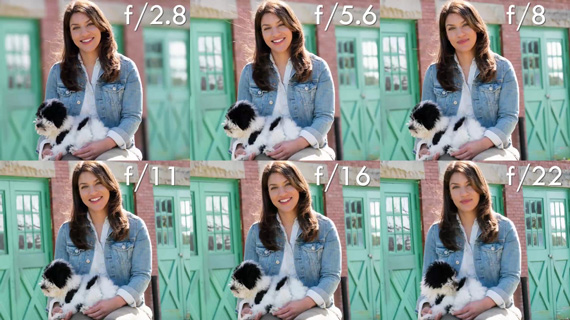
Once you’re comfortable taking photos in P and Auto mode, try shooting in aperture priority mode. Instead of deciding everything by itself, the camera allows you to choose the aperture value. By choosing a wide aperture (e.g., f/1.8), you can have more background blur in your portraits. And if you want more of the image to be sharp, you can choose a smaller aperture value (e.g., f/11).
Aperture priority is a good mode to stay in even if you are a seasoned pro. If you’re not getting the exposure as you would like in aperture priority mode, you can also use the exposure compensation feature of your camera. By having the exposure compensation toward the positive side, the images will be overexposed. And by having it toward the negative side, the images will be underexposed.
Shutter Priority Mode (S or Tv)
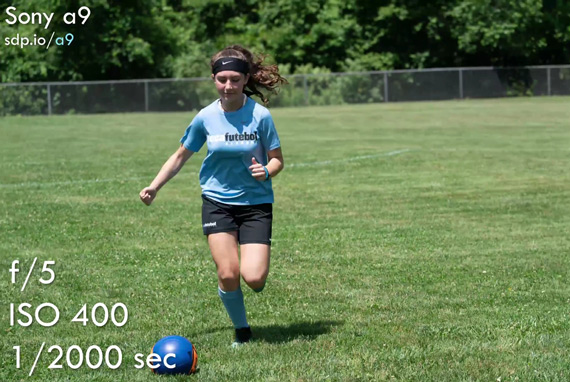
This mode comes in handy when you’re shooting something fast-paced. Think of sports and wildlife photography. Shutter priority allows you to choose the shutter speed and the camera takes care of other parameters for exposure. To make sure that the images are well exposed, you can use shutter priority mode with Auto ISO. Keep in mind that your images will turn out grainy if the camera chooses very high ISO values. In such cases, you may need to reduce your shutter speed so that the camera will opt for a lower ISO value.
Here are Northrup’s shutter speed guidelines for sports. Use them as a starting point.
- Little kids/youth sports: 1/250 second
- Middle/high school sports: 1/500 second
- Adults/professional sports: 1/1000 or 1/2000 second
Manual Mode (M)
Unlike any other modes, manual mode allows you to take control over all the parameters. You can set your own aperture, shutter speed, and ISO independently. This mode is especially important when lighting conditions are challenging or when you need to make creative decisions.
For instance, when using a camera in low light conditions, the camera will opt for shooting in high ISOs. But if you’re using manual mode and have your camera on a tripod, you can opt to use the base ISO, longer shutter speed, and aperture based on your depth of field.
Being a pro doesn’t necessarily mean that you should always stick to full manual mode. Depending on what kind of assignment you’re on, you can opt to use any of the semi-auto modes, as well. Cameras are smart these days, and they meter very well. So, go ahead and try shooting in different camera modes and see what suits you best.
Like This Article?
Don't Miss The Next One!
Join over 100,000 photographers of all experience levels who receive our free photography tips and articles to stay current:


Leave a Reply