HDR photography allows one to stretch one’s creative approach to the photographic image in ways that never before seemed possible. Like any approach, however, one must learn some basic elements of the craft before one becomes truly proficient in the art afforded by the technique. In this post I explore some basic concepts of dynamic range, contrast and EV range and how one may approach different conditions with HDR image making.

Photo by Andreas Ullrich.
Let’s begin by looking at a few scenes, the EV range likely to be found in any of the given conditions, and the dynamic range/contrast conditions likely to be found in the scene. Each bullet point below describes a scene, states the EV range and the dynamic range found in the scene. These conditions are worth committing to memory as they impact how you approach any of the scenes when shooting HDR.
- Interior with bright window light ~ 14-15 EV ~ HDR/high contrast
- Bright sun backlit subjects ~ 15-17 EV ~ HDR/high contrast
- Night scene with street lights ~ 12-13 EV ~ HDR/high contrast
- 100 watt bulb in small interior ~ 11-12 EV ~ HDR/high contrast
- Overhead sun (11:00 AM – 1:00 PM) with some shade ~ 7-9 EV ~ MDR/medium contrast
- Sunny day, side lit subject with some shade ~ 7-9 EV ~ MDR/medium contrast
- Overcast sky and shade ~ 5-7 EV ~ LDR/low contrast
- Overcast sky with sky excluded ~ 3 EV ~ LDR/low contrast

Photo by Flickr user novofotoo.
Let’s generate some general ideas from the list above:
- High contrast scenes all have significant separation of light source and shadow.
- Point based light such as a bare light bulb or street lights create contrast.
- Point your camera directly at a light source and you have a high contrast condition
- If your light source is to the side of your subject you and there is some reflection bouncing back into the scene from a direction opposite your light source, you are in a medium contrast condition.
- In conditions where shadows are limited or non-existent, you are in a low contrast situation.
- Dynamic range is correlated with contrast.

Photo by Carlos M. M.
It is also important to understand that the human eye sees two kinds of contrast: brightness and color. Brightness, however, is the only factor in determining the dynamic range of any given scene. If you want to be more or less certain about the dynamic range of any given scene and you have access to a spot meter or you have a spot meter setting in your camera, meter the brightest and the darkest area of any given scene and subtract the dark value from the bright value. The difference is the dynamic range of the scene. The higher the dynamic range number the higher the dynamic range. High dynamic range values are always greater than 11 stops. Medium dynamic range (MDR) falls between 7 and 11 stops. Low dynamic range (LDR) is always below 7 stops. Some judgment is required at the transition points.
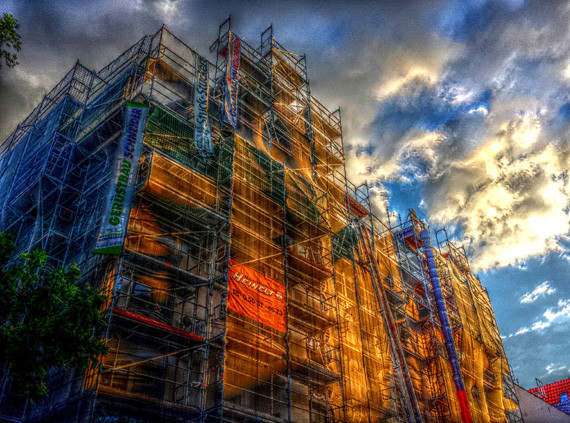
The image to the right was shot as the center image of a 5-shot 5-stop bracket used to prepare the HDR image at the beginning of this post. The sun is positioned behind the building and the sky was somewhat overcast creating a condition of flat light. When comparing the histograms of the original proper exposure and the HDR image, one can see the even spread of midtones across nearly the entire histogram of the single exposure and the concentration of the midtones clustered in the center of the HDR image. The top histogram indicates to me a flatter, medium contrast or MDR condition. The HDR corrects that condition. In the processing of the HDR tone mapped image I pushed the saturation to capture the rust on the pipe at the front of the building draining into the sewer grate near the door.
Considering the dynamic range of a scene:
- Treat reflective sources as a light source. Reflective surfaces dramatically increase the brightness of a scene. Ignore small reflections but big ones cannot be ignored.
- A dimly lit scene may be low contrast if you do not include the light source in the image
- A brightly lit scene may be low contrast if the light source is not included in the scene. Consider a cloudy sky. Shoot the sky without including the sun in the shot and you likely have a low to medium contrast scene.
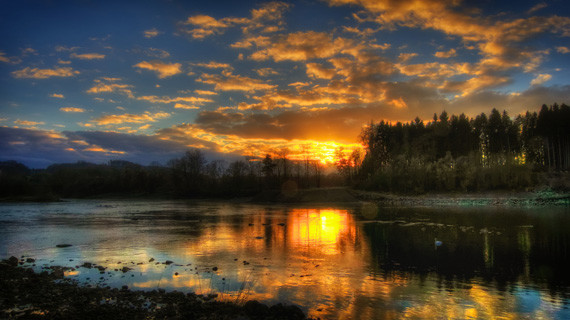
- During the 20-30 minutes prior to sunrise or after sunset contrast is relatively low unless you are shooting directly into the rising or setting sun. The same is true for the golden hours after and prior to sunrise and sunset.
- Do not try to expose for the sun’s disk. Expose for the scene and allow the sun to be blown out.

Photo by Wayne S. Grazio.
About the Author
Roger Passman is an award winning photographer located in the Fox River Valley in Northeast Illinois. He exhibits work in local galleries and regularly shows his work at juried art fairs during the Summer months. Blog post images may be seen at http://rogerpassmanphotography.net. Learn to create bold images yourself at one of Roger’s hands-on photography workshops at http://rogerpassmanphotography.com/workshops/42436.
Try the Leading HDR Photography Software:
Photomatix is the software of choice for most professional HDR photographers. Create high dynamic range photos with the look you want, from realistic to creative, using one-click presets and a large range of settings. Includes alignment of hand-held shots, powerful ghost removal tools, batch processing and more. Try Photomatix HDR on Your Photos
Like This Article?
Don't Miss The Next One!
Join over 100,000 photographers of all experience levels who receive our free photography tips and articles to stay current:


Leave a Reply