Filters speed up your workflow and give you the ability to adjust your images or fix problems without spending ages learning complex retouching procedures or having to be an expert. You may think of filters as a one-size-fits-all Instagram style addition, but Luminar 2018’s filters are about as far from that as you can get.
Luminar’s filters simplify and streamline your image editing process by adjusting your whole image in a few clicks. The beauty of the filters is that you can adjust the strength of the effect as much or little as you like, so you have total control over the image.
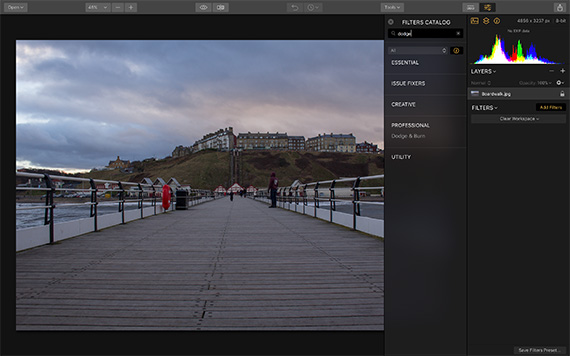
The filters in Luminar 2018 are arranged by category according to the style and effect. There are Essential, Issue Fixers, Creative, Professional, and Utility categories. Each category has filters grouped according to their uses.
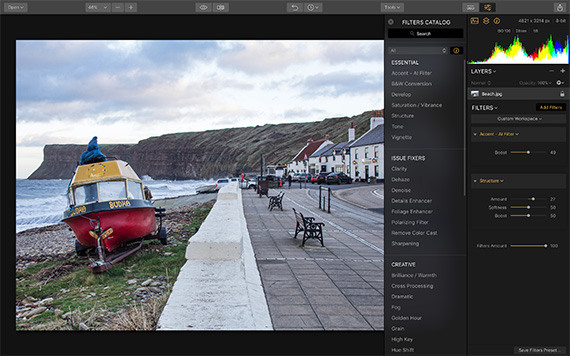
These filters are versatile, and you can add and remove them as you wish on each adjustment layer. The filters have different sliders to adjust the strength and amount of change that is applied to the image. You will also see a ‘Save Filters Preset’ button at the bottom, which allows you to save all the changes into a handy preset which you can then apply to other images.
There are many filters you can use in Luminar 2018, and we’re going to take a look at a few here.
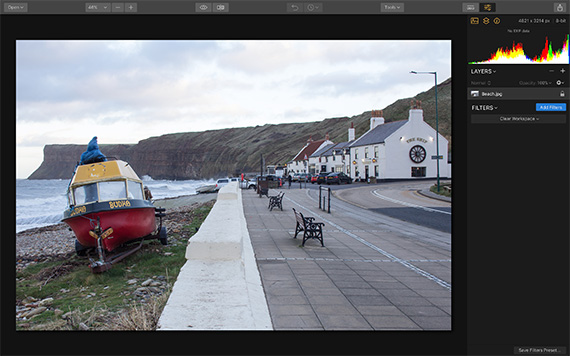
RAW Develop
Luminar 2018 gives you the ability to edit RAW files using RAW develop. It’s generally the first thing to do when you import a RAW file.
Using RAW develop, you can change exposure, contrast, shadows, highlights, whites, darks, saturation, and several others. Once you have the RAW image where you want it, you can then add more layers and filters to fine-tune it.

Before

After
Before

After
AI Accent Filter
The AI Accent filter uses cutting-edge artificial intelligence technology to automatically analyze your image and make corrections. Accent is a powerful tool and will fix issues with shadows, highlights, contrast, tone, saturation, exposure, details, and others. Just one click will deliver the changes, and if you use the boost slider, it will boost the adjustments.
These images below show the power of the Accent filter in a before and after:

Before
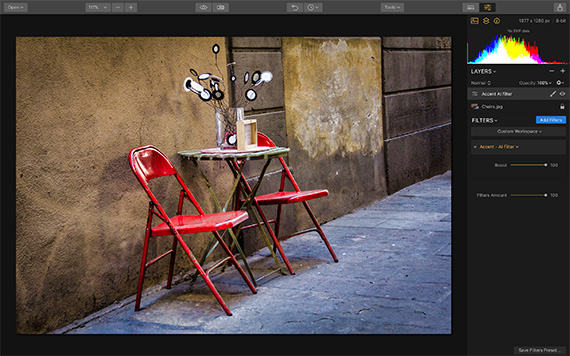
After
You can use it on any kind of image. Here is a landscape image before and after:
Before
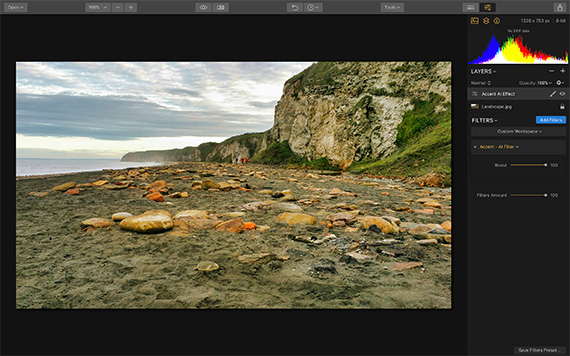
After
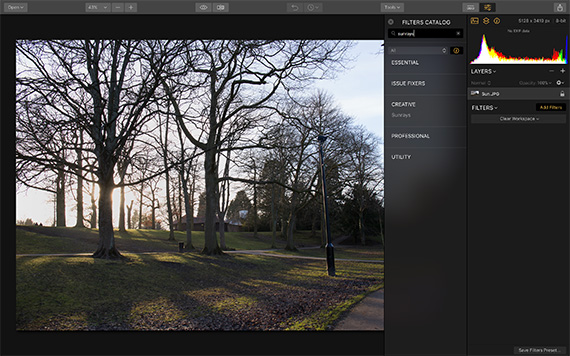
Sun Rays Filter
For the first time, you can add realistic-looking sun rays to your images, thanks to Luminar 2018 and this clever filter. You can choose to place the ‘sun’ exactly where you want in the image and adjust the warmth, length, randomness, etc. of the sun rays.
This filter is great if you have sun rays already in your image, but you want to make it a little punchier, or for brightening up an otherwise dull image. The photo below was taken at sunset, and it shows the before and after the Sun Rays filter was applied.
Before
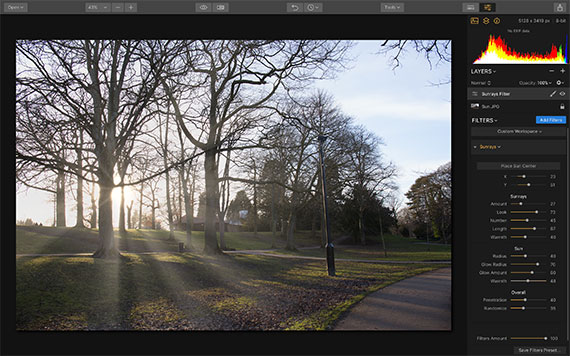
After
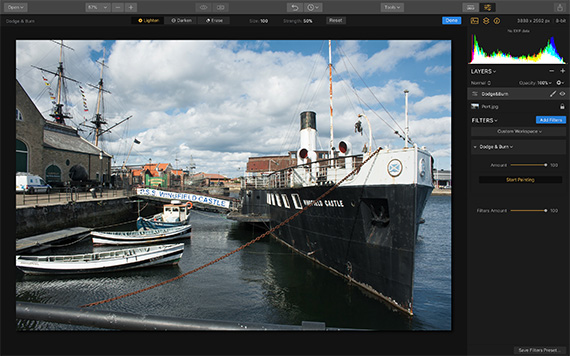
Dodge and Burn Filter
Luminar 2018 has a versatile dodge and burn filter, which is also simple to use. Dodging and burning tools are very useful for retouching and for giving you the control to lighten and darken your image in specific places.
Add an adjustment layer, then simply click the ‘Start Painting’ button on the Dodge and Burn filter, and a row of tools will appear above your image. These tools control opacity, brush size, the eraser, etc., and whether you want to lighten or darken your image.
Below are the before and afters of the dodge and burn tool.
Before
After
Before

After
You can see where I have used the Dodge & Burn filter to lighten or darken specific parts of the image.
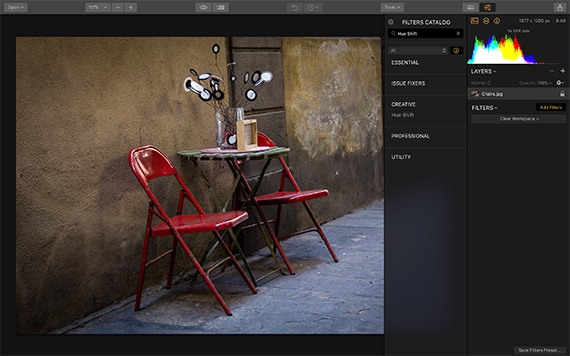
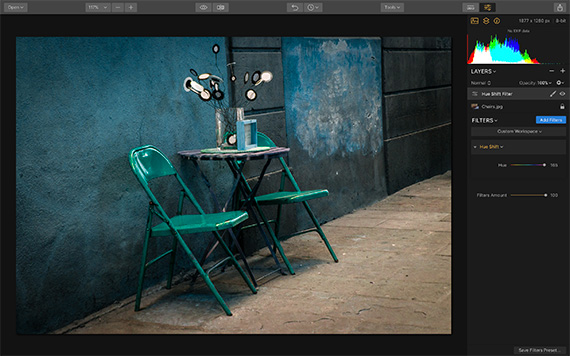
Hue Shift Filter
The Hue Shift filter lets you adjust the hues in the whole image, either by a little or a lot. You can paint in or erase the adjustments if you only want the filter applied to certain parts of the image.
The images below show before and after with the Hue Shift filter.
Before
After
These images below show the Hue Shift filter taken to extremes! You can have some creative fun doing this, and as you can see, the difference is massive. You can, of course, always adjust your layer opacity or filter strength to tone things down.
Structure Filter
The structure filter is great for adding a bit of punch, clarity and texture to your images. It’s useful for landscape and street photos, but it can be used on portraits to add some texture to skin. Just be careful not to go too far!
Before

After
Luminar 2018’s filters pack a punch. They’re fast, effective, and innovative. Best of all, they are easy to use, give you the versatility of adjustment layers and filter strengths, and the RAW develop filter is powerful enough for all your RAW file editing needs.
As an added bonus, there is an offer dedicated to the newest update, called Luminar 2018 Jupiter, which comes together with some amazing gifts for photography and photo editing.
Update: Luminar 2018 Jupiter (Click to Learn More)
While enhancing speed and overall app performance was the major focus for the Jupiter update, Skylum also dramatically improved the RAW Develop filter with new tech to provide better color and less noise, plus incorporated automatic lens distortion removal. The result is a superior, cleaner starting image, ready for further editing. Plus if you use the coupon code PICTURECORRECT at checkout you can save an extra $10.
Launch offer ending soon: Luminar 2018 Jupiter Release
Like This Article?
Don't Miss The Next One!
Join over 100,000 photographers of all experience levels who receive our free photography tips and articles to stay current:


Leave a Reply