Flash photography is essential to learn if you take photos in outdoor environments, particularly if you photograph people. The existing lighting is never perfect so you have to modify it to suit your requirements. Here are 4 essential basics to help you get more out of your flash.
The first point to reconcile is your built-in camera flash; it’s pretty much useless to you, except for when you have no other option. Direct on camera flash is the worst lighting you could choose, so why would you. As well as lacking in power, you cannot position this flash where you want it; this is a huge disadvantage. To resolve this you need to purchase a portable flash unit that has manual control and enough power for your requirements. If you don’t want to hand hold the flash you will also need a light tripod or light stand to fit to and position. The next consideration is to decide between a wireless trip for your flash or a cable. Either is fine but the benefits of wireless are obvious.
There are 4 main lighting techniques you can use in the field; these are ambient dominant, flash dominant, balanced flash and fill flash.
1. Ambient Dominant
Ambient dominant is fairly self explanatory, the available ambient light is almost satisfactory for your photography but you want to use flash to provide a little more light to one or more areas to the scene. This involves taking a light meter reading for ambient light, accepting that as your exposure, and then set the flash for 2 or 3 stops under the ambient reading for subject areas in the scene. This will brighten these selected areas but not be obvious as the flash is not competing with the ambient light.
2. Flash Dominant
Again, flash dominant is self explanatory. The ambient light level is so low that is of little value to you. This time you take a flash reading and set your ambient exposure to 2, 3 or 4 stops under the flash to provide key flash lighting for the scene.
3. Balanced Flash
Balanced flash is simple and can also be useful when the flash is off camera. As the term suggests both ambient and flash exposure are exactly the same. A purpose for using balanced flash is to provide even illumination to a subject, balancing flash to ambient.
4. Fill Flash
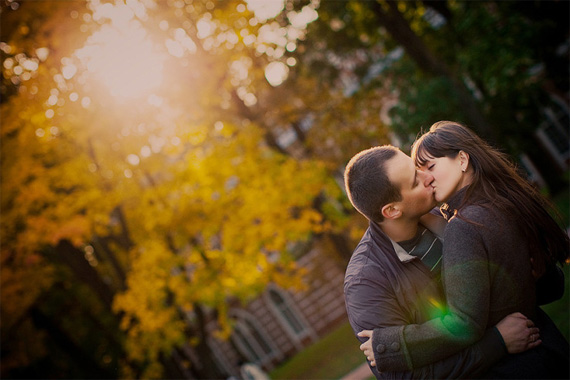
Fill flash is probably the most useful particularly when photographing people and you need to modify the light. This may be because the subject is backlit or in shadow or the light is a little too low or extremely flat and boring. Using the fill flash technique you can create a more natural and successful light by using your flash to fill the area with additional light to lift the brightness of the subject. Again you need to take an ambient light meter reading and this time expose the flash approximately one stop under ambient light. This will gently fill the darker areas and will appear to be natural light as the flash is not dominating the scene.
All of the above can be achieved with your flash on a separate stand pointed at the subject area that requires light modification. The flash can be positioned to the left or right of your camera or anywhere you want to brighten areas. You will find your photographs improving substantially and looking more professional by using these techniques. Of course you can take the next step and use 2 or more flash guns in your set up.
Roo du Jardin is a photographer who runs an informational website about Online Photography Courses. Read some more tips, techniques and resources at Online Photography Courses blog.
Like This Article?
Don't Miss The Next One!
Join over 100,000 photographers of all experience levels who receive our free photography tips and articles to stay current:


Leave a Reply