Food photography can be a deceptively difficult genre to master. Even the most beautiful plate comes off as entirely unappealing when the right techniques aren’t implemented. So, when you’re bringing cuisine into the studio, what’s most important to keep in mind? Experienced photographer Sean Tucker has a few simple pointers to offer that can make a world of a difference when it comes to getting the perfect shot:
Styling
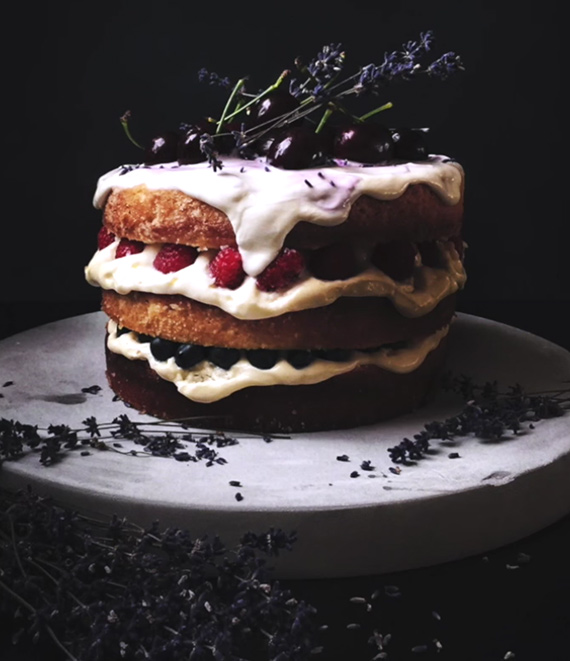
More so than any other aspect, getting an outstanding shot of your food requires a great deal of styling to make things look as appetizing as possible. It’s important to keep in mind that not every photographer is a born stylist. For this shoot, Tucker recruits the help of Vla Stanojevic to get the food looking just right. In more artistic terms, food photography heavily relies on proper composition. Elements like color and line can play a huge role in directing the viewer’s eye toward the main course and maintaining a sense of balance.
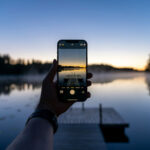
It may come as a bit of a surprise, but great food photography doesn’t require spending a small fortune on a state-of-the-art camera or a fancy lighting setup. The image below illustrates what can be done with just a humble iPhone camera in hand and a well executed composition.
Lens Choice
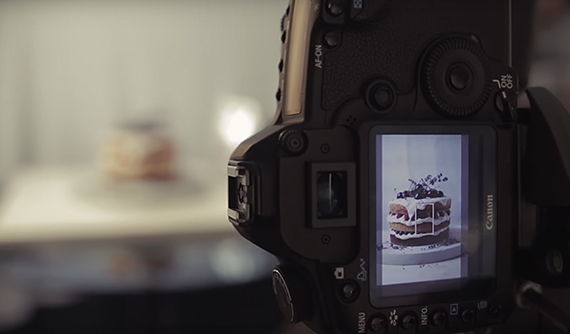
In this tutorial, Tucker uses a 100mm lens. Macro lenses work well for capturing the details that so often go into great food photography. As it turns out, being able to see something as simple as condensation resting on the surface of a strawberry can play a big role in conveying less visually apparent qualities, such as freshness and temperature.
For those looking to break the mold visually, Tucker suggests trying a tilt shift lens. With its ability to bend the plane of focus, it can effectively add some depth to otherwise flat working surfaces.
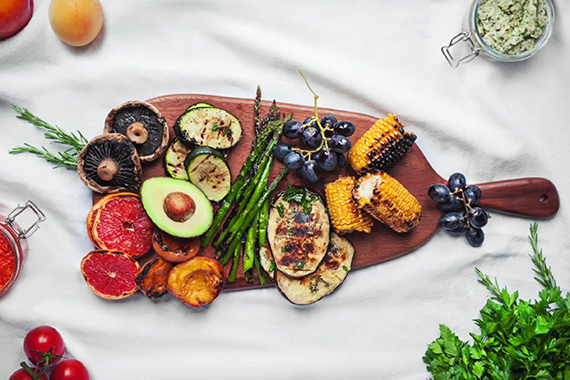
Many food photographers attempt to capture food from a bird’s eye view. For those trying to capture an entire spread, this overhead angle is usually the most effective way to capture the entirety of a scene. However, it’s important to use a wider lens to accomplish this feat. Longer focal length lenses are more likely to cut off parts of a larger scene, which may throw off the balance of a stylized set entirely.
Lighting
The final element to consider while shooting food is light. Lighting is absolutely crucial to any successful photograph, and food is no exception. However, there’s no need to go overboard with lighting equipment. The sort of soft, diffused natural light that comes pouring in through your kitchen window will provide the best results possible nine times out of ten.
Once you’ve found an effective light source, stick with it. It’s important to keep things simple when working with food. Even the slightest mixed color lighting can quickly make a dish look strange and unappetizing.
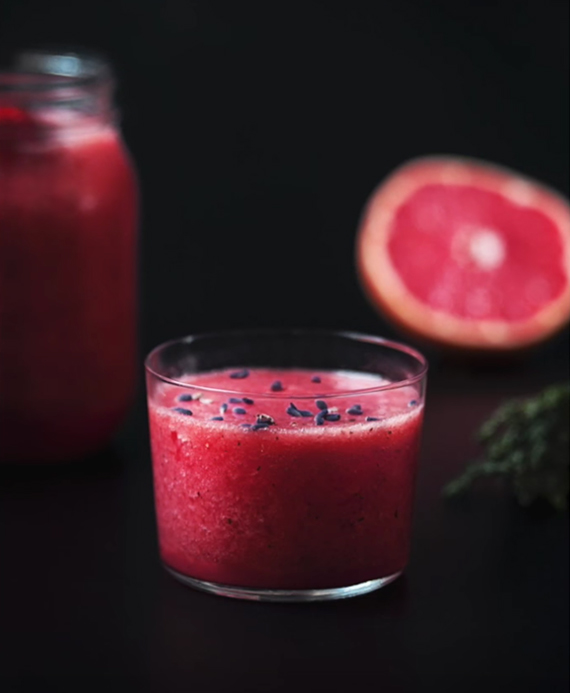
If your main light source isn’t providing the coverage you’d like, bring in reflectors to bounce the light. Choose materials in your reflector that will bolster the scene. For instance, a black card will absorb much of the light that hits it, making it an ideal choice for those building dramatic, moody sets. Silver reflectors, on the other hand, will bounce all light and may even produce a “sparkle,” depending on the subject’s surface.
Obviously, there’s more that goes into food photography than styling, a good lens, and a little bit of light. However, those who nail down these three elements often find that the small things come together pretty easily. Bon Appétit!
Like This Article?
Don't Miss The Next One!
Join over 100,000 photographers of all experience levels who receive our free photography tips and articles to stay current:



A great help Thank you Anne Brooker