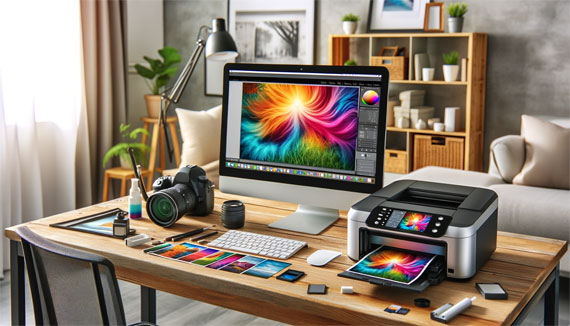
As photographers, we often find ourselves captivated by the digital world, sharing our work on social media and websites. However, there’s something uniquely satisfying about seeing your photographs come to life on paper. Preparing a photo for printing involves a few crucial steps to ensure that the final product is as stunning as your digital version. In this guide, we’ll walk you through the essential steps to prepare your photo for printing.
Relevant reminder: only a little while left to get Gigapixel Version 7 at $20 Off
1. Choose the Right Image
Not every photo is suitable for printing. Start by selecting an image with good composition, sharpness, and detail. Ensure that the photo has a high resolution; a minimum of 300 pixels per inch (PPI) is recommended for high-quality prints.
2. Calibrate Your Monitor
To achieve accurate color reproduction, calibrate your monitor. This process adjusts your monitor’s color output to match a standard, ensuring that the colors you see on your screen will closely match the printed version. Tools like the X-Rite i1Display Pro or Datacolor SpyderX are popular choices for calibration.
3. Edit for Print
Editing for print is different from editing for digital display. Here are some key adjustments:
- Brightness and Contrast: Printed images often appear darker than on-screen images. Slightly increase the brightness and contrast to compensate.
- Sharpening: Apply sharpening to enhance details. Be careful not to overdo it, as this can introduce artifacts.
- Color Correction: Adjust the colors to ensure they are vivid and accurate. Pay particular attention to skin tones and any colors that are crucial to the image’s impact.
- Soft Proofing: Use your photo editing software’s soft proofing feature to preview how the image will look when printed. This feature simulates the print output based on your printer and paper profile.
4. Select the Right Color Space
For printing, use the Adobe RGB color space instead of sRGB. Adobe RGB has a wider gamut, meaning it can display more colors, which is beneficial for print. When you export your final image, ensure it is in the Adobe RGB color space.
5. Resize and Resolution
Resize your image to match the print size while maintaining a resolution of at least 300 PPI. For example, if you’re printing an 8×10 inch photo, the image dimensions should be 2400×3000 pixels.
6. Choose the Right File Format
Save your file in a format that preserves quality, such as TIFF or high-quality JPEG. Avoid formats like PNG, which are not optimized for print.
7. Use Printer Profiles
Printer profiles, also known as ICC profiles, ensure that your printer accurately reproduces the colors in your image. Most printer manufacturers provide ICC profiles for their printers and papers. Load the appropriate profile into your editing software before printing.
8. Select the Right Paper
The choice of paper can significantly impact the final print. Glossy papers enhance colors and sharpness, while matte papers offer a more subdued, classic look. Test different papers to see which one best suits your image.
9. Test Print
Before committing to a large print, do a test print on a smaller scale. This step allows you to check the colors, contrast, and overall appearance of the print. Make any necessary adjustments based on the test print results.
10. Final Print
Once you’re satisfied with your test print, proceed with the final print. Ensure your printer settings match the paper type and size. For best results, use high-quality inks and printer settings optimized for photo printing.
Conclusion
Printing your photographs can be an incredibly rewarding experience, allowing you to showcase your work in a tangible format. By following these steps, you can ensure that your printed photos will look as stunning as they do on your screen. Happy printing!
For Help Increasing Photo Resolution:
In photo editing news, Topaz Labs just announced a sale on their Gigapixel AI upscaling program. Designed to increase the resolution of your photos by up to 600%, rebuilt from the ground up to be better and faster.
Gigapixel Image Upscaling
Generate more resolution in your images – allowing you to digitally crop and upscale without loss of pixels. Works great for large-format prints where every pixel counts. Currently $20 off today.
Deal ending soon: Gigapixel A.I. Version 7 at $20 Off
Like This Article?
Don't Miss The Next One!
Join over 100,000 photographers of all experience levels who receive our free photography tips and articles to stay current:


Leave a Reply