We feature the work of product photographer, Alex Koloskov quite often here on PictureCorrect, because he is a master of the craft and he regularly puts out helpful video tutorials to help us all sharpen up our skills. In this clip below, he shows us a quick and simple way to use a large softbox to create an awesome gradient effect on your images:
On his first exposure of the mug (see below), Koloskov tells us the photo may look okay on first inspection, but there is still a lot of room for improvement. The reflection from the softbox doesn’t create uniform lighting without increasing the power of the light, which would over exposure the image.
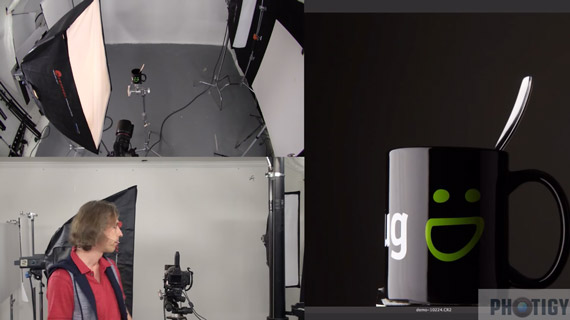
Using a basic setup, the images doesn’t necessarily look bad but there is definitely room for improvement.
To fix this, Koloskov hangs a DIY diffuser—in this case, a sheet of plastic—over the front of the softbox and boosts the power of his light slightly to compensate. He then adjusts the angle of the diffuser to the softbox until a glossy gradient is created.
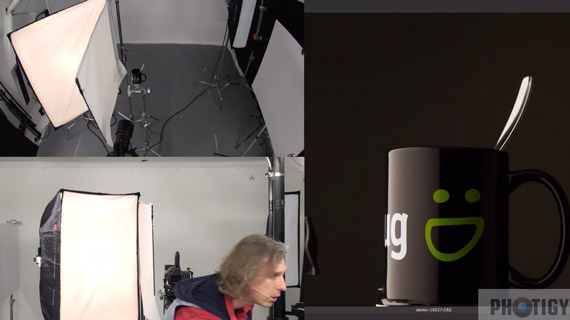
Adding a second diffuser to the softbox gets us closer to the desired results, but we’re not quite there yet.
To really start seeing a gradient effect on the mug, Koloskov takes a piece of black cardboard and holds it up in front of the softbox and behind the diffuser sheet to effectively turn the softbox into a light strip. He turns up the power of the lights a couple more stops and takes several test shots, moving the cardboard to create a wider strip of light with each shot.
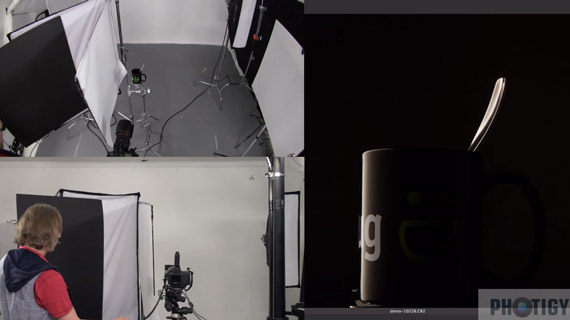
Make a DIY strip light out of your softbox and piece of black cardboard.
As a final step to really make the mug pop from the photograph, Koloskov adds a white reflector board on the opposite side of the mug to bring up the light slightly on the dark side of the mug. If your budget or gear bag allows it, adding a second softbox behind the mug will help create really nice lighting.

Final Image Before Post-Processing
Using the combination of the aforementioned steps and techniques, Koloskov created the image the image above. The overall look of the lighting shows off the glossy nature of the mug to its fullest, all the while having an aesthetically pleasing look to it.
Like This Article?
Don't Miss The Next One!
Join over 100,000 photographers of all experience levels who receive our free photography tips and articles to stay current:




Leave a Reply