I’ve heard too many new photographers telling me that they were often frustrated with blurry photographs being captured. They did not know what the reasons were, nor were they able to resolve this issue effectively.

Photo captured by hiva sharifi
We always understand that knowing the source of a problem can help in problem solving. In this article, I’m going to share with you some key issues that cause blurry photographs. After helping you better understand the problem, I will go on to share how to capture sharp photographs like a professional photographer.
Focus Settings
One of the common reasons for blurry photographs is having a wrong focusing point. It’s important that you know exactly where to focus before composing the frame and pressing the shutter button. For example, when photographing portraits, professional photographers will typically focus on the model’s eyes. It’s very important that your model’s eyes are sharp and in focus. This is especially so if you’re using a wide aperture where depth of field is shallow.
Instead of using matrix focusing, 51 point focusing, or other fanciful technology, I strongly recommend using single point focus. It must be the photographer telling the camera where to focus, rather than having the camera make this important decision for us.

Photo captured by Chris Reyem
Although technology advances in leaps and bounds, a camera’s intelligence is still unable to read a human’s mind. The camera will not know exactly where or which area in the frame we want to focus on. Therefore, always reserve the right to make this important decision yourself.
Setting a Fast Enough Shutter Speed
Another key reason causing blurry photographs is having a shutter speed that is too slow. A slow shutter speed will likely cause “camera shake”, especially when you’re holding the camera without any sturdy support.
The general rule of thumb to prevent camera shake, is to have the denominator of the shutter speed 1.5 times greater than the focal length. In other words, if your focal length is 50mm, your shutter speed shall be at least 1/80 seconds to avoid blurry photographs. If your focal length is at 100mm, your shutter speed shall be at 1/160 seconds or faster.
Using a Tripod
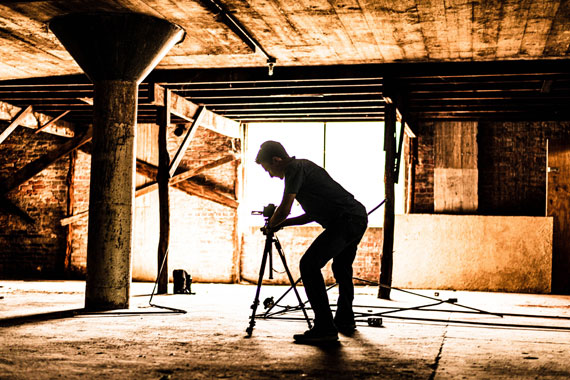
The other get around is using a tripod for enhanced stability. This technique is good for landscape photography or photographing static objects. Pressing the shutter button may potentially cause camera shake, too. As such, it’s a good habit to use a remote shutter or the camera’s self-timer with your camera is mounted on a tripod.

Photo captured by Micah Tindell
Firmly Holding the Camera
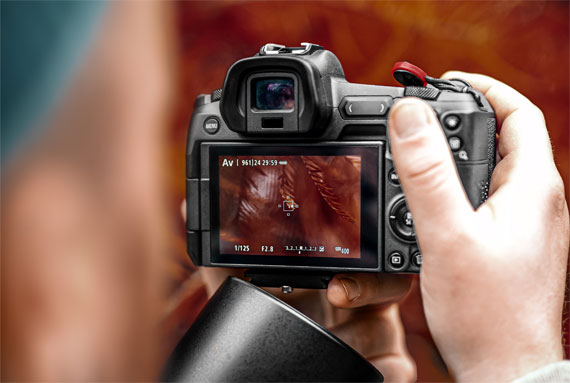
When not using a tripod, ensure you are holding your camera using the correct technique. If you’re holding your camera to shoot, your left hand acts as a support and your right hand serves to adjust the settings and press the shutter button.
With the above information, I’m sure you now understand who the main culprits for blurry photographs are. More importantly, you know how to resolve the problem. With that, what are you waiting for? Grab your camera, start shooting, and have fun!
About the Author:
Yong Sak is a passionate Singapore freelance photographer who enjoys taking photographs and sharing his knowledge on photography. He owns a photography portal that houses many basic photography fundamentals which are essentials for those who are new to photography and are hungry for more information.
Like This Article?
Don't Miss The Next One!
Join over 100,000 photographers of all experience levels who receive our free photography tips and articles to stay current:


Thanks for a great article!! I didn’t know (more likely, remember) about the general rule of thumb for camera shake. Blurry pictures are something that can happen easily, but just as easily be fixed. :)
Thanks for the information!