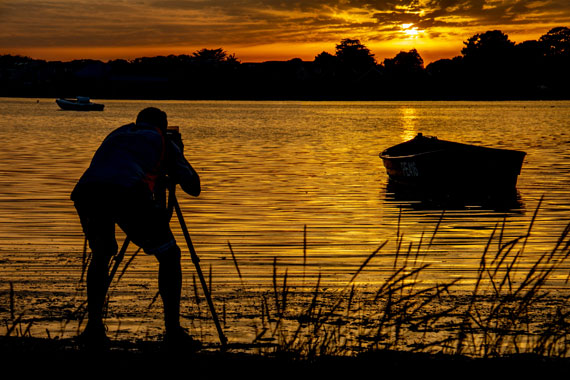
In nature photography, exposure blending and focus stacking can both be challenging on their own. But what if you’re in a situation where you need to do both? It definitely sounds daunting, but the reality is far from it. In today’s informative video, landscape photographer Mike Perea dives into his easy process of photographing and processing complicated scenes using exposure blending and focus stacking together:
Perea’s trick is simple. You can start by exposing the image for the foreground and taking two photos. For the first photo, place the focus point in the foreground and take the shot. Next, with the exposure still maintained for the foreground, place the focus point at infinity and take the shot. Finally, with the focus point still at infinity, adjust the exposure for the sky and take the shot.
However, when adjusting the exposure for the sky, make sure that the difference in exposure is not more than one-stop. Otherwise, the final image does not appear realistic.
Once you take these three photos, the next step is to leverage the power of Lightroom and Photoshop to make subtle adjustments and blend the images together. Perea elaborates in the video on how you can change the exposure and colors using the different masking tools in Lightroom. Then, by opening the same three files in Photoshop, Perea further shows you how you can merge them into one final image with the most natural-looking exposure and finest details.

Photo captured by Nick Fewings
While the techniques and Perea that demonstrates in the video are quite simple, they can be a valuable asset to any landscape photographer. Using this technique, you will be easily able to produce images that realistically capture the high dynamic range in any scene while maintaining details throughout the image. Be sure to watch the complete video and add a new skill to your photography arsenal.
Like This Article?
Don't Miss The Next One!
Join over 100,000 photographers of all experience levels who receive our free photography tips and articles to stay current:


