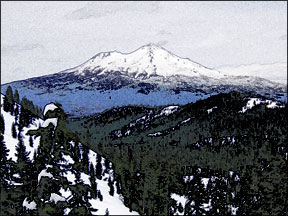

This tutorial is to help you learn how to create a colored sketch or drawing. This technique can turn regular photos into elaborate realistic colored drawings. Once you have your picture open in photoshop:
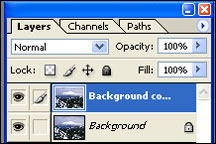
1. Make a Duplicate of the background layer, (Layer>Duplicate Layer).
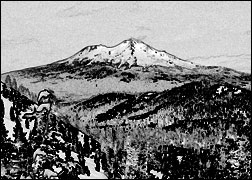
2. With the new layer selected, convert the photo to a sketch.
a. Image>Adjustments>Desaturate
b. Filter>Stylize>Find Edges
c. Adjust the Levels if Necessary
(Image>Adjustments>Levels)
3. Make a duplicate of the original background layer, (with the bottom layer selected go to Layer>Duplicate Layer)
4. Then click, hold and drag the new layer to the top.
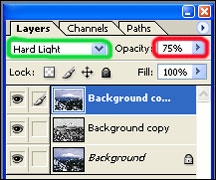
5. With the top layer change the layer blending mode to Hard Light.
6. Then change the layer opacity to around 75%.

Like This Article?
Don't Miss The Next One!
Join over 100,000 photographers of all experience levels who receive our free photography tips and articles to stay current:


Great work, very easy and useful
Very simple, very cool. Thanks, author for sharing a difficult task by easiest way, so that new image editor can do the task for their own.
Followed this tutorial to make an image for a friend! Thanks so much!!!
Awesome