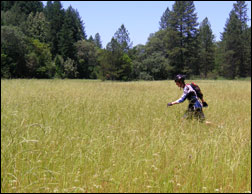
Without Sequence

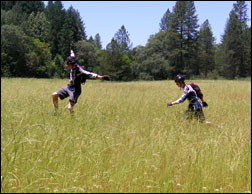
With Sequence
Introduction: This tutorial is to help you learn how to create an action sequence in which you splice multiple photos together to show how or where a subject moved. This technique can be used for sports, following movements, or simply making weird pictures where you can talk to yourself or include copies of people in one photo.
To set up for something like this you should probably take the photos with a tripod so the background stays exactly the same for all the photos you are going to work with.
Ok, once you have the 2 or 3 photos you want to splice together open in photoshop:
1. Select all of one photo (Select>All), and then copy that selection (Edit>Copy), and then paste that selection on top of the other photo (Edit>Paste).
2. Add a Reveal All Layer Mask to the top photo, (Layer>Add Layer Mask>Reveal All). Your setup should look something like what’s shown on the left.

3. Then click on the Brush Tool and select a big sized soft paintbrush and make sure the opacity is set to 100%.
4. Then with the Layer Mask selected simply start painting with the color Black the areas where the subject is below on the background layer. That way the subject shows through the mask.

On the last step you may need to let more area show through then just the main subject so the blend looks realistic. For different photos, the process and amount of adjustment won’t be exactly the same. But with this technique you can make magazine sequence shots or unexplainable copied person pictures.

For Further Training on Photo Effects:
Check out this best-selling eBook on how to do amazing photography tricks and photoshop effects. It can be found here: Trick Photography and Special Effects
Like This Article?
Don't Miss The Next One!
Join over 100,000 photographers of all experience levels who receive our free photography tips and articles to stay current:


Leave a Reply