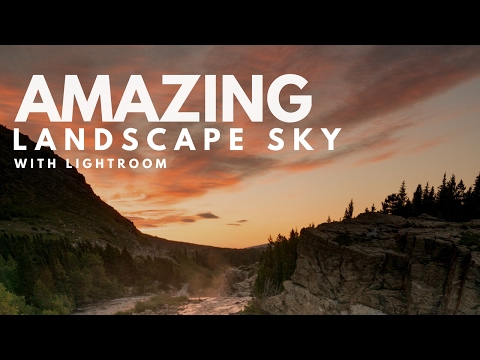
Have you ever wondered how to bring out the detail in your overexposed sky without ruining the whole image? A problem you may run into taking landscape photos is that if you set up your camera to expose for the foreground, the sky will appear too bright. Since our cameras don’t have the range to view the sky like our eyes do, you’ll be missing a lot of that detail up above. Matt Kloskowski created this video to demonstrate how he uses Adobe Lightroom to create amazing skies in his photographs:

Kloskowski explains that he chooses to make his adjustments while post processing instead of in-camera, since he doesn’t want to lug around extra equipment. In this case, a graduated neutral density filter on his lens may have solved the problem for him, but he wants to make sure that he can add the effect while editing instead of having it be a permanent change on his image.

- Apply graduated filter to the sky
- Lower exposure and highlights on graduated filter
- Raise shadows to brighten background
- All done!
If you apply a graduated filter to the sky in Lightroom, you can immediately lower the exposure and highlights to show the detail lost in the sky. Once you have these two levels where you want them, you may notice your background is now too dark. Here, you have two options: you can either brush away the edits, or simply raise the shadows level. If you raise the shadows on your graduated filter, it will lighten the background and not affect the sky since there aren’t any shadows in it.
Easy trick, right? Give it a try! This is a great tip for a quick change on your photograph instead of taking the extra time to brush everything away.
“We’re able to bring back a lot of detail there, and we don’t have to spend a lot of time doing it.”
Like This Article?
Don't Miss The Next One!
Join over 100,000 photographers of all experience levels who receive our free photography tips and articles to stay current:


Leave a Reply