Today’s article is partially based on concepts from the Landscape Editing Masterclass if you want to dig deeper for further training.
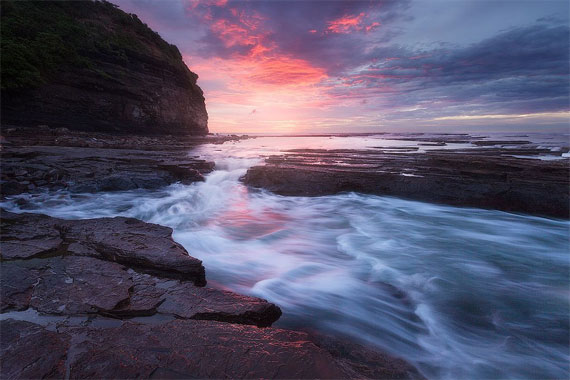
Here’s a shot I took at a spot just down the coast from my home in Sydney.
It required three separate exposures (for the sky, water and rocks) which I then blended together in Photoshop.
Exposing specifically for the detail in the rocks led to the water becoming completely blurred and turning all-white due to the too-long exposure. It wasn’t technically overexposed, but all the detail was lost anyway thanks to the movement.
So here’s my rule of thumb for capturing this type of shot:
When shooting moving water up-close, a shutter speed of around half a second is a good ballpark amount of time to give the water a soft silky look without losing too much detail (that’s what I used for the flowing water exposure in this image).
The further away you get from the moving water (whether it’s a waterfall, the ocean or any other moving water), the longer exposure you’ll need to use to get that same perceived movement.
Because it’s all about how quickly the water “paints itself” across your frame and the closer you are to the water, the quicker it will move across (assuming it’s moving at roughly the same speed in all cases).
Let’s look at another example
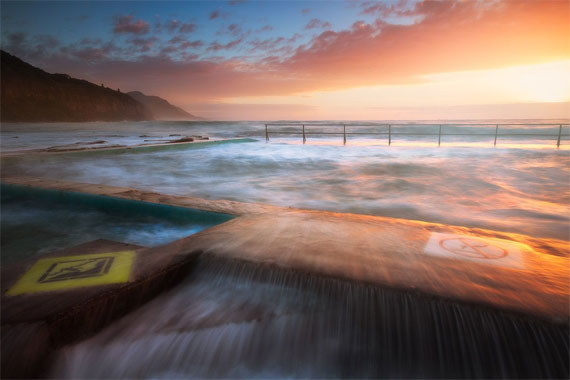
The cascading water in the foreground is moving about a quarter of the height of the image during the exposure.
The water in the pool is sloshing around, possibly moving the same actual distance as the foreground water, but in relation to the frame of my photo, it’s only covering a fraction of the distance.
Then the water off in the distance seems quite sharp as if captured with a short exposure because the water is hardly moving in relation to the frame of the photo. But those waves are moving at speed!
(For reference, the guard rail is probably around 10-15 meters away, whereas the water in the foreground is in the 1-2 meter range. The waves in the distance could be 50-100 meters (from memory).)
Processing this image had it’s challenges.
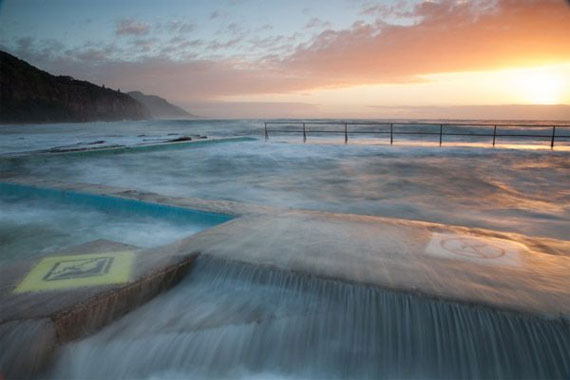
It was a single exposure (for some reason I didn’t take a second exposure for the sky) so the brightest part of the sky was a bit over-exposures which I had to repair in Photoshop.
Also I darkened some of the edges a little to draw the focus towards the middle because the RAW file was actually really flat, exposure-wise, and the edges were quite busy so became a distraction.
Here’s what the RAW file looked like, for reference:
For Further Training:
To master the workflow and techniques that make this kind of processing in Photoshop possible, then you may want to check out the author’s 12-module Landscape Editing Masterclass:
We were able to arrange an exclusive 80% discount for our readers for a limited time.
Deal ending soon: The Landscape Editing Masterclass at 80% Off
Like This Article?
Don't Miss The Next One!
Join over 100,000 photographers of all experience levels who receive our free photography tips and articles to stay current:


Leave a Reply