To say that white balance is an important aspect of your photography would be an understatement. Getting the perfect white balance requires a bit of planning. But most of the time, folks prefer to leave their white balance setting on Auto and think they can adjust it later during post-processing. It can be hard work without a point of reference. The following tricks shared by Gavin Hoey guarantee that you will nail the white balance every time and with minimum effort:
Calibration Tools
The process of getting correct white balance starts not on your camera but on your computer. There are several methods to get a perfectly well calibrated computer monitor. One of them is the Datacolor Spyder5 Elite. It automatically color calibrates your computer monitor to ensure that you have a color profile that matches the International Color Profiles. The ideal approach is to use the calibration tool once a month to ensure that you have a perfectly color calibrated monitor.
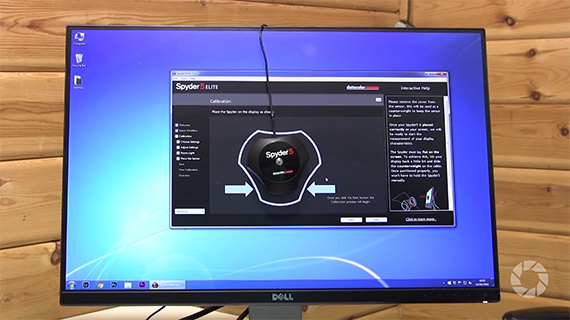
The Spyder5 Elite in action
Grey Card
There are opinions for and against using different types of color balance reference points. Grey card or white card and the rest. You’d imagine using any one of them would be ideal for getting that perfect white balance every time. But, as Hoey demonstrates, a gray card (simulated by gray painted wall) or a white card (simulated by a white painted wall) tend to produce slightly warm or cool results.
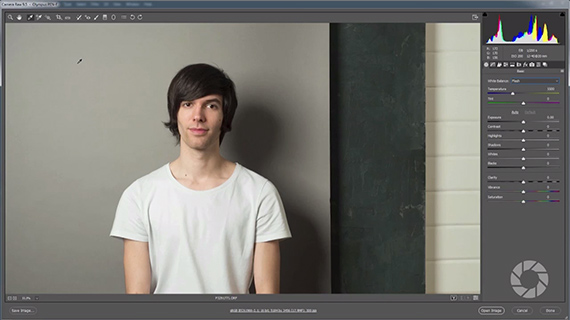
The original shot before being color balanced
Here are the results when Hoey uses the different reference points to color correct the image:
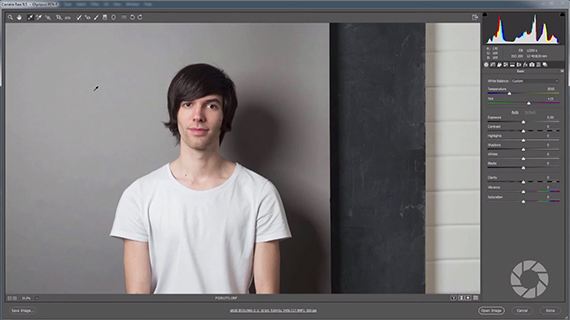
With the light gray background as reference point
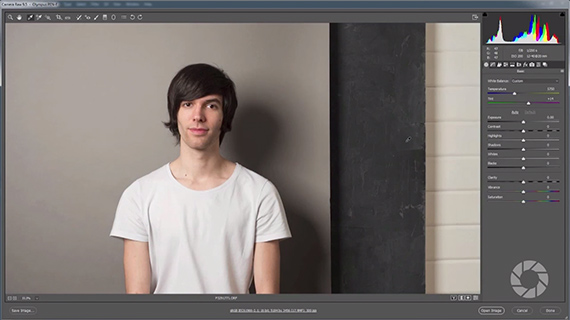
With the deep grey background as reference point
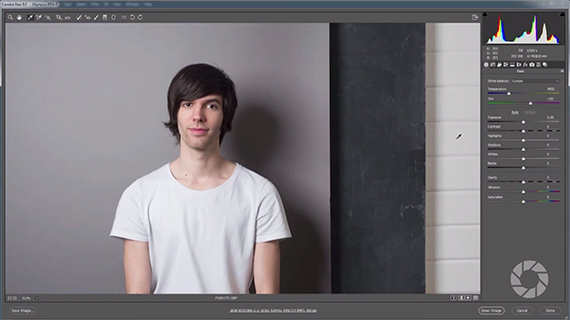
And finally with the white background
As you can see there’s really no consistency at all. Any one of them standing alone would look okay, but as you can see none of them are quite perfect. So, how can you achieve a perfect white balance across all shots?
The solution is in getting a perfect reference point rather than choosing a make-do sort of whitish grayish not quite there-ish reference point that’s not going to be accurate. There are a number of such solutions. Some better than the others. It’s best to find a grey card or similar made especially for photographers.
How do you use a gray card to color correct your photos?
Using a grey card is a two step process.
Step 1 involves using the gray card as a reference point in one of the images and under the given lighting condition.
Step 2 involves using it during post-processing to color correct all the images.
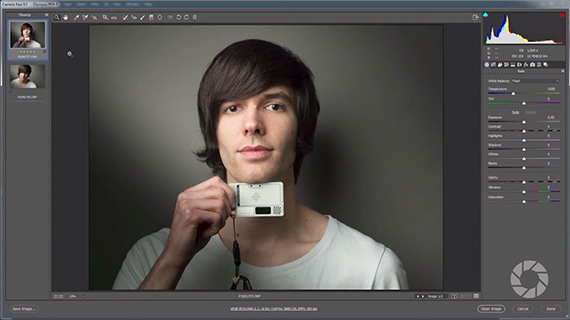
The reference shot with the gray card
And here’s the before and after results.

Before

After
Simply taking a reference photo with a grey card during your shoot won’t do anything for your color balance. It’s your post-processing work with the reference shot as your guide that will give you consistent results.
Like This Article?
Don't Miss The Next One!
Join over 100,000 photographers of all experience levels who receive our free photography tips and articles to stay current:


Leave a Reply