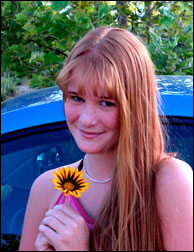
Before Changes

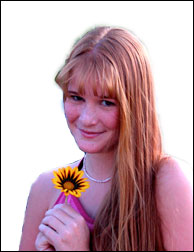
After Changes
This tutorial is to help you learn how to separate a subject or object from it’s surroundings in order to create more serious effects without including the isolated subject. Ok, once you have your picture open in photoshop:
1. Click on the Edit in Quick Mask Mode button.
2. Make sure the colors that you are using are black and white.
3. Then click on the Brush tool and make sure you have a good size brush.
4. Then using the brush, make the whole subject red. (Don’t chose the color red though leave your colors on white and black. The quick mask tool uses that opaque color red as a default. Anywhere that is red will be included in the selection).
5. This what your subject should look like when your done “painting” it.
6. Then click on the Edit in Standard Mode button and you should see that it makes a selection. The problem is that it selected everything that wasn’t “painted” red. So here’s what you do if you want to get the subject selected:
7. Go to the select menu and click on Inverse. (Select>Inverse). You should now have what you want selected, so in order to copy it to a layer:
8. Go to the Layer menu and select Layer via Copy. (Layer>Layer via Copy).
You should now have a new layer with just your subject in it. Now you can do whatever you want to the original picture (Layer 1) without affecting your subject. Or you can copy your subject into a completely different picture.

For Further Training on Photo Effects:
Check out this best-selling eBook on how to do amazing photography tricks and photoshop effects. It can be found here: Trick Photography and Special Effects
Like This Article?
Don't Miss The Next One!
Join over 100,000 photographers of all experience levels who receive our free photography tips and articles to stay current:


Leave a Reply