HDR (High Dynamic Range) photography is one of the more exciting techniques in the world of digital photography. HDR is essentially a number of different exposures of the same composition merged in specialty software to one single, high dynamic range image. In simple terms, the camera will see what you or I can see, rather than making the best of a poorly lit scene within a single exposure. One of the most appealing aspects of HDR is the ability to take images that instantly stand out from the crowd, be it through stunning contrast, eye-popping colours, or the capturing of tiny details within the image.

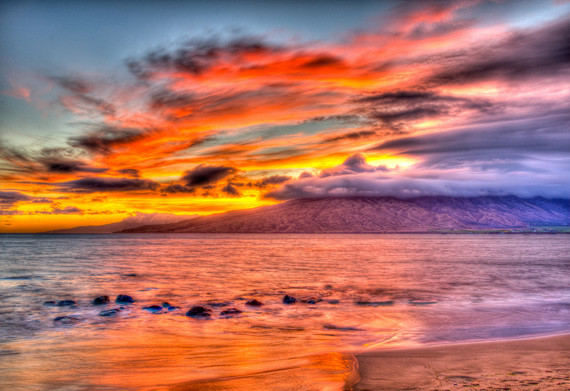
Photo by Peter Liu.
However, HDR is a technique which is not without its critics. It can make an average shot look like a great one, including those that were poorly conceived in the first place. This is why it has detractors; it is too often akin to hitting the easy button to create a great image.
This, though, is not necessarily fair. Most professional photographers can tell great HDR shots from poor HDR shots. The key difference is that, very often, great HDR does not look like HDR at all! Rather, it will very often look like an extremely well exposed image. Like any image, creating good HDR is not an easy process and is not something that can be created with a few simple clicks in Photoshop. It is something that must be well grounded in the camera itself.
Generating great HDR is as much of an art form as any other form of digital photography. Reducing noise, ghosting, and unnecessary highlights requires a skill that rivals other forms of post-processing. Be aware, though, that HDR is not a genre within itself. It is a means to an end, and it should not necessarily be the basis of a great image. That said, follow the steps below and you will begin to be able to compose the scenes you previously felt you did not have the ability to capture.

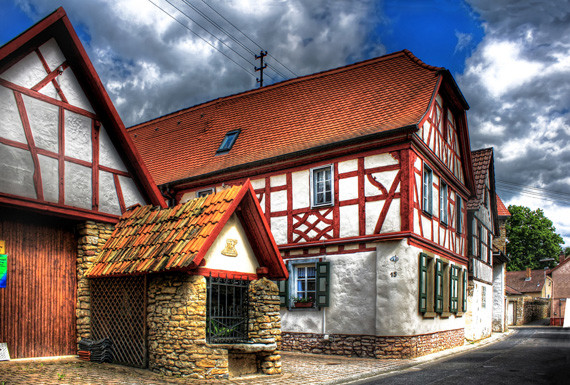
Photo by Daniel Mennerich.
To begin with, you need a digital camera that can bracket images and has a reasonable frames per second rating. The first thing you are going to do (other than compose the scene, of course) is to decide how many images you need to bracket (i.e. how many differently exposed images you need of the scene). This is how to do it:
- Set your camera to Aperture-Priority or Manual mode. Without taking this first step, your HDR image will be trash from the outset. All images must use the same aperture, or f-stop. This ensures that all bracketed images have the same depth of focus, an essential aspect of generating HDR.
- Set the aperture to between f/9 and f/11. Too large an aperture and the out of focus areas will be very noticeable. Too small an aperture and the limitations of your DSLR will become obvious. Contrary to logical thought, a very small aperture does not necessarily take sharp images–even if they are essentially in focus.
- Meter for the highlights. This will require the spot-meter technique to focus on the highlights (e.g., the sky) and stop the shutter speed up or down to ensure the meter reading is in the center hash mark. Take note of the shutter speed, as this will become important in the next step.
- Meter for the shadows in the same way as you metered for the highlights, and again note the shutter speed. Now compare the shutter speeds for the highlights and the shadows. The number of “stops” between the two values is the number of bracketed images you need.
- Next, focus the scene and disable the autofocus. You don’t want the camera refocusing for you between shots.
- One of the most important points to remember: Use a tripod with a cable shutter release. Any movement within the camera will be accentuated by the HDR process. It is possible to take good hand-held HDR shots, but in low light, it will be next to impossible. Use every tool you have to ensure the camera remains utterly motionless during the shooting.
The results should be a great set of RAW images that will form the essential ingredients to creating great HDR. However, the work is not over yet. You’ve got to put those ingredients together to come up with the final product.

Photo by Yevgen Pogoryelov.
Without a doubt, the best post-processing tool is Photomatix. The noise and ghosting controls (compensation for subject movement) are second to none, and unfortunately, that includes Photoshop. Photomatix is relatively inexpensive, though, and you will be able to get a copy for approximately $150. There is a place for Photoshop though–Adobe Camera Raw, in particular. This is where you should perform all of your post-processing touch-ups, sharpening, color balance corrections, etc.
About the Author:
Ray Devlin is from raydevlinphotography.com. “Photography has become a passion for me, which remains funded by my day job – a day job which takes up a vast amount of my time! I don’t necessarily want to share only my best images. Some of the images in my galleries represent shots that have more of a personal meaning to me; images that I simply couldn’t resist sharing.”
Like This Article?
Don't Miss The Next One!
Join over 100,000 photographers of all experience levels who receive our free photography tips and articles to stay current:


Great article. Very well explained. I do a lot of HDR, not because I want a picture that looks like an HDR photo, but because I want to be able to have a picture showing exactly what my I saw/felt at that moment.
I use Adobe Lightroom, and there is a fantastic plugin called LR/Enfuse. It is donationware, and I paid 10 dollars – you decide how much.
Again – thank you for sharing your knowledge. :)
” The number of “stops” between the two values is the number of bracketed images you need.”
That assumes ones to difference per image. That is a poor method determining exposure latitude. I routinely take HDR shots at a third stop it 2 stop intervals depending on the situation.
Please correct this error in this otherwise excellent article.