Using a snoot can give your photos just the right quality of light if you’re going for a high-contrast final image. In this video, Jay P. Morgan discusses what a snoot is, its area of coverage, the quality of light a snoot provides, and how to use it. He also show you how to create your own DIY snoot:
What is a Snoot?
A snoot is a tube that fits over a strobe or studio light to direct the light in a focused are and prevents light spill from getting into your shadows. In the video, Morgan shows how a snoot can be made at home with blackwrap (a black aluminum foil).
Area of Coverage
Snoots direct your light and focus it inward. This makes the coverage very narrow and the light’s fall-off very sharp. In the example, Morgan shows the difference between a snoot and a grid.
With the snoot, the edges of the light are sharp.
Quality of Light
Using a snoot gives a harsher or harder light, adding a lot of contrast on your subject. When using a grid, the light is softer. A grid allows the light to bounce around, meaning your light is coming from multiple places, whereas a snoot directs the light without allowing it to bounce.
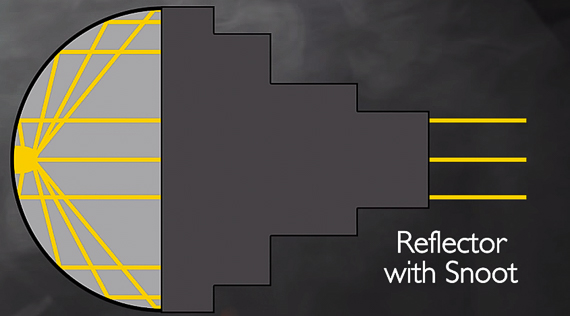
A snoot focuses the light.
Using Snoots for Film Noir Photography
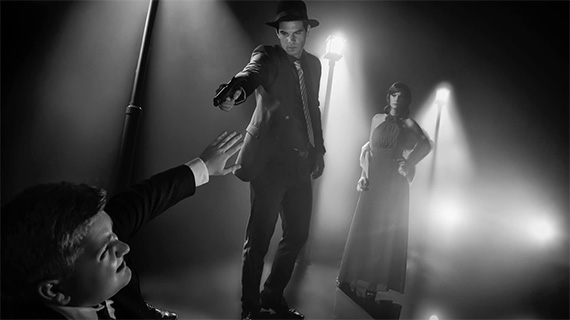
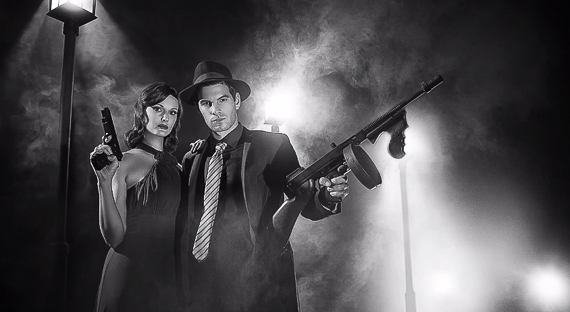
Morgan shows us his film noir style shoot and how he made his set, which lights he used, and where he positioned his light with the snoot.
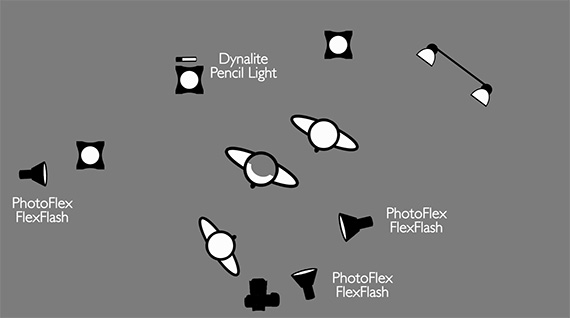
Lighting Diagram
For a film noir style, his final product was set in black and white and was given high contrast with the help of the snoot lighting.
With a snoot, you get a small area of coverage, less light spill, and more defined edges in the light. Another bonus from using a snoot is that you can make them any size you like, whereas a grid only comes in four sizes. A snoot can be a great way to achieve the dramatic look you’re going for and it’s very easy to make one yourself with the right materials.
Like This Article?
Don't Miss The Next One!
Join over 100,000 photographers of all experience levels who receive our free photography tips and articles to stay current:
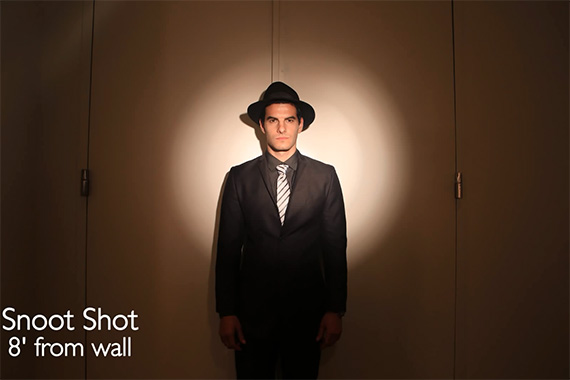
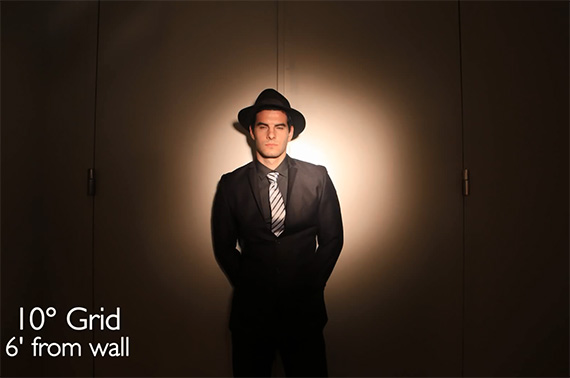


Well… the results are genuinely unimpressive. the nick software processing did get some decent results though but it looks like a pretty uncontrolled process for these many lights and gadgetry.
when he shows the “retouched” results it looks like haze and grain where added to to picture and contrast was lowered.