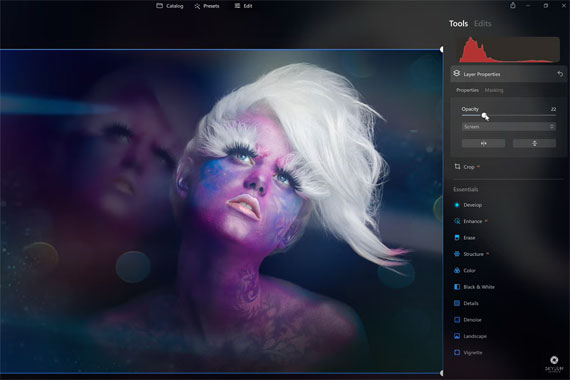
In a recent video, photographer Robert Vanelli demonstrated how to unleash your creativity with layers in Luminar. In the video, Vanelli worked with a portrait photograph and showed viewers how to create a unique and visually appealing image. Here are the key takeaways from the video:

Break the rules: Vanelli explained that, in this particular image, he broke the rules of traditional portrait photography by having the subject pose in an off-balance manner. This decision was made to give the image a unique and different look.
Use layers to create effects: Vanelli added multiple layers to the image to achieve various effects. He started with a base layer and then added subsequent layers for the eyes, skin, and hair. He also added layers to create a blurred background effect and to introduce bokeh and light leaks.
Work with masks: To control where the effects were applied, Vanelli used masks. This allowed him to selectively apply adjustments to specific areas of the image, such as the subject’s eyes or hair.
Export and re-import for more control: To further refine the image, Vanelli exported it and then re-imported it as a new layer. This allowed him to apply additional adjustments and effects, such as a vignette, without affecting the underlying layers.
Use built-in Luminar tools: Throughout the process, Vanelli made use of Luminar’s built-in tools, such as the crop tool, development tool, and various overlays. By using these tools, he was able to achieve his desired creative vision for the image.
By combining various adjustments and effects, and using masks and built-in tools, photographers can create visually stunning images that stand out from the crowd.
See how it works: Luminar Neo Photo Editor
Like This Article?
Don't Miss The Next One!
Join over 100,000 photographers of all experience levels who receive our free photography tips and articles to stay current:


Leave a Reply