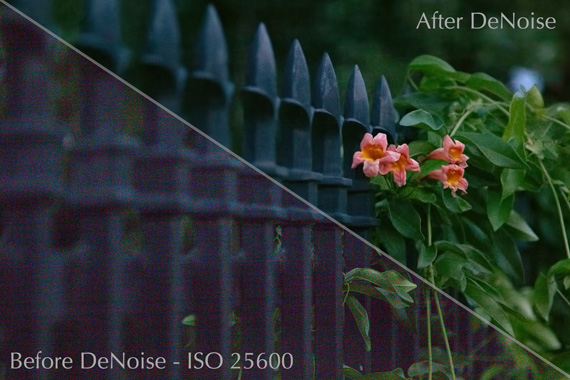
You’ve probably run into this issue at one point or another—how to sharpen an image with high ISO noise without worsening the noise artifacts. This tutorial shows you how to do it quickly and effectively using Topaz DeNoise.
It’s the epitome of a Catch-22 scenario. By applying noise reduction, you sacrifice detail. But by sharpening the image, worsened noise is a result.
So how does one go about resolving this?
Well, you’ve come to the right place. As first instructed by Gabriel Fontes, this image sharpening technique he invented allows you to effectively sharpen an image, leaving the noise untouched.
Try it out yourself to be amazed.

How to Sharpen a High-ISO Image
- Open your image in Photoshop and duplicate the layer (ctrl/cmd +J).
- Go to Filter -> Other -> High Pass…
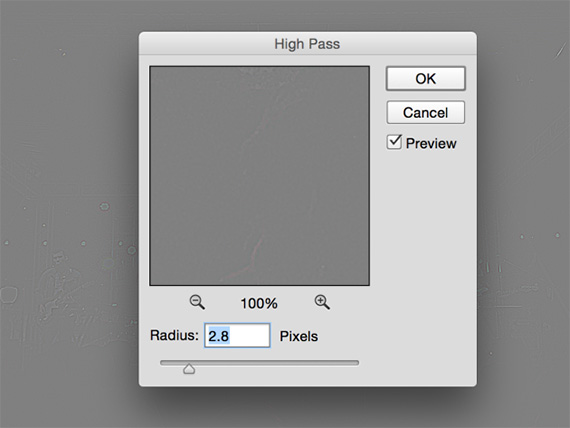
High Pass
- Decrease the pixels radius to around 3.0.
- Press OK.
- De-saturate the image (shortcut ctrl/cmd + Shift + U).
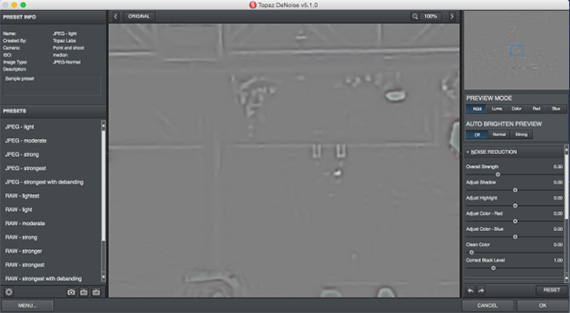
- Take that layer into Topaz DeNoise.
- Increase the Overall Strength slider until you no longer see any noise artifacts.
- Press OK.
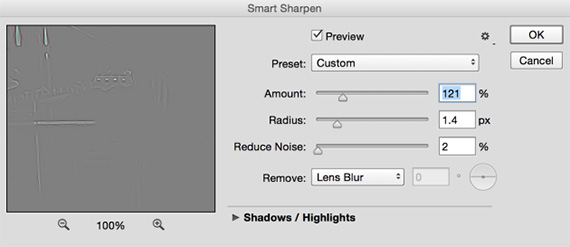
- Next go to Filter -> Sharpen -> Smart Sharpen.
- Adjust the Amount and Radius sliders to your preferences, making sure the image looks sharper.
- Reduce the Reduce Noise slider to around 3.
- Press OK.
- Within the layers panel, change the blending mode to Linear Light.
- Toggle between the before and after by clicking on the eyeball within the layers panel.
- If the sharpening is too strong, reduce the opacity of the layer for a lightened result.
How to Remove High ISO Noise
Now that you’ve successfully sharpened your image, you might be wondering, “but now how do I remove the noise?”. This is very easy to do. Simply duplicate your background layer and bring that layer into Topaz DeNoise.
Applying a preset is a good starting point, however if you want to use the parameters for a custom effect, I recommend viewing this video below for a beginner’s guide to removing noise:

Using This Technique with Cell Phone Pics
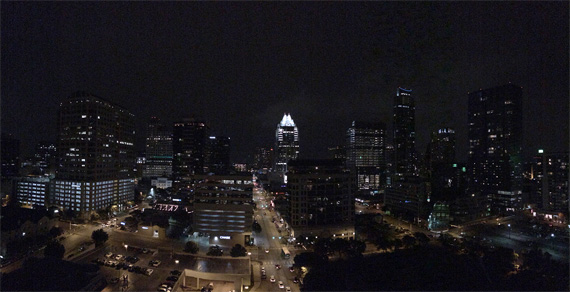
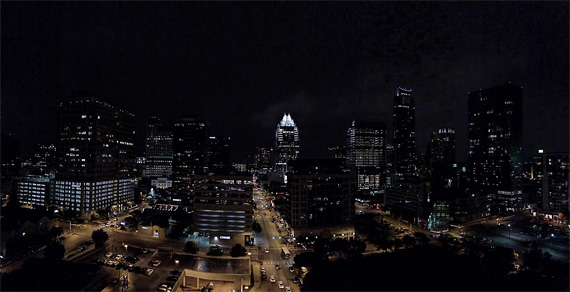
Aside from high-ISO DSLR images, this technique works really well with cell phone pics taken at night. Here are some before and after examples:
Continue your education on image sharpening and noise reduction with this tutorial:

The new version also introduces two exciting noise reduction tools. The new dual-directional debanding technology tackles banding noise, while the exclusive Correct Black Level parameter is employed to restore shadow tones to their true richness and color.
Found here: Topaz DeNoise for Professional Image Detail
Like This Article?
Don't Miss The Next One!
Join over 100,000 photographers of all experience levels who receive our free photography tips and articles to stay current:





Your link and coupon on this page have expired.
This is great, thank you. Due to my misread of the title I thought it would fix a problem I’ve been having with high colour noise in long exposure shots greater than 4 minutes long. By a happy co-incidence it has.