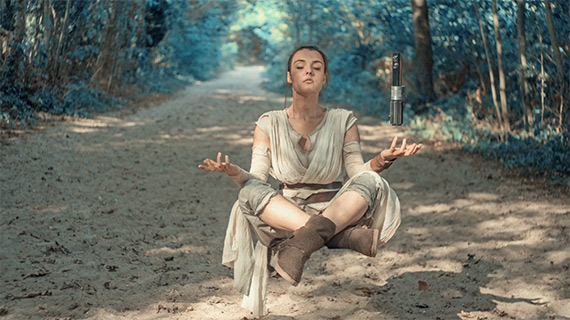
Have you ever wanted to create a photo of someone suspended in air? Well, this simple to replicate tutorial is probably what you’ve been waiting for. Just to spice things up a bit here’s a Star Wars perspective on levitation photography:
Here’s what you’ll need.
- A Jedi knight. An enthusiastic Jedi knight can’t be that difficult to find, can it?
- Stools. Spoiler alert: In levitation photography, your models don’t actually levitate. That would be against the laws of physics. But you make it appear as if they’re floating by using stools and Photoshop magic.
- Tripod. Whether your model is firmly planted on the ground or levitating in thin air, you need this to ensure that there are no unwanted changes between the frames you’ll be taking.
How to Create a Levitation Photo
You’ll need to shoot three images.
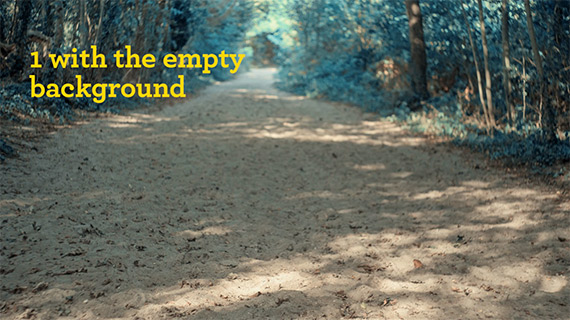
1. Shoot one image with just the background.
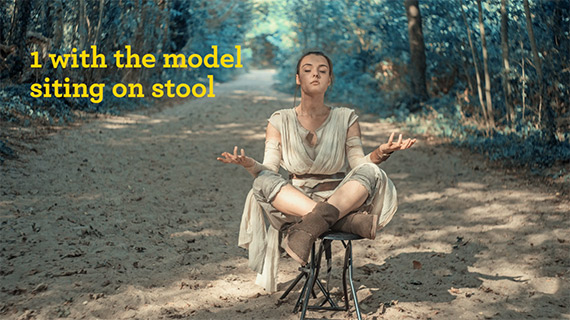
2. Shoot another frame with the model sitting on a stool.
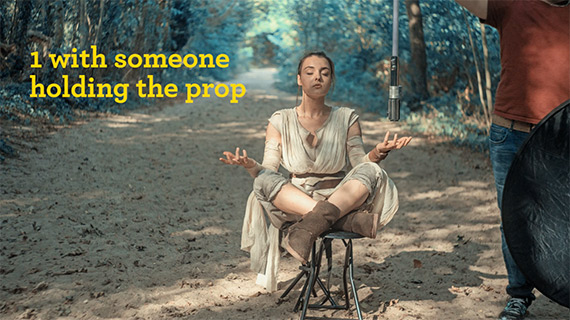
3. Finally, take one shot with the prop.
Post-Processing
Import the three images to Photoshop in a stack.
One by one, remove the chair and any element supporting the prop so that the final image appears with just the Jedi and his/her light saber.
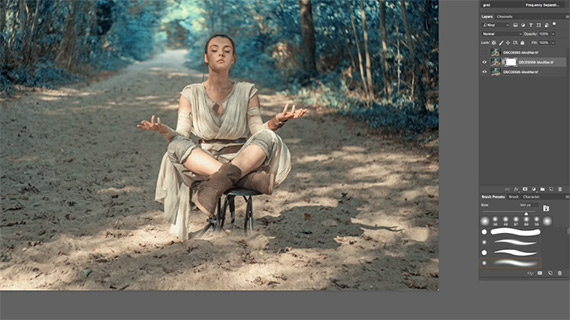
The chair being airbrushed out of the picture
Add the missing shadow, and voila! Your levitating Jedi image is ready:
We’d love to see your levitation photos! Share them in the comments.
Like This Article?
Don't Miss The Next One!
Join over 100,000 photographers of all experience levels who receive our free photography tips and articles to stay current:


It just amazing. I love the tips.