It’s amazing how little is known about low light photography and why many pictures are ruined when the environment is too dark.
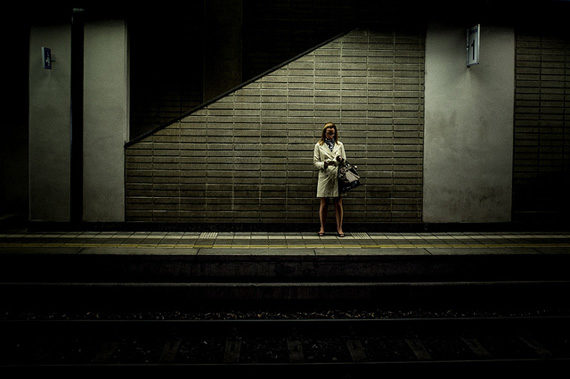
Photo by Emanuele Toscano; ISO 400, f/2, 1/125-second exposure.
The most important thing is to first understand why pictures turn out bad under low light. In this article, I’ll help you understand the mechanics behind low light photography and then we’ll take a look at a simple solution to the problem. You’ll see that you can even take good pictures in low light even using point-and-shoot cameras.
1. Understand Why Photos Turn Out Bad In Low Light
Light is needed for photography. Do you realize when you’re out in sunlight and taking a photo of the kids running around, the pictures turn out pretty spectacular? Usually you don’t get those wrong.
But indoors, the pictures can turn out pretty bad. With the lights dimmed and the birthday cake taken out, snapping a photo in those conditions will most likely result in a fuzzy and poor picture.
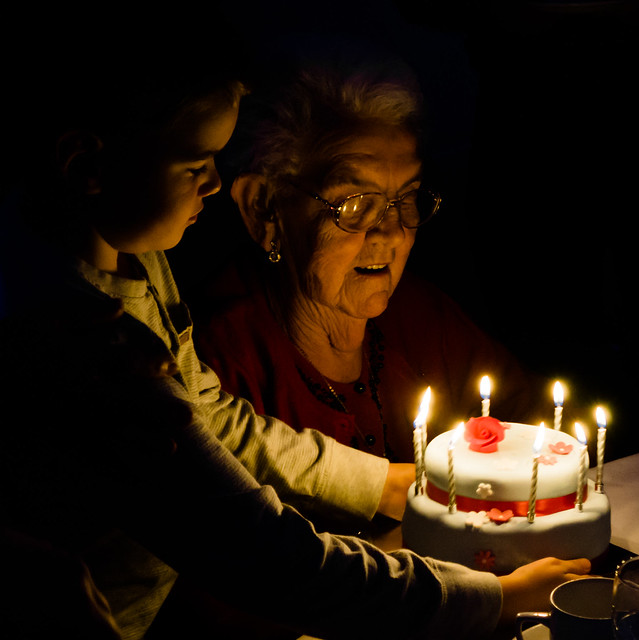
Photo by Iain A Wanless; ISO 1600, f/4.
The issue here is that too little light gets into the camera. What you need is more light, which is why the first thing we do is to activate the pop-up flash unit and zap! You get more light and clearer pictures.
But wait… with that flash going off, what you’ll also see is that your subjects are lit very harshly. I always think that flash used full blown in low light ruins a picture because of its harshness.
So what do you do? Let’s assume you want to avoid the jarring harshness of the flash and turn it off. How can you can more light into the camera to get better, clearer pictures? Not sure? Well, there is a way… and it’s called ISO.
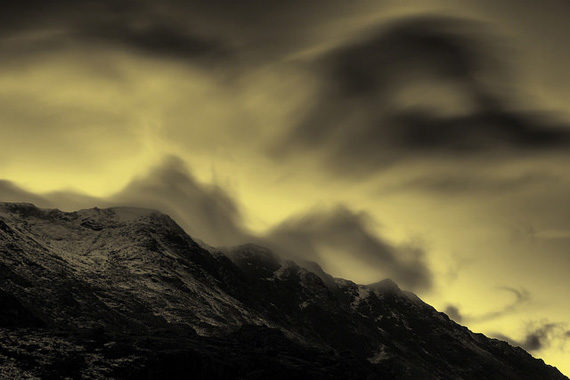
Photo by Adrian Kingsley-Hughes; ISO 100, f/8, 30-second exposure.
2. Understand ISO
Let’s understand what ISO is. ISO is a measure of your digital camera’s sensitivity to light. Back in the days of analogue 35mm cameras they had different films which had different light sensitivities. If you wanted a film that was more light sensitive, you literally had to switch out the camera film before your next shot.
Digital cameras overcome that. They allow you to just set the ISO as desired and are usually defined in the range of hundreds: 100, 500, 800, etc.
And here’s the golden rule to remember. A high ISO setting in your camera allows the light falling on the sensor to be amplified. The downside to that you get increased image noise. So your pictures may turn out a bit grainy. A low ISO reduces the amplification of light landing on the sensor, but you get less digital noise appearing.
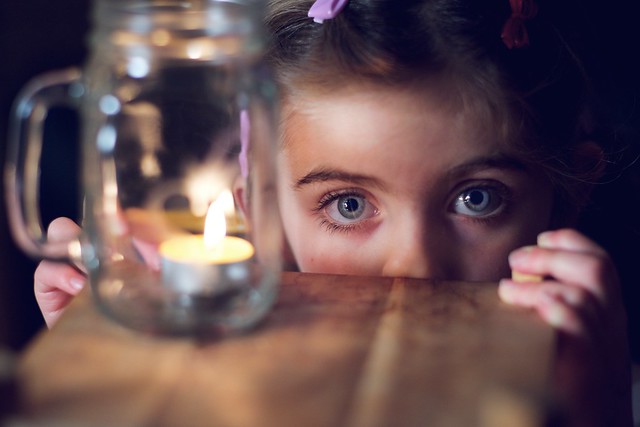
Photo by Alexandre Normand; ISO 1250, f/2.
What does this mean for those taking photos in low light and not wanting to activate flash? Well, obviously, crank up the ISO to the maximum. You’ll get some digital noise coming into the picture, but nothing we can’t deal with (see below).
3. Other Tips for Low Light Shots
In summary, to shoot better digital photos in low light conditions without using a flash, set the ISO setting to the higher part of the range. Also, set your camera to Aperture Priority and set an f-stop that allows more light through (bigger aperture). It also helps to shoot in RAW mode so that you capture maximum detail in your digital shot (no compression in the captured image).
And here’s a trick to remove that digital noise that accompanies high ISO shots: use a software program like Noise Ninja to remove it. Noise Ninja is very effective in combating image noise and I practically swear by it when I have high ISO pictures to process.
You already know it’s tough to shoot good digital photos in low light conditions without a flash. The trick is really to get more light into the camera without using that harsh flash—and we can do that by cranking up the ISO and setting the camera to Aperture Priority mode. To combat the image noise introduced by the high ISO, make use of RAW image shooting to capture maximum detail and use software like Noise Ninja to remove the offending noise elements. Try out the high ISO shots in low light; you’ll definitely see an immediate improvement to your photos. Good luck!
About the Author:
Gary Hendricks runs a hobby site on digital photography, Basic-Digital-Photography, for tips and tricks on buying digital cameras, as well as shooting great photos.
Like This Article?
Don't Miss The Next One!
Join over 100,000 photographers of all experience levels who receive our free photography tips and articles to stay current:



There is no real substitute for good light when taking good photos. You don’t see professionals shooting much inside without a flash. I have found that using an external flash and bouncing it gives me nice indoor photos. Usually, I am shooting at the 400 iso range. if you are inside a museum or someplace where there are restrictions on flash then have a fast lens preferably 2.8 or better and shoot at least 800-1000 Iso. Most of the common photo processing software’s can give you a great photo. If you are using a point and shoot camera the sensor is smaller so you could be limited on Iso settings. My thoughts would be then set the Iso up to 1500 or so. Keep in mind that photos best friend is light. The more the better. If lighting is bad, then high iso and good software to clean up any noise.
I like these old articles. The article itself is very very basic, but the comments have more info in them you can really use.
Thanks to Picture Correct for leaving the comments.
Trial and error. A good balance of ISO, shutter speed to offset shutter lag and motion and a decent f-stop for depth of field. Remember, there are natural tri-pods everywhere. Setting the camera down on something solid and using the timed shutter release can go along way. I have taken 10 shots to get the good 1. A Canon 6D helps as well. I find low light stuff that does not matter and practice for when it does matter !
Noo. I should’ve read this before going to a Muse concert last night. Loads of my photo’s are fuzzy :( I knew about ISO but did not experiment that much (I was blown away:p). On the little LCD on my Sony camera it looks okay, but on the big screen it does not :(
Averagely lighted Indoor photo shoot At apperture 4.5 With speed of 100 .ISO 400. External olong flash set to TTL 1/3 .Camera Nikon D5100. Kit lense. how cime my images are noisy ! . What whent wrong
“And here’s the golden rule to remember. A high ISO setting in your camera allows more light to be captured on its sensor. This offers the low light problem you face. The downside to that you get increased image noise. So your pictures may turn out a bit grainy. A low ISO setting in your camera reduces the amount of light captured on the camera’s sensor, but you get less digital noise appearing.”
Saying that changing the ISO setting changes the amount of light captured by the sensor is not true. Aperture and shutter speed change the amount of light captured, not ISO. Changing ISO changes the gain that is applied to the result of the light captured by the sensor in camera or in software which has the effect of brightening the photo at a higher ISO setting, given the same aperture and shutter speed combination. As you increase the effect of the photons that are captured by the sensor you also increase noise, which is about random variations and issues with the sensor itself apart from light from the scene being photographed. You could talk about increasing ISO increasing the sensitivity of the sensor if you equate a brighter result with sensitivity, doing more with less light. On the other hand if you think about sensitivity as the amount of light a given sensor can absorb in a given time frame, then the sensor has a fixed sensitivity and ISO doesn’t change that.
I just dealt with this at a recent shoot. What saved the day for me was having lenses with advanced vibration reduction technology built in. This allows you to keep the ISO down to 400 and use shutter speeds like 1/15 second with little problem, not even a tripod. We were shooting models and they moved around in a way that made tripods unusable. A basic problem besides noise is focus blur, the camera will sometimes refuse automatic focus in low light and it is not possible to manual focus through the viewfinder because you can’t see the subject well in that tiny area. Having a camera with live view like my Nikon D5200 (not a high end camera) and the rarely seen, even in high end cameras, articulated screen I couldn’t do without. You can tilt the screen so you can easily view the subject, use the zoom control to zoom in, focus manually, zoom out and snap the picture. Using the back button focus technique I find essential to prevent the camera from refocusing as you depress the shutter button, especially as the camera moves a little in this situation. You can reaim to your subject and snap the picture with perfect focus, when the lighting made it beyond the camera and lens’s automatic functions.
Thanks for the article! I’ve been taking low-light, no flash photos for a while and could never get it right. Adjusting the ISO was a great improvement (had to go into manual mode and find the settings) and saved me from buying a new camera!
There is some truth here. Sadly there are some who hear about the latest and greatest camera and believe that’s the course to go versus using their current camera to its fulles potential.
I use Aperture Priority as suggested, however I don’t usually up the ISO if I am photographing a still scene. I set up my trusty tripod and let the camera take as long as it wants to gain the correct exposure. The author also recommends using denoising software, which is understandable (and necessary) if you do happen to increase the ISO. This is why he suggested it.
I have a Canon t2i (which I recently upgraded from one of its predecessors, the Rebel XT); both are capable of taking higher ISO images so long as you understand their limitations. I wouldn’t take my t2i to 6400 or 12800, but have had luck @ 800. These cameras are nowhere near ‘high-end’.
I won’t argue whether most cameras will be too noisy because I don’t have those stats. Realizing your cameras limitations will aid you in knowing if this article has a positive affect on your photography or not.
I don’t try to take low light photos like the one above where the rope is being thrown from the boat. I am intrigued to try though. My input.
I have to disagree with the opening paragraph of this article, particularly this sentence:
“Many folks in fact go on to buy more expensive camera thinking the problem will be solved”
the author then goes on to talk about raising the ISO on your camera to take better pictures in low light. But most cameras will be too noisy at high ISOs, except for those at the highest end.