Let’s start out with a general overview before we get into the REALLY interesting technical stuff.
Luminosity masking is a layer masking technique that gives you extremely precise levels of control over the individual adjustments you make to an image.
If you’re already familiar with layers and layer masks in Photoshop, then you may think of luminosity masking as the turbo-charged version of “regular” layer masking.
(If you’re not yet up to speed with layers and masking, then I encourage you to check out my Introduction to Layers and Masking. When the link opens, scroll about half way down the page and you can watch the “Chapter Zero” video).
Because every time you’ve ever used a layer mask to restrict an adjustment layer to affect only part of an image, or to blend two or more exposures together by hand to create a high dynamic range composite, or for ANY other purpose, there’s a good chance you could have done it with greater accuracy and precision by using luminosity masking techniques instead.
This additional accuracy starts with the “luminosity” part of the term “luminosity masking”.
Luminosity refers to “brightness” and it is the key to the whole thing.
Because it allows you to create layer masks which are based on the brightness of the pixels in your images. Not just basic brush strokes…
Let’s look at an example…
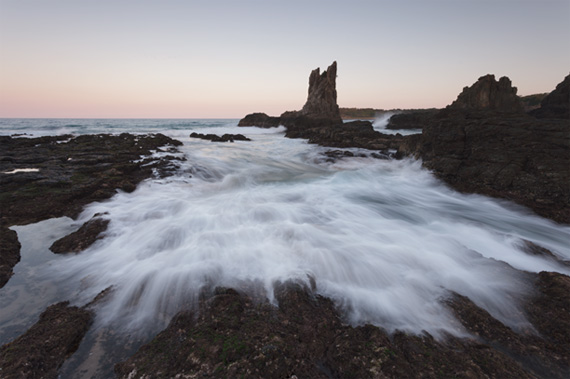
Let’s say in this shot, we want to darken the sky a bit without darkening the already-dark rocks.
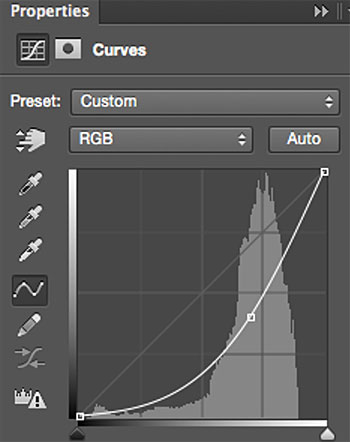
A good way to do this could be to add a curves adjustment layer like this to perform the darkening effect:
Then we could use a black brush in the layer mask to hide the effect from the areas that we don’t want to darken (i.e. the rocks which are already dark)…
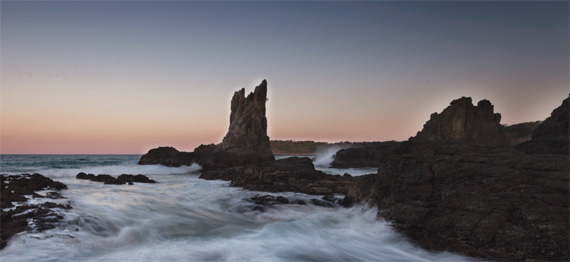
Here’s what that could look like (look closely at the “difficult” part along the edges of the rocks):
The thing about doing it this way is that it’s REALLY hard to avoid painting over the lines when using a normal soft brush in the layer mask.
Notice how there’s a bright halo along the edge of the rocks…
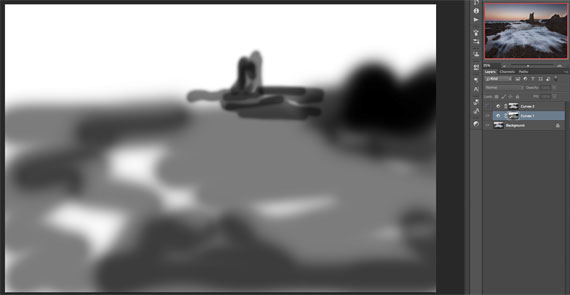
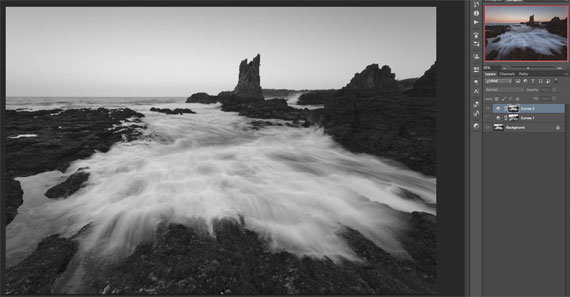
Let’s take a look at the layer mask itself to see why…
No wonder there are halos around the main rock in the middle, right?
How accurate can you really be using just a soft-edged round brush??
If you’re looking at this and thinking “I can create a more accurate layer mask than THAT, even with just a regular soft-edged brush”…
Then you’re probably right… Because the above is an example that I’m showing you to try to get the point across – I kinda went a little bit over the edges on purpose :)
But while it is possible to do this slightly more accurately by zooming right in and getting the brush tight up against the edges of that rock and brushing ever-so-carefully around it pixel by pixel… firstly, that could take HOURS to do well…and secondly…
… no matter how accurate you think a regular brush might be inside of a layer mask, I challenge you to compare it to a luminosity mask for accuracy and precision…
Like this one…
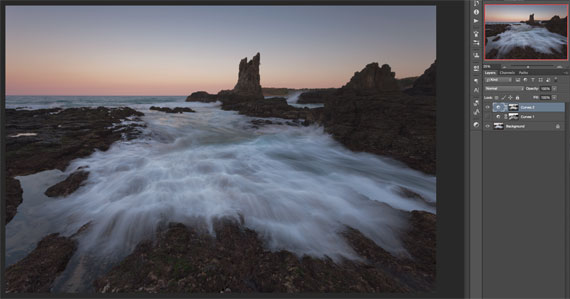
In this screenshot we can see that the layer mask is darker in the dark rocks (therefore restricting the adjustment), and it is brighter in the bright sky and water (thus letting the curves adjustment “show through” the mask).
This is because the layer mask was created and based on the brightness of the pixels in the image… i.e. it’s a “luminosity mask”.
And when we look at the effect this adjustment has on the image when the luminosity mask is used, we can see the sky has been nicely darkened and that there are no obvious brush strokes or marks around the edges of the rocks that stick out into the sky:
So to quickly summarize what’s just happened here:
- A curves layer was added to darken the sky
- The darkening effect of the curves layer was “brushed out” of the dark rocks with a regular soft-edged brush in the layer mask
- This led to the dreaded “halo-effect” around the rocks because it’s so difficult to be precise when using a regular brush like this.
- On the second attempt a different type of layer mask was used… One which was created directly from the brightness levels of each individual pixel.
- This “luminosity mask” allowed us to accurately mask the curves adjustment out of the shadows whilst letting it “show through” in the highlights.
- Therefore the sky and water was darkened effectively without negatively affecting the already-dark rocks… And all without creating any halos or dodgy brush marks in the image.
This is only scratching the surface of what Luminosity Masking can do for your photography.
And the great news is there’s an easy way to harness the power of these advanced techniques, without getting stuck in the weeds of all the complicated step by steps, with my…
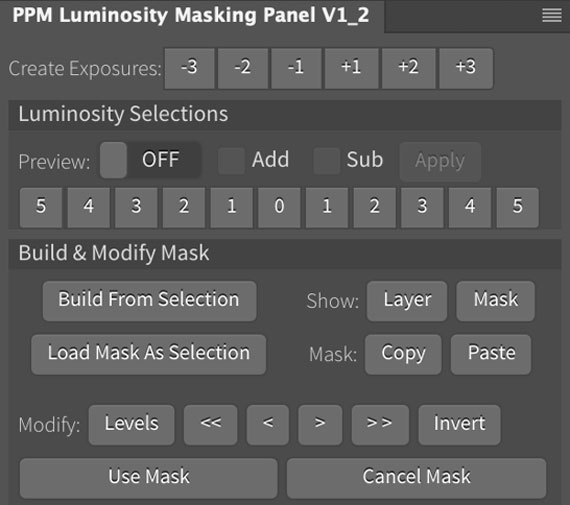
Luminosity Masking Panel for Photoshop:
I created the Luminosity Masking Panel to make the complicated process of learning and using luminosity masking techniques quicker and easier than ever before!
With the panel, luminosity masking is as easy as just a couple of clicks of a button, meaning you can spend less time trying to remember HOW to use the techniques, and more time just making it work for you.
See how it works: The Luminosity Masking Panel for Photoshop
Like This Article?
Don't Miss The Next One!
Join over 100,000 photographers of all experience levels who receive our free photography tips and articles to stay current:




Leave a Reply