You know how we all look at photographs shot by professional photographers, and think to ourselves, “Wow, these are amazing skies. Where in the world was this guy shooting?” Or, we see a photograph of the ocean, and it is sparkling clear with sea creatures rippling through its glass-like surface. This is no coincidence. It’s what makes a professional photographer a pro! Though this does not mean that advanced techniques are restricted to professionals. Anyone–granted with a little practice and learning from their mistakes–can do this.
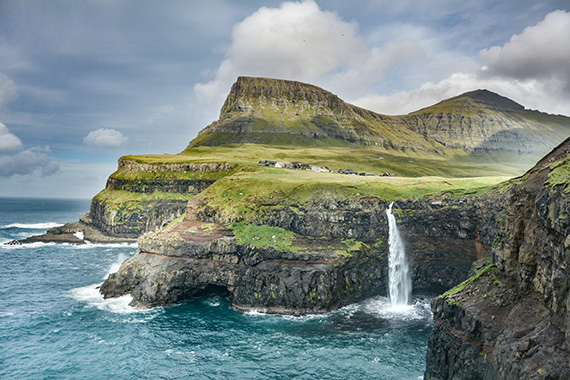
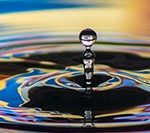
Photo by Eric Welch
What do Pros do Differently?
In order to understand how the images turn out the way they do for the pros, you must first understand polarization. Without getting into all the technical mambo-jumbo, suffice it to say that polarization is a way of filtering light in such a way that blocks a certain amount of light coming in parallel to your lens. This “side” light, as I like to call it, is what causes the water to look drab, the skies to appear pale blue, and the greenery to look contrasty and unappealing. A polarizer is an almost magical tool that has the ability to restrict only the light that causes your photographs to look washed out.
A polarizer is a filter that you mount on your camera’s lens. It is available in many sizes and types, so it almost doesn’t matter what camera you have; you will find one that fits. Make sure to buy a quality product. You ALWAYS get what you pay for. Stick to products made in America, Europe, or Japan. Filters made in China, Philippines, and Malaysia are often lower in quality.
One important aspect to keep in mind is that professionals always scout their subjects ahead of their shoot and observe the subject at different times of day. They’ll often observe the same subject at different times of year. Most photography lovers simply do not have the time to do that. But to maximize your photographs and get the most out of them with a polarizing filter, there are some rules you should try to follow.
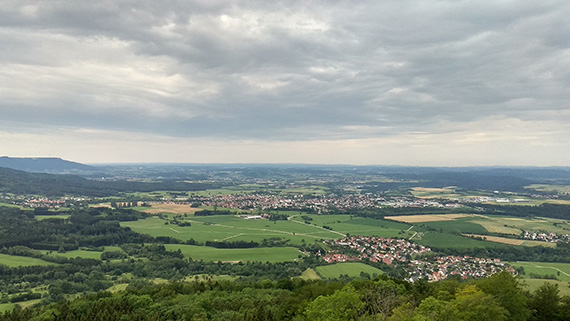
Photo by Vlad Gnatenko
Rules for Using Polarizers
A polarizing filter is an amazing tool. When used correctly, you will get maximum performance and improvement in your photographs. First of all, you achieve maximum polarization when the sun is low in the sky. This means mornings and afternoons are better times to shoot landscapes with a polarizer than, say, at high noon. Most dramatic landscapes are not shot during daytime; they are typically captured early or late. In either case, the sun is low.
Sometimes, we cannot choose our shooting time and have to do as best we can. When choosing your shooting subject, try to place yourself with the sun to your left or right. If the light is at a 90 degree angle to the direction in which you are shooting, you will get maximum polarization.
Do not shoot directly into the sun. The effect of the polarizer is immediately visible, so look carefully and turn yourself while looking at the change in the effect. Always turn the little ring on the filter, and the polarization effect will be increased or reduced. Remember, there is such a thing as the sky being too blue and the water too clear and unnatural.
The best suggestion I can give you is to experiment. Always observe your subject. When the sky is cloudless, and purely blue, your photograph will turn out boring. Clouds change greatly when viewed though a polarizer, so look for them always!
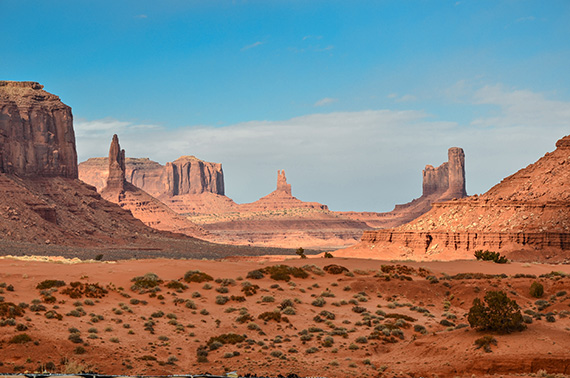
Photo by Ganapathy Kumar
Conclusion
There are many approaches that professionals use to achieve those stunning landscapes we all enjoy. You can come close. A polarizer, when used properly, and with tips given in this writing, will become a wonderful tool in your arsenal. You will fall in love with it. I promise. Even when you shoot portraits and other subjects, you will find it useful. In my humble opinion, a polarizer is an essential tool for every photographer, amateur or a pro.
Written by Professional Photographer, and member of an Online Photographer Community, where photographers have the freedom to share photos of their most favorite shooting locations, regardless of the subject matter and place. Consider joining this community, if you would like to contribute your favorite locations, as well as discover new places from other members. To learn more, please visit http://www.worldonpaper.com/
Like This Article?
Don't Miss The Next One!
Join over 100,000 photographers of all experience levels who receive our free photography tips and articles to stay current:



Great tutorial! I want one of these pretty bad ;)