Street photography is an art form that captures the candid moments of life, often in urban settings. For travelers, it offers a unique way to document the essence of a place, its people, and its culture. One popular technique in street photography is “shooting from the hip,” which involves taking photos without raising the camera to the eye. This method can yield spontaneous and unposed shots, but it also comes with its own set of challenges, ethics, and safety concerns.
Related note: sale going on now for the Street Photo Editing Presets at 67% Off
Let’s delve into the world of hip-level street photography for travelers.
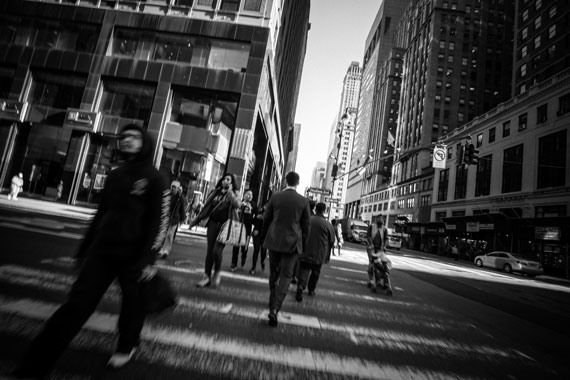
Photo captured by Richard Schneider
1. What is “Shooting from the Hip”?
Shooting from the hip is a technique where the photographer takes a photo without looking through the viewfinder or at the screen. The camera is typically held at waist level, and the shot is taken discreetly. This approach allows for more candid shots, as subjects often don’t realize they’re being photographed.
2. Why Use this Technique?
- Candidness: People act more naturally when they don’t know they’re being photographed. This can lead to more authentic and spontaneous images.
- Discretion: In busy streets or markets, raising a camera can attract attention. Shooting from the hip can be more discreet.
- Unique Perspective: Photos taken from waist level offer a different viewpoint than those taken from eye level, adding variety to your shots.
3. Tips for Shooting from the Hip
When shooting from the hip in street photography, you’ll want to optimize your camera settings to ensure you capture sharp, well-exposed images, especially since you won’t be using the viewfinder or screen to compose or focus. Here are some recommended settings:
Aperture (f-stop):
- Wide Depth of Field: Use a smaller aperture (larger f-number) like f/8 or f/11. This provides a wide depth of field, ensuring that more of the scene is in focus. This is especially useful since you’re not looking through the viewfinder to focus.
Shutter Speed:
- Freeze Motion: To ensure sharp images, especially in bustling street scenes, use a faster shutter speed. A good starting point is 1/125s, but if there’s a lot of movement or you’re walking, consider going faster, like 1/250s or 1/500s.
ISO:
- Adaptable ISO: If you’re shooting in manual mode, adjust the ISO to achieve the correct exposure given your chosen aperture and shutter speed. In brighter conditions, a lower ISO (e.g., ISO 100 or 200) is ideal. In lower light, you might need to increase the ISO.
- Auto ISO: Many modern cameras offer an Auto ISO feature. When using this, the camera will automatically adjust the ISO based on the lighting conditions, ensuring a proper exposure. This can be handy for street photography where lighting can change frequently.
Focus:
- Zone Focusing: Pre-focus your lens to a specific distance (e.g., 8-10 feet) and use a smaller aperture to maximize depth of field. This way, everything within a certain range will be in focus.
- Autofocus: If you trust your camera’s autofocus system, set it to continuous autofocus (often labeled AF-C or AI Servo). This will continuously adjust the focus as subjects move. Pair this with a center or wide-area focus point setting.
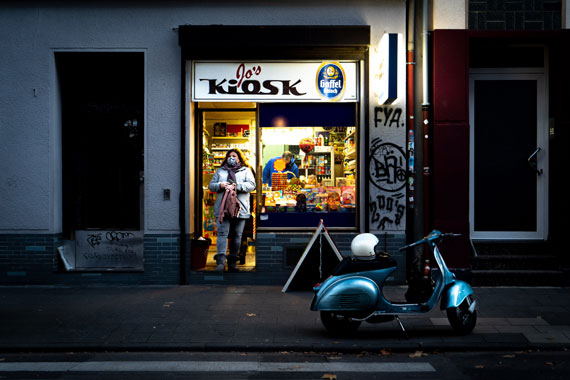
Photo captured by Mika Baumeister
Drive Mode:
- Burst Mode: Also known as continuous shooting mode, this allows you to take several shots in quick succession by holding down the shutter button. This increases the chances of getting a well-composed and sharp image.
Lens Choice:
- Wide-Angle Lens: A lens with a focal length between 24mm and 35mm (on a full-frame camera) is ideal. It offers a broad field of view, which is forgiving when shooting without looking.
Camera Mode:
- Aperture Priority (Av or A): This mode lets you set the desired aperture, and the camera will automatically adjust the shutter speed. It’s a good balance between control and adaptability.
- Manual (M): If you’re comfortable with it and the lighting conditions are relatively consistent, manual mode gives you full control over both aperture and shutter speed.
Image Stabilization:
- If your camera or lens offers image stabilization (IS or VR), consider turning it on. It can help reduce the effects of camera shake, especially if you’re moving.
Remember, these settings are starting points. Street photography often requires adaptability, so be ready to adjust based on the specific conditions and scenes you encounter. With practice, adjusting these settings will become second nature, allowing you to focus on capturing the moment.
4. Ethics in Street Photography
Street photography can be invasive, so it’s essential to approach it with sensitivity and respect.
- Respect Privacy: Avoid taking photos of people in vulnerable situations or compromising positions. If someone indicates they don’t want to be photographed, respect their wishes.
- Be Transparent: If confronted, be honest about what you’re doing. Offer to show or delete the photo if someone is uncomfortable.
- Research Local Customs: In some cultures, taking photos without permission is considered highly disrespectful or even illegal. Always be aware of local customs and norms. Here are some examples:
France: While you can take photos in public, France has strict privacy laws. It’s illegal to publish or distribute photos of people without their consent, even if they were taken in a public space. This means that while you can take candid shots, sharing them without the subject’s permission can lead to legal complications.
Germany: Similar to France, Germany values individual privacy. You can take photos in public, but publishing images without the subject’s consent can be problematic, especially if the person is the main subject or focus of the image.
Hungary: In 2014, Hungary introduced laws that made it necessary to get permission from everyone in a photograph before it’s taken, even if it’s shot in a public place. However, the interpretation and enforcement of this law can vary.
Austria: While public photography is generally allowed, if the person is recognizable and the image is published without their consent, it can lead to legal issues.
South Korea: Taking candid photos without consent can be considered a violation of a person’s portrait rights, especially if the image is shared or published.
Japan: While street photography is popular in Japan, there are concerns about “portrait rights.” It’s generally advised to seek permission if you intend to publish or sell the photo.
Saudi Arabia: It’s crucial to be cautious when taking photos in public, especially of people, government buildings, palaces, and even some public streets. Taking an unauthorized picture can sometimes constitute a crime.
United Arab Emirates: Taking photos of people, especially women, without permission can be considered disrespectful and can lead to legal issues.
Greece: Taking photos of people without their consent for commercial use is prohibited. While personal use might be more lenient, it’s always best to be cautious.
Quebec (Province in Canada): Quebec’s civil law protects a person’s image, meaning you could face legal issues for taking and publishing a photo of someone without their consent.
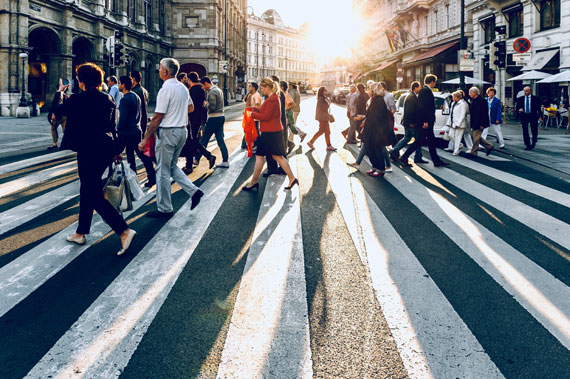
Photo captured by Jacek Dylag
5. Safety Concerns
- Stay Aware: When you’re focused on photography, it’s easy to become oblivious to your surroundings. Always be aware of traffic, obstacles, or potentially unsafe situations.
- Avoid Risky Areas: Especially when traveling, be aware of areas that might be unsafe for tourists. Always prioritize your safety over getting a shot.
- Secure Your Gear: Use a strap to secure your camera. Be aware of pickpockets, especially in crowded areas.
Shooting from the hip in street photography offers travelers a unique way to capture the essence of a place. While it can lead to incredible, candid shots, it’s essential to approach the technique with respect, ethics, and safety in mind. With practice and sensitivity, you can document your travels in a way that truly reflects the spirit of the places you visit.
For Help with Photo Editing:
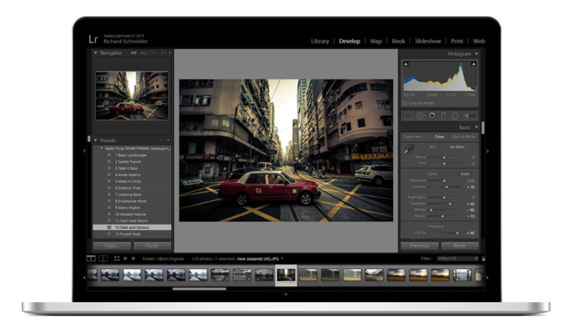
To help with a street photo editing workflow, these presets are designed to help photographers instantly bring out the best attributes of their street photography with exposure adjustments, clarity, vibrance, saturation, split toning, highlights, shadows, sharpening, noise reduction, vignetting, graduated filter adjustments and much more. They are currently 67% off today if you want to check them out.
As street photographers, it’s our job to catch the emotional essence of a city and show it to others through street portraits, documenting moments, and more. In many cases it’s about being in the right place at the right time. How can you do that if you are always stuck at your computer editing photos?
Deal ending soon: The Street Photographer’s Presets at 67% Off
Like This Article?
Don't Miss The Next One!
Join over 100,000 photographers of all experience levels who receive our free photography tips and articles to stay current:


Leave a Reply