Portrait retouching is serious stuff. A lot of the times amateur retouching mistakes can completely destroy an otherwise good image. Simple things like choosing the right tools, deciding on which effects to apply and how much, can make all the difference between a great portrait image and one that is a train wreck. Nino Batista explains:
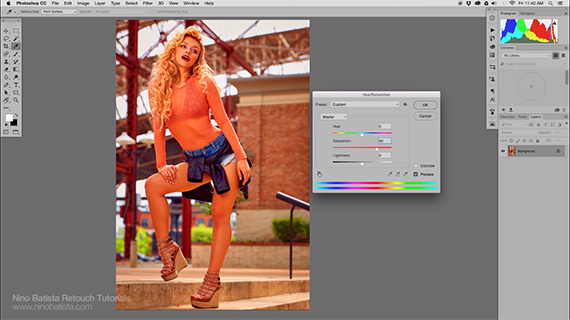
1. Over-Boosting Colors
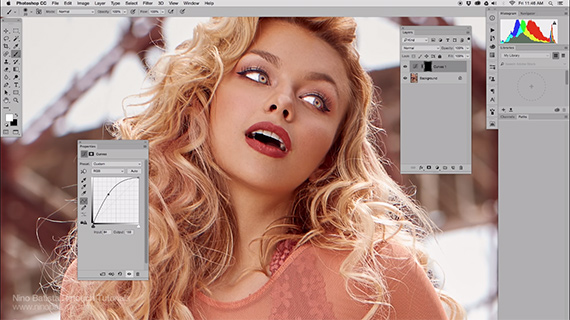
The number one amateur mistake is boosting colors disproportionately and often pushing things way too far.
When you do that you bring out flaws. Instead, take things easy.
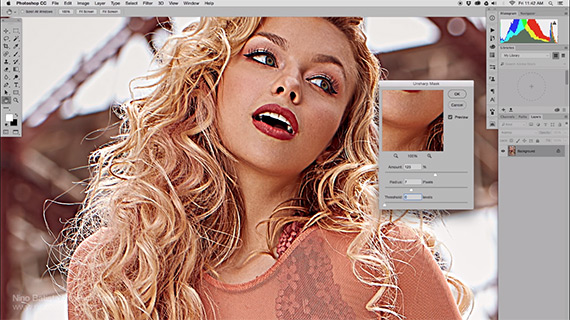
2. Over Sharpening
A simple rule in photography: if it’s blurry, it can’t be fixed. So don’t try it.
Unfortunately, that’s not how most people think. They try all different techniques to boost sharpening. Too much sharpening can render your images unusable. So, again, go easy on your sharpening tools.
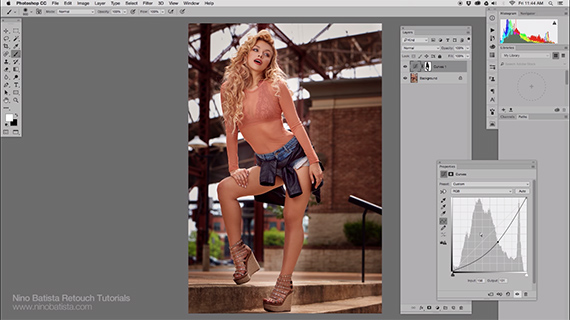
3. Haloing
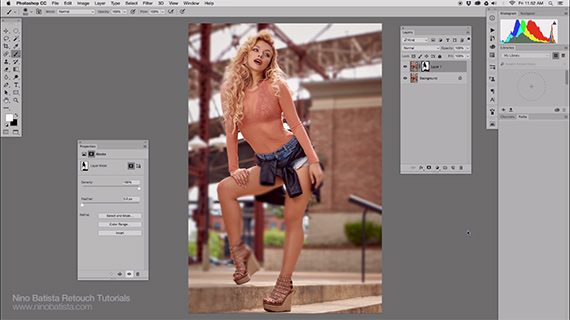
When you darken the background or brighten the face or do similar adjustments using manual or ready-made solutions, the edges start to glow, highlighting the fact that things have gone wrong.
This happens very commonly when you apply a plugin and trust it to take care of things magically.
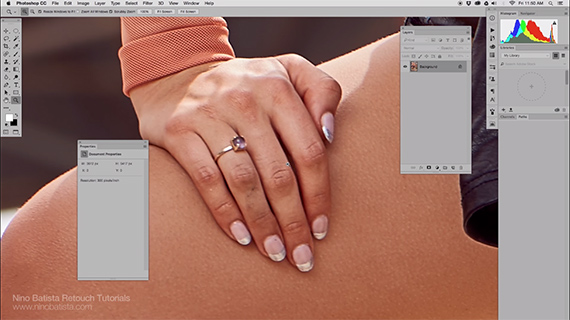
4. Red Fingers, Hands, Feet and Ears
Fingers, noses, toes, ears, and hands have a different color tone than the rest of the human body. They tend to go red or pink depending on the subject’s skin tone. If you can match skin tone, you set yourself apart.
5. Glowing Eyes
Every photographer has overcooked a subject’s eyes during post processing. If your subject’s eyes look pearly white, that’s not a great thing.
On the contrary it will look quite unnatural. Get it right in the camera so that you don’t have to do much in post.
6. Fake Camera Blur
Fake camera blur is tempting, and some camera phones are doing it with some degree of success.
But camera blur looks best when it’s in-camera and natural. If you didn’t capture it in-camera don’t try to incorporate it later.
7. Vignettes
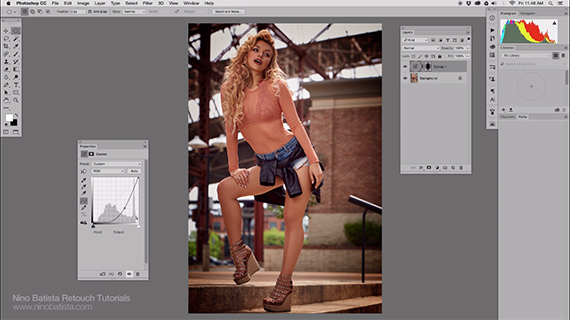
Just like everything else in Photoshop, applying a subtle amount of black vignette is okay.
But remember, it has to be subtle.
It is easy to go overboard and that’s when it all goes south. The best solution is to try for natural lens vignette if it happens with your lens / camera combination. And in regard to a white vignette, don’t even think about it!
8. Ignoring Details
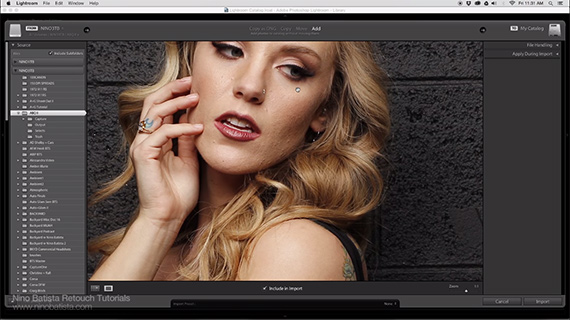
The downside to the sleek interface of Lightroom is that it allows you to skim through, select, and do all sorts of batch processing of your images without going into too much detail.
A number of things could be wrong with your images. There could be spots, imperfections, dust, or hair that you fail to notice until it is too late. Zooming in allows you to spot problems before you send your images for printing.
9. Blurred Skin
One of the mistakes that amateurs make is using the blur filter to smooth skin.
There are a number of ways to retouch skin, keeping the skin textures and perfecting it. But blur is definitely not one of the ways to go about doing it.
What other retouching mistakes do you see frequently?
Like This Article?
Don't Miss The Next One!
Join over 100,000 photographers of all experience levels who receive our free photography tips and articles to stay current:


Awesome retouching guide. Thanks for sharing. You covered complete topic or skin retouching, face makeup editing, product cutout and more skill.