While timelapse photography is no longer a niche genre (everybody seems to be doing it these days) few photographers take advantage of the RAW shooting capabilities of their cameras. In this video Tom Baurain shows why this is a much better option. He even breaks down the whole process of shooting, post-processing, and rendering the videos. So, let’s get started:
Advantages of Shooting RAW Over JPEG for Timelapse Photography
- More power to correct the image during post-processing
- Adjusting improper white balance
- Adjusting over- and under- exposure
- Recover details
- Can compensate for a cheaper quality lens
In essence, shooting RAW gives you greater flexibility and the convenience of non-destructive adjustments in post-production, which is impossible to be achieve if you shoot JPEG.

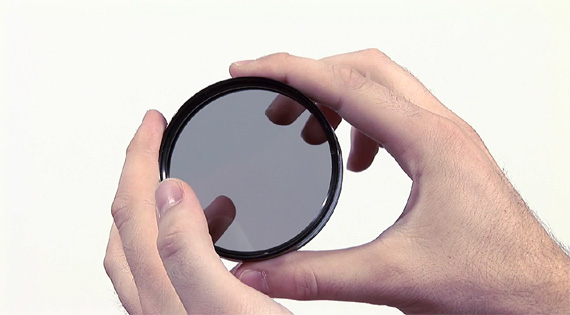
Use a vari-ND filter to balance the exposure in bright sunlight.
What You Need
- Camera
- Intervalometer
- Tripod
- Singh+Ray Vari-ND filter (Any other variable neutral density filter will do, but beware of the cheaper options.)
- Lens cloth & cleaning solution (take care to clean the lens before you shoot)
- Gaff Tape
- Spare batteries
- Spare memory cards (ready to be formatted)

For cheaper cameras, use gaff tape to stop light spilling though your viewfinder.
How to Avoid Flicker in Your Timelapse
To avoid flicker, Tom shows us the methods he uses.
- He suggests never to use f-numbers f/16 or f/22. They can induce flicker as well highlight any on the camera sensor
- Avoid using a shutter speed faster than 1/100 of a second
- Avoid using higher ISOs; higher ISOs equal higher digital noise
- Switch to live-view to avoid any light spilling through the viewfinder
- The last method is to put gaff tape over the viewfinder to completely block any light spilling. This is recommended for lower-end cameras.
Camera Settings
To demonstrate Tom uses the following camera settings. Yours can vary depending on the lighting conditions.
- Aperture: f/8
- Shutter speed: 1/80 of a second
- ISO: 100
- Manually set your white balance.
- Manually set your focus.
- Set the values in your intervalometer for shooting interval, exposure time, and the number of frames.
Timelapse Software
The final trick is the detailed post-processing technique that he uses to fine tune his images and render them into a video. (For details, check out the video above.)

Processing in After Effects
Tom uses the following software for editing and rendering of the images into video.
- Adobe Bridge
- Adobe AfterEffects
- LRTimelapse
If you’ve never tried your hand at it this genre, Baurain’s tutorial is sure to get you well on your way to producing great timelapse videos.
Like This Article?
Don't Miss The Next One!
Join over 100,000 photographers of all experience levels who receive our free photography tips and articles to stay current:


I just recently started doing Time-Lapse photography on May 21, 2014 because of I have lots of back & leg pain that does not allow me to do regular photography as much as I’d like. Just wondering if there are any cheaper, but decent but cheap Mac software for making Time-Lapse videos where you can include sound? I’ve been using Aperture with a free Time-Lapse plug in, but I can’t include sound. I can’t afford too much more then $20. You can see all my Time-Lapse videos at https://flic.kr/s/aHsjYeoaeL
Sorry, There was an issue with playback.